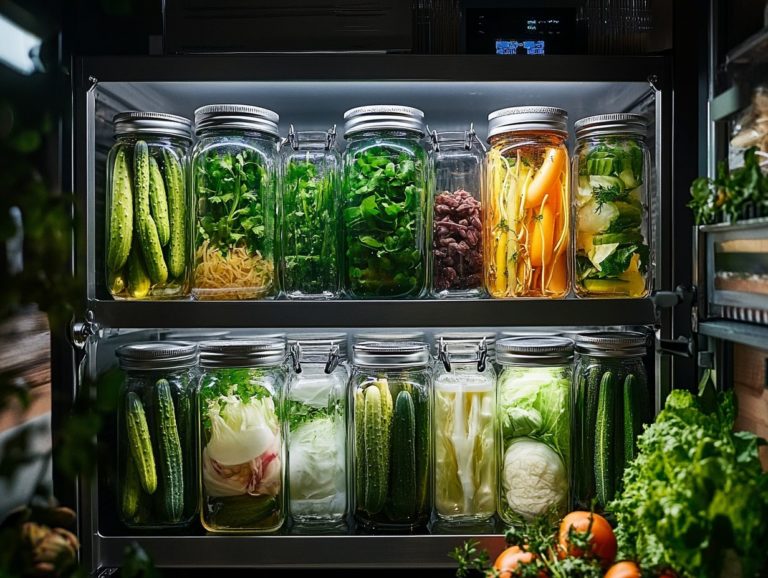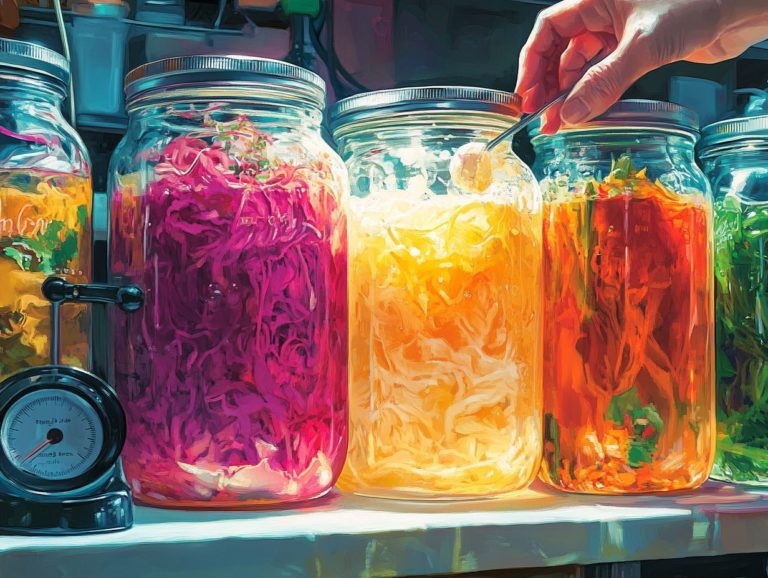
How to Measure Fermentation Progress
Fermentation is a fascinating process that turns simple ingredients into a symphony of complex flavors and textures, whether you’re brewing beer, making yogurt, or crafting the perfect sourdough. This process involves transforming simple sugars into alcohol and CO2, which are essential for creating various alcoholic beverages.
Understanding how to measure fermentation progress is crucial for achieving the results you desire. This article explores several methods for tracking fermentation, focusing on tools like hydrometers, digital hydrometers, and digital density meters.
It examines various factors that can influence fermentation and provides troubleshooting tips for common challenges you might encounter. By the end of this exploration, you will have a comprehensive understanding of how to effectively monitor fermentation, ensuring your culinary creations exceed your expectations.
Contents
- Key Takeaways:
- The Basics of Fermentation
- Why is it Important to Measure Fermentation Progress?
- How to Measure Fermentation Progress
- Measuring Fermentation Progress
- 4. Using a Titratable Acidity Test
- 5. Using Your Senses
- Factors that Can Affect Fermentation Progress
- Troubleshooting Fermentation Progress
- 1. Type of Fermentation Vessel
- 2. Type of Yeast or Bacteria Used
- 3. Troubleshooting Fermentation Progress
- Final Thoughts on Measuring Fermentation Progress
- Frequently Asked Questions
- What is fermentation progress?
- Why is it important to measure fermentation progress?
- How do I measure fermentation progress using tools like a hydrometer or refractometer?
- When should I start measuring fermentation progress?
- What factors can affect fermentation progress, such as temperature and yeast strain?
- How often should I measure fermentation progress using tools like a hydrometer or density meter?
Key Takeaways:
- Monitoring fermentation progress is essential for producing quality fermented products.
- Different methods such as using a hydrometer, refractometer, pH strips, or sensory evaluation can measure fermentation progress, including specific gravity measurement and degrees Plato.
- Factors such as temperature, oxygen exposure, and the type of fermentation vessel and microorganisms can affect fermentation. Troubleshooting may be necessary for issues like stuck fermentation or off-flavors.
The Basics of Fermentation
Fermentation lies at the very core of beer brewing. In this process, malted grains undergo a remarkable transformation into alcohol and carbon dioxide (CO2), thanks to the marvelous action of yeast.
This biological process is essential for crafting a range of alcoholic beverages, such as beer and wine. Here, the wort a sweet liquid derived from grains is skillfully inoculated with a specific strain of yeast.
The intricacies of fermentation shape the flavor profile of the final product and significantly influence the alcohol content and overall quality of the beer. Proper monitoring of fermentation activity and temperature control are critical aspects of this process.
Why is it Important to Measure Fermentation Progress?
Measuring fermentation progress is crucial for you as a brewer. It ensures that you achieve the desired alcohol content while preserving the quality and flavor of your beer.
By monitoring fermentation, you can assess the activity level and track the specific gravity of the wort. This proactive approach helps prevent off-flavors and maintain a balanced final beer pH.
Understanding the apparent attenuation of your yeast strain enables you to make informed decisions about the fermentation timeline and consistently achieve outstanding results, whether you are dealing with anaerobic or aerobic fermentation processes.
How to Measure Fermentation Progress
Measuring fermentation progress requires a variety of methods that enable you to monitor the transformations occurring in the wort as fermentation unfolds. By employing tools like hydrometers, digital hydrometers, and digital density meters, you can evaluate specific gravity, reflecting the sugar concentration in the wort.
Methods such as refractometers and pH strips also provide insights into the fermentation environment. This knowledge helps you make timely adjustments to the fermentation process for optimal results.
Measuring Fermentation Progress
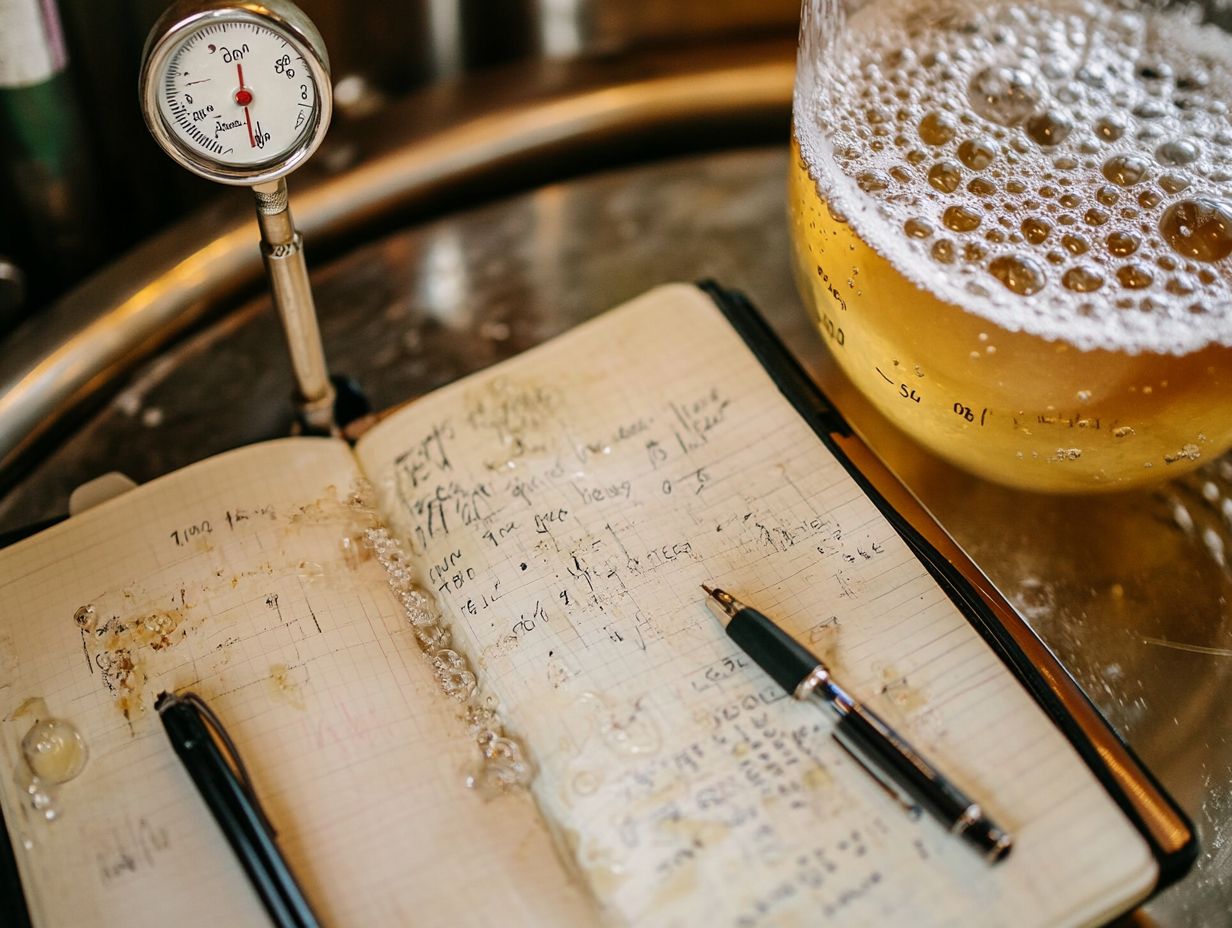
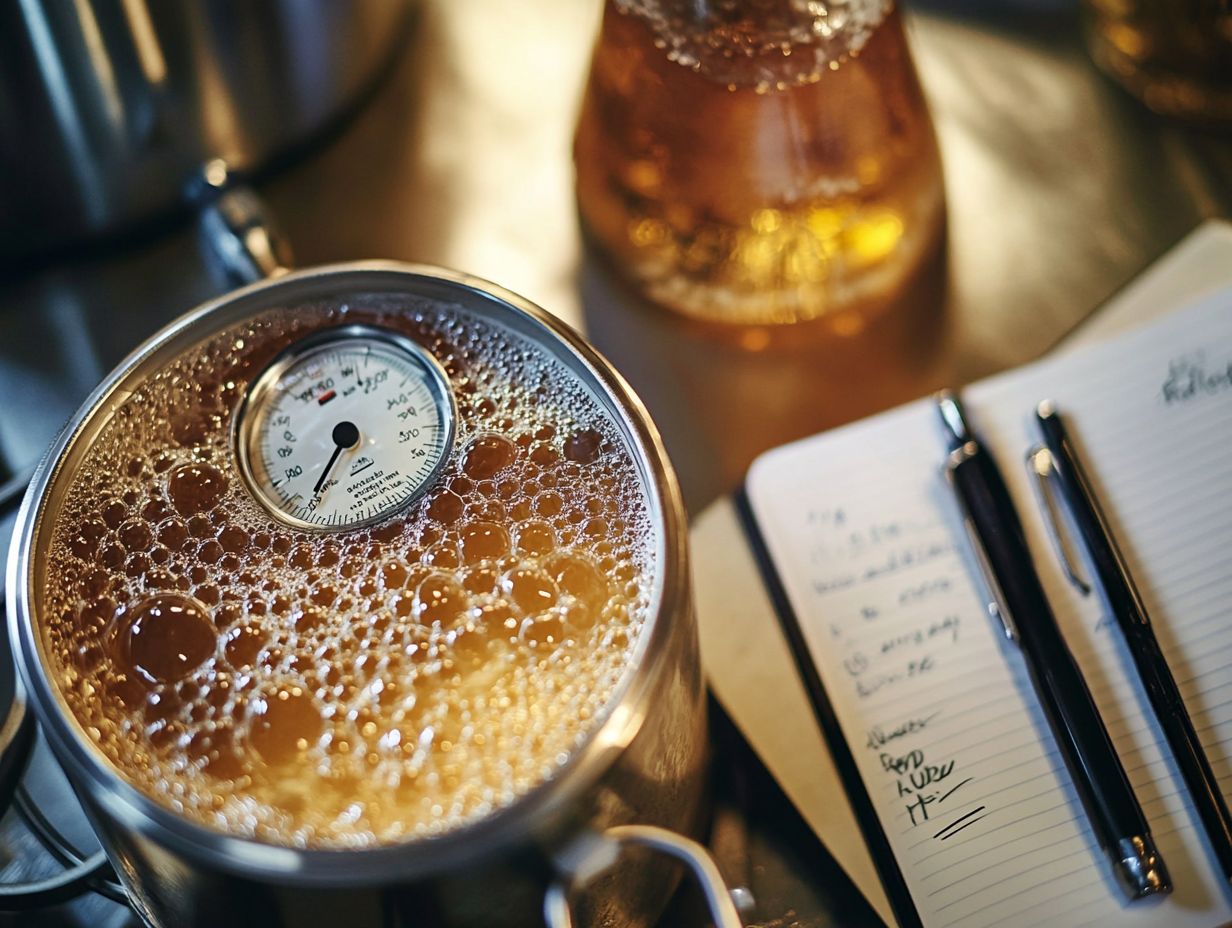
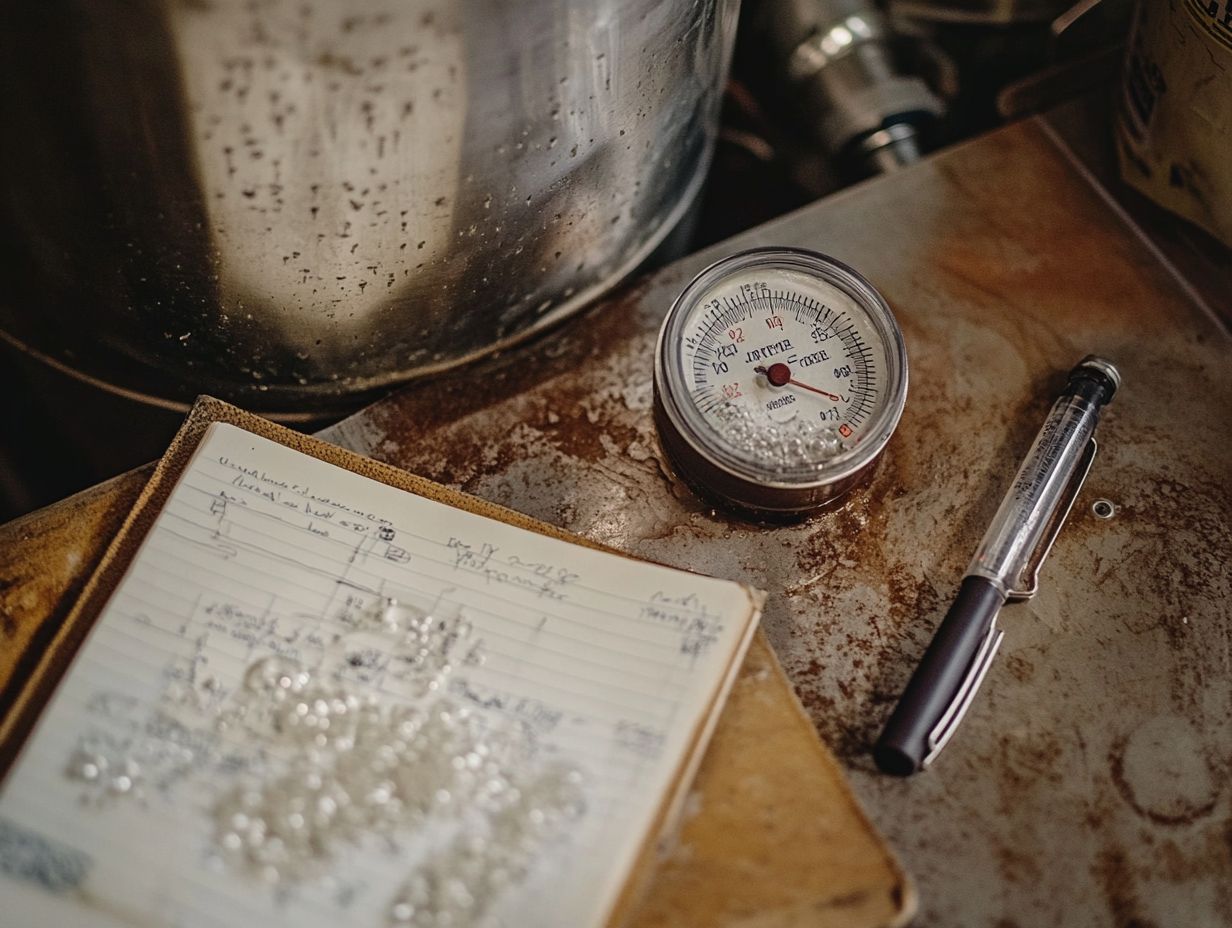
1. Using a Hydrometer
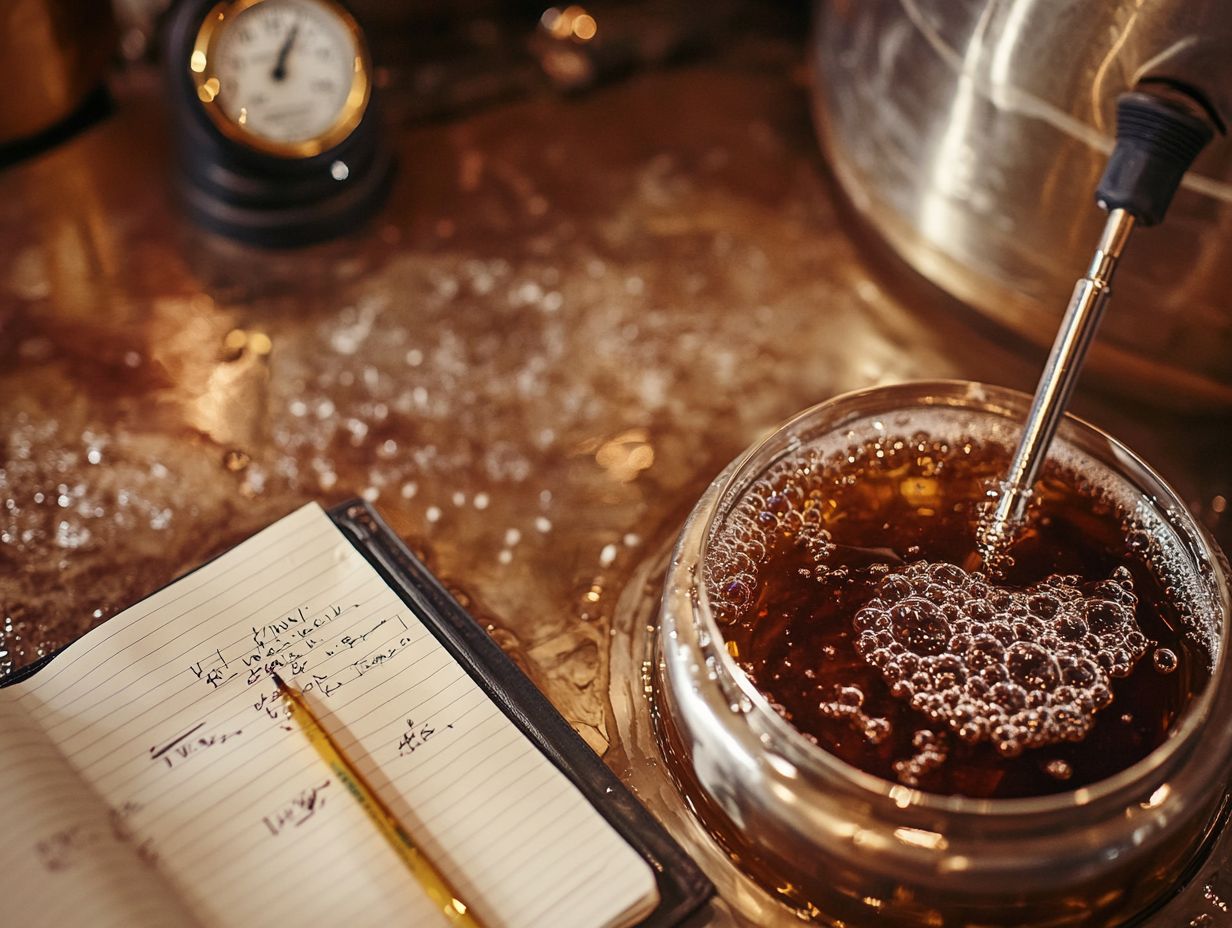
A hydrometer is an essential tool in your beer brewing journey. It allows you to measure the specific gravity of the wort at various stages of fermentation.
This handy instrument helps you track sugar concentration and determine how much fermentation has taken place. This offers valuable insights into both the alcohol content and the overall progress of the fermentation process.
By taking readings before and after fermentation, you can calculate the apparent attenuation, original gravity versus final gravity, ensuring that your yeast is performing at its best.
To make the most of your hydrometer, begin by calibrating it in distilled water at a temperature of approximately 60 F. This sets the baseline reading you ll refer to.
Once your wort is prepared, gently lower the hydrometer into the liquid, being careful to eliminate any bubbles that may adhere to it. Take the measurement at eye level and note where the surface of the wort intersects the scale.
This technique can be enhanced by using a special hydrometer designed for precise sugar measurements.
These readings offer a fantastic snapshot of changes over time! Adjust your process based on these insights to unleash the best flavor and quality in your brew.
2. Using a Refractometer
A refractometer is an essential tool in your brewing arsenal, measuring sugar concentration in the wort liquid and enabling you to monitor fermentation with remarkable precision. This instrument operates on the principle of light refraction, delivering quick readings that help you determine both initial and current sugar levels.
This insight is crucial for understanding the efficiency of the fermentation process and the health of your yeast. By comparing readings before and after fermentation, you can glean valuable information about the activity of the fermentation.
To make the most of your refractometer, start by calibrating it with distilled water to ensure your measurements are spot on. Calibration is a straightforward process simply adjust the scale to read zero when light passes through the water.
This step is vital for achieving reliable results, especially when using the degrees Plato scale.
When you’re ready to take a reading, just place a few drops of the wort on the prism, close the cover plate, and peer through the eyepiece to observe the refractive index.
Unlike hydrometers, which require larger samples and can be prone to error, a refractometer is both precise and efficient, needing only a drop of liquid.
Pair your refractometer with other tools like temperature probes and pH meters for a complete brewing view. This approach guarantees optimal original extract and final beer pH levels, leading to stellar brews every time!
3. Using pH Strips
Utilizing pH strips during the fermentation process is an excellent technique for gauging the final beer pH, a crucial factor for both flavor and stability.
By measuring the acidity of the wort at various stages, you can effectively monitor the fermentation environment, ensuring it remains optimal for healthy yeast activity. Keeping the pH level within the right range not only prevents off-flavors but also elevates the overall quality of your final product.
Monitoring pH levels is vital not just for maximizing yeast performance but also for achieving the flavor profile you desire in your beer.
Different styles of beer demand specific pH ranges; for example, pale ales typically thrive between 5.2 to 5.5, while stouts often prefer a slightly lower range.
Understanding the degrees Plato helps achieve the desired sugar concentration for various beer styles.
To make the most of pH strips, first immerse the strip in the liquid, then wait the recommended time before comparing it with the attached color chart. This meticulous approach allows for precise adjustments, boosting yeast activity and fostering a well-rounded fermentation process.
This is especially important for maintaining the fermentation vessel environment and ensuring the original gravity readings align with the expected final gravity.
4. Using a Titratable Acidity Test
A titratable acidity test is an essential tool in your brewing arsenal, enabling you to measure the overall acidity of your beer with precision. This sophisticated method provides valuable insights into flavor balance and quality, and is especially useful for distilling purposes.
By employing titration, you can determine the amount of acid present, allowing you to monitor fermentation progress and make necessary adjustments to achieve optimal flavor profiles. Maintaining proper acidity levels is crucial for the overall quality of your beer and can significantly influence consumer acceptance. Mastering this process is essential for crafting exceptional wines and beers that will wow your friends!
To conduct a titratable acidity test, you ll need a few key materials:
- a burette
- a standardized sodium hydroxide solution
- a pH indicator such as phenolphthalein
- a sample of your beer
The process begins with accurately measuring a specific volume of beer and adding a few drops of the pH indicator. Then, you slowly add the standardized sodium hydroxide solution to the beer sample until you observe a color change, indicating that you’ve reached the desired pH, typically around 8.2.
This method not only helps you assess acidity but also provides insights into fermentation health, flavor stability, and any adjustments you might need to make to your recipes. It reinforces the critical connection between acidity and the overall quality of your beer, ensuring that each batch meets the high standards you aim to achieve.
5. Using Your Senses
You can harness your senses to monitor fermentation and assess the overall quality of your beer, as taste and smell are vital players in the brewing process. By observing changes in aroma, flavor, and clarity, you gain valuable insights into the state of fermentation and the health of the yeast strain you re using. Engaging your senses allows you to spot potential issues early on, enabling timely interventions. This method complements other fermentation monitoring techniques and is critical for maintaining the desired fermentation temperature.
During the initial fermentation phases, if you detect a fruity or estery aroma, it often signals that the yeast is active and healthy, efficiently converting sugars into alcohol. On the other hand, if a sulfur-like scent makes an appearance, it could indicate sluggish fermentation or the production of unwanted compounds. Monitoring the specific gravity with a hydrometer or a density meter can help in tracking yeast fermentation progress and CO2 levels.
As fermentation progresses, you ll notice the taste evolving, with flavors like bitterness from hops becoming more pronounced, while a flat or watery mouthfeel might hint at underperforming yeast. The beer’s appearance, including turbidity and head retention, can also reflect yeast viability and the completeness of fermentation. Regularly sampling wort gravity using a hydrometer glass or a refractometer and measuring the final beer pH are essential for maintaining quality control throughout your brewing journey.
Factors that Can Affect Fermentation Progress
Numerous factors play a pivotal role in influencing fermentation progress, which in turn affects the quality and characteristics of your final beer. Temperature control stands out as especially crucial, as yeast operates best within specific temperature ranges. This directly impacts the breakdown of sugar concentrations and the overall activity of fermentation. Knowing the degrees Plato helps you understand sugar content better.
Exposure to oxygen can introduce off-flavors that mar your brew, while the choice of fermentation vessel and the condition of the malted grains can significantly influence yeast health and the ultimate outcome of your brewing endeavor. Managing CO2 emitted during the process is also vital for maintaining an optimal fermentation environment.
1. Temperature
Temperature plays a pivotal role in the fermentation process, as yeast works best at specific temperature levels. By maintaining the optimal fermentation temperature, you ensure the health of the yeast, which significantly impacts the alcohol content and flavor profile of your final beer. Make regular temperature checks a priority; timely adjustments can save your batch from off-flavors.
Different strains of yeast flourish within specific temperature ranges, leading to an exciting array of flavors and aromas. For example, ale yeasts thrive in warmer temperatures, becoming more active and often resulting in fruity and complex profiles. In contrast, lager yeasts prefer cooler conditions, producing a clean and crisp finish.
To maintain these ideal temperatures, consider investing in temperature-controlled fermentation vessels and explore insulation methods or ambient cooling systems. Using a Plato scale, which helps you measure sugar concentration, can assist in understanding the sugar levels during yeast fermentation. Regular temperature checks will ensure that you achieve the best results and avoid undesirable outcomes.
Use a hydrometer, a tool that measures the specific gravity of liquids, or a refractometer to monitor the fermentation process effectively.
2. Oxygen Exposure
Oxygen exposure can seriously undermine fermentation health and the overall quality of your beer, leading to off-flavors and unwanted oxidation. To achieve optimal fermentation, creating an anaerobic environment (a space without oxygen) is essential, as yeast thrives when oxygen is limited once fermentation begins. This allows it to effectively generate the desired levels of CO2 and alcohol while preserving the beer’s rich flavor and enticing aroma.
When yeast encounters oxygen in the fermentation process, it may produce stale or cardboard-like flavors that detract from the intended taste profile. To overcome this hurdle and enhance your brew s quality, many brewers implement closed fermentation systems and purge vessels with carbon dioxide to push out any lingering oxygen. Techniques like dry hopping or carefully adding ingredients to limit air contact can also foster a healthier fermentation environment.
Ensuring proper CO2 levels throughout the process is crucial to maintaining your beer’s quality and flavor. Additionally, using proper packaging methods such as oxygen-absorbing caps and well-sealed bottles or cans further protects your finished product from oxidation, helping to maintain its intended freshness and character.
Troubleshooting Fermentation Progress
1. Type of Fermentation Vessel
The type of fermentation vessel you choose significantly influences your fermentation process and the quality of the final product. Different vessels such as carboys, buckets, or conical fermenters provide varying levels of control over fermentation techniques, yeast activity, and temperature regulation.
Selecting the right fermentation vessel enhances yeast performance and improves overall brewing efficiency. Ensuring that the vessel is appropriate for the specific gravity measurements and degrees Plato further optimizes the process.
The vessel you pick also affects how easily you can clean and sanitize after fermentation is complete. For instance, a conical fermenter shaped like a cone makes racking and yeast harvesting straightforward, leading to more consistent results in your future brews.
In contrast, while a bucket fermenter may offer simplicity, it might require more effort in terms of yeast collection and maintaining cleanliness. Understanding brewery wort dynamics is also important for selecting the right fermentation vessel.
By understanding these dynamics, you’ll optimize your brewing process, ensuring that the yeast thrives and positively influences the flavor profile of your final product.
2. Type of Yeast or Bacteria Used
The yeast strain or bacteria you choose for brewing plays a pivotal role in the fermentation process and ultimately defines the characteristics of your final beer. Each strain showcases a unique fermentation profile, influencing how sugars break down, the alcohol content, and the development of flavors.
You’ll love how crucial it is to ensure the health of your yeast for a successful fermentation, as it directly affects both the efficiency of alcohol production and the complexity of the flavors in your brew.
Some strains may produce delightful fruity esters, while others might impart earthy or phenolic notes, creating a diverse array of profiles that enhance the drinking experience. Maintaining a healthy yeast population is vital; it ensures rapid and complete fermentation while helping to prevent off-flavors or undesirable byproducts.
Monitor factors like pitch rate, temperature control, and nutrient availability to sustain yeast vitality throughout the brewing process. Using a density meter or a hydrometer can help you track these factors accurately.
By carefully selecting the right strain and optimizing its health, you can elevate your brew from ordinary to extraordinary.
Act quickly to maintain yeast health and ensure your brewing process is a success!
3. Troubleshooting Fermentation Progress
Troubleshooting fermentation progress is a vital skill for you as a brewer, as a range of issues can emerge that impede the fermentation process. One common problem is stuck fermentation, where yeast struggles to finish its job, resulting in unfermented sugars that can introduce undesirable off-flavors to your beer.
It s essential to pinpoint the underlying causes of these issues, whether they relate to yeast health or environmental conditions. By doing so, you can effectively restore a successful fermentation and achieve the flavor profile you desire.
1. Stuck Fermentation
Stuck fermentation occurs when your yeast throws in the towel and fails to ferment the remaining sugars, resulting in a higher sugar concentration than you d like in your final product. This frustrating issue can stem from various factors, including poor yeast health, inadequate temperature control, or insufficient nutrients for the yeast. Tackling a stuck fermentation is essential to prevent off-flavors and to ensure you achieve the desired alcohol content.
To get a clearer picture of this dilemma, consider how different elements might contribute to yeast inactivity. Yeast health is vital; using a fresh, viable yeast strain can significantly boost your chances of a successful fermentation. Keeping fermentation temperatures in the sweet spot typically between 65 F to 75 F ensures your yeast stays lively and robust. Regularly sampling fermenters and checking the specific gravity can help you avoid stuck fermentation.
Don t overlook nutrient deficiencies, as they can lead to stalls as well. Adding nutrients during fermentation can really support yeast vitality. Embracing best practices like maintaining proper sanitation, making gradual temperature adjustments, and regularly monitoring sugar levels with a hydrometer will help you prevent stuck fermentation and ensure that your fermentation process is a resounding success.
2. Off-flavors
Off-flavors in your beer can emerge from a variety of sources throughout the brewing process, often tied to the health of fermentation and the performance of the yeast strain. These unwanted flavors may result from challenges such as temperature stress, exposure to oxygen, or the intrusion of undesirable bacteria. Identifying the root cause of off-flavors is essential for you as a brewer, allowing you to refine your methods and produce a clean, enjoyable final product. Proper yeast pitch and monitoring CO2 levels can help in avoiding off-flavors.
Understanding these influences enables you to implement effective brewing practices. For instance, choosing the right yeast strain can dramatically affect the flavor profile, as different strains generate varying levels of byproducts like esters and phenols. Employing a refractometer can also aid in monitoring the sugar levels and ensuring a balanced fermentation process.
Monitoring environmental factors such as fermentation temperature and sanitation protocols is crucial for creating optimal conditions for yeast activity. By minimizing oxidative stress and ensuring healthy yeast through proper nutrient management, you can significantly reduce the risk of developing off-flavors, ultimately enhancing the quality and reputation of your beer. Ensuring accurate measurements using a hydrometer or dissolved extract tools can improve the precision of your brewing process.
3. Cloudy or Hazy Fermentation
Cloudy or hazy fermentation is often indicative of incomplete fermentation, high levels of yeast, or the presence of unwanted proteins and particles. Accurate readings with a hydrometer can help identify the cause.
Cloudy or hazy fermentation can be a frequent concern for you as a brewer, often tied to yeast health, protein content, and the fermentation process itself. Factors such as inadequate time for yeast to settle or the presence of certain proteins can contribute to that unwelcome hazy appearance in your final beer. Understanding the reasons behind cloudy fermentation, including the impact of final beer pH and CO2 levels, can help you make informed decisions that lead to a clear and visually appealing product.
This issue can also stem from the type of ingredients you use, such as specific malts or adjuncts, which may introduce additional proteins that create turbidity. Additionally, the fermentation temperature and the yeast strain play crucial roles in influencing yeast activity and, therefore, the level of cloudiness in your brew.
To tackle these challenges, techniques like cold crashing, where you rapidly cool the beer to encourage yeast and other particulates to settle, can prove effective. You may also consider utilizing fining agents like gelatin or isinglass, which help bind and precipitate unwanted particles, leading to improved clarity. Additionally, using equipment like a density meter can help monitor the specific gravity and CO2 emitted during the process.
By implementing these practices, you can significantly enhance the final appearance and overall quality of your beer.
Final Thoughts on Measuring Fermentation Progress
Measuring fermentation progress is an essential part of your brewing journey that directly affects the quality and characteristics of your final product. By employing various tools and techniques, such as a hydrometer or refractometer, you can effectively monitor yeast health and fermentation activity. This sets the stage for a successful brewing process.
When you grasp the intricacies of fermentation measurement, you gain confidence to produce beers that align perfectly with your desired flavor profiles and alcohol content. You can also steer clear of common fermentation pitfalls. Understanding terms like degrees Plato which refers to a measurement of sugar concentration in the wort and extract dissolved can further enhance your measurement accuracy.
Accurate monitoring is pivotal not just for achieving consistency, but also for promptly identifying any potential issues that may crop up during the brewing process. This proactive stance enables you to make necessary adjustments, whether that means adding nutrients, fine-tuning temperature control, or ensuring optimal CO2 levels. Creating an environment that s ideal for fermentation is key.
Your careful monitoring not only boosts the taste and aroma of your beer but also builds your reputation as an outstanding brewer committed to delivering high-quality craft beverages that truly satisfy consumer preferences. This process is similar to practices in winemaking and distillation, where precise measurement and control are crucial.
Frequently Asked Questions
What is fermentation progress?
Fermentation progress refers to the measurement of the changes that occur during the fermentation process, such as the production of alcohol and carbon dioxide.
Why is it important to measure fermentation progress?
Measuring fermentation progress allows you to track the development of your fermented product. This ensures that it is on track and producing the desired outcome, while also helping you troubleshoot any issues that may arise during the fermentation process.
How do I measure fermentation progress using tools like a hydrometer or refractometer?
The most common way to measure fermentation progress is by using a hydrometer, which measures the specific gravity of the liquid. Other methods include using a refractometer, pH meter, and taste testing. You may also use the Plato Scale to measure the concentration of extract dissolved in the wort.
When should I start measuring fermentation progress?
It is recommended to start measuring fermentation progress after the initial active fermentation has subsided, typically within 24-48 hours.
What factors can affect fermentation progress, such as temperature and yeast strain?
Several factors can impact fermentation progress, such as temperature, sugar content, yeast strain, and oxygen levels. It is important to monitor and adjust these factors as needed to ensure successful fermentation. Monitoring CO2 levels and using appropriate grains and malt can also significantly affect the outcome.
How often should I measure fermentation progress using tools like a hydrometer or density meter?
It is best to measure fermentation progress at regular intervals, such as once a day or every few days. Tools like a hydrometer or density meter can help you track the progress and make any necessary adjustments. If you notice any sudden changes or issues, measure more frequently to address the problem.
Start measuring your fermentation progress today and share your experiences to improve your brewing skills!