Best Yeast Starters and Equipment
Contents
- Understanding Yeast Starters in Home Brewing
- Key Takeaways:
- 1. What Is a Yeast Starter and Why Is It Important?
- 2. The Benefits of Using a Yeast Starter
- 3. Necessary Equipment for Making a Yeast Starter
- 4. How to Make a Yeast Starter at Home
- 5. Common Mistakes to Avoid When Making a Yeast Starter
- 6. Best Yeast Starters on the Market
- 7. How to Choose the Right Yeast Starter for Your Needs
- 8. Yeast Starter Recipes for Different Types of Beer
- 9. Tips for Maintaining and Reusing Your Yeast Starter
- 10. Frequently Asked Questions about Yeast Starters
- What Are the Different Types of Yeast Starters?
- Frequently Asked Questions
- What is a yeast starter and why is it important in the brewing process?
- What is the best brewing equipment to use for making a yeast starter?
- How do I make a yeast starter?
- What type of yeast should I use for my starter to ensure proper yeast production?
- What is the ideal size for a yeast starter?
- Can I reuse yeast from a previous batch for my starter?
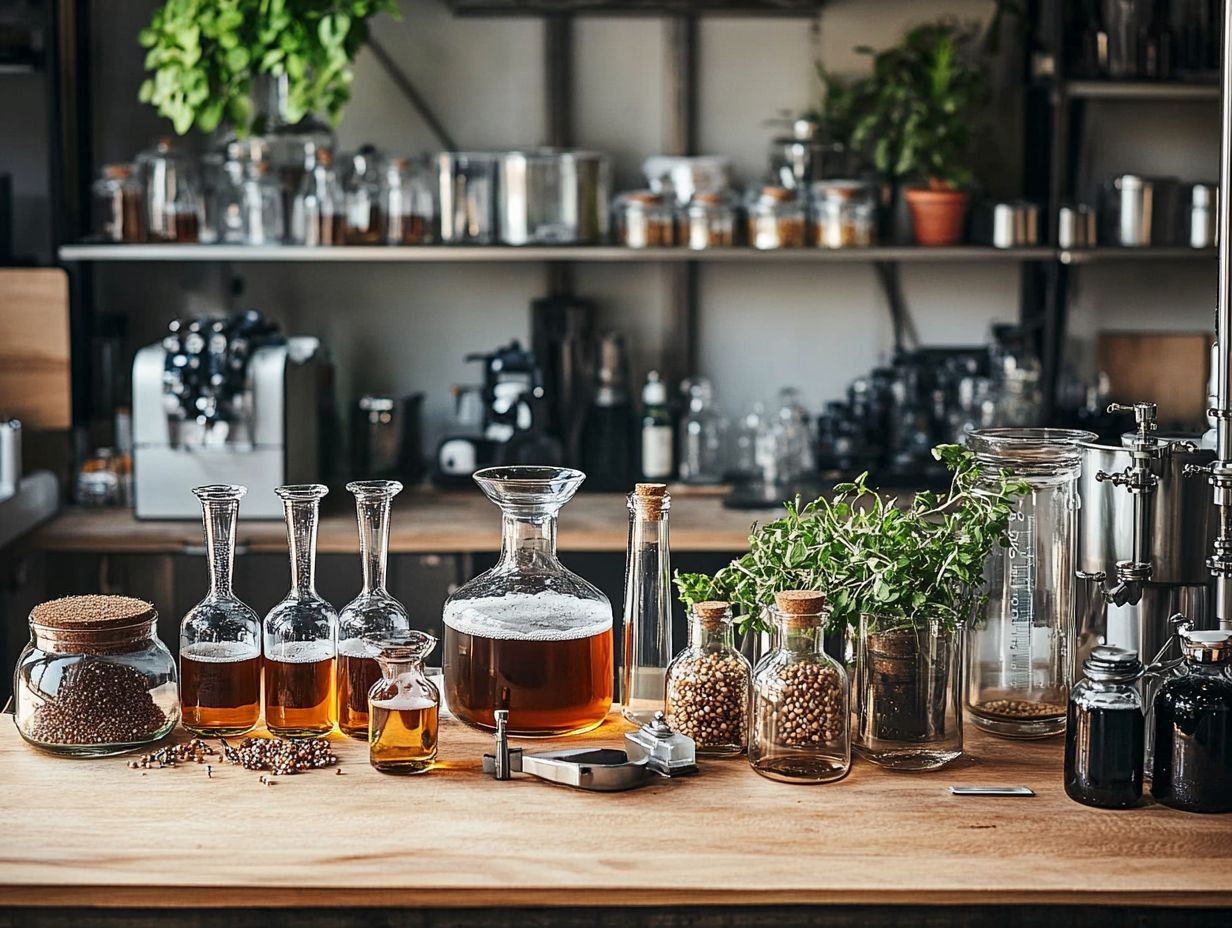
Understanding Yeast Starters in Home Brewing
Get ready to dive into the exciting world of yeast starters! A yeast starter is an essential tool for any home brewer aiming to elevate the fermentation process and unlock the fullest flavor potential in their beer.
This guide reveals the significant advantages of yeast starters, outlining the necessary equipment and providing you with step-by-step instructions to create one in the comfort of your home.
You’ll also find insights on common pitfalls to avoid, recommendations for some of the best yeast starters available, and tips for maintaining and reusing your starter. Whether you re a seasoned brewer or just embarking on your brewing journey, this information will arm you with everything you need to understand the vital role yeast starters play in the brewing process and the overall brewing hobby.
Key Takeaways:
- A yeast starter is a small batch of actively growing yeast used to kickstart fermentation and improve the quality of beer.
- Using a yeast starter can result in faster, more complete fermentation, higher alcohol content, and improved flavors in your beer, enhancing your brewing consistency.
- To make a yeast starter at home, you will need basic equipment such as an Erlenmeyer flask, stir plate, and yeast nutrient, all of which can be easily found online or at homebrew stores.
1. What Is a Yeast Starter and Why Is It Important?
A yeast starter is an essential element in your brewing journey, allowing you to cultivate a robust yeast cell population that enhances fermentation efficiency and ensures the successful transformation of wort into beer, even on a homebrew scale. (Wort is the liquid extracted from the mashing process during brewing.)
By generating a healthy yeast culture, you can achieve optimal yeast activity, which is vital for maintaining consistency in your brewing process and hitting those target numbers for various beer styles.
This technique prepares the yeast for fermentation and gives you better control over fermentation conditions, yeast vitality, and yeast growth, ultimately leading to a high-quality end product.
The science behind yeast propagation is fascinating; it reproduces rapidly under ideal conditions, creating a population capable of efficiently fermenting sugars and achieving optimal growth. By utilizing a yeast starter, you significantly improve the original gravity of your wort, introducing a concentrated and active yeast culture that ensures fermentation kicks off vigorously, minimizing the risk of stalled fermentations.
Proper sanitation practices are crucial in this endeavor, as they protect your brew from unwanted microbes that could compromise flavor and quality and affect overall yeast health. Selecting the right yeast variety elevates your brewing experience; different strains impart unique flavors and aromas, perfectly tailored to specific beer styles and enhancing your overall homebrewing results.
Ultimately, mastering these elements will enable you to optimize your brewing process and produce exceptional beer that impresses every palate, no matter the brewing ratios.
2. The Benefits of Using a Yeast Starter
Using a yeast starter presents you with numerous advantages as a homebrewer, including heightened yeast activity, better fermentation management, and an overall enhancement in beer quality all crucial for brewing larger batches with consistent results. This also promotes healthy brewer’s yeast and viable yeast strains.
By providing a concentrated dose of healthy yeast cells, a starter truly elevates the fermentation process, enabling a quicker and more efficient conversion of sugars into alcohol. This acceleration not only helps you avoid potential off-flavors that can emerge when yeast struggles to thrive, but it also bolsters the yeast’s vitality, enabling it to tackle the unique conditions of your brew.
The improved flavor profiles you ll achieve through a starter stem from a more vigorous yeast that can better showcase the characteristics of your chosen ingredients.
To fully harness these benefits, employing techniques such as precise temperature control during fermentation and ensuring proper aeration of the wort before pitching yeast will significantly enhance yeast activity, resulting in a cleaner, more delightful final product.
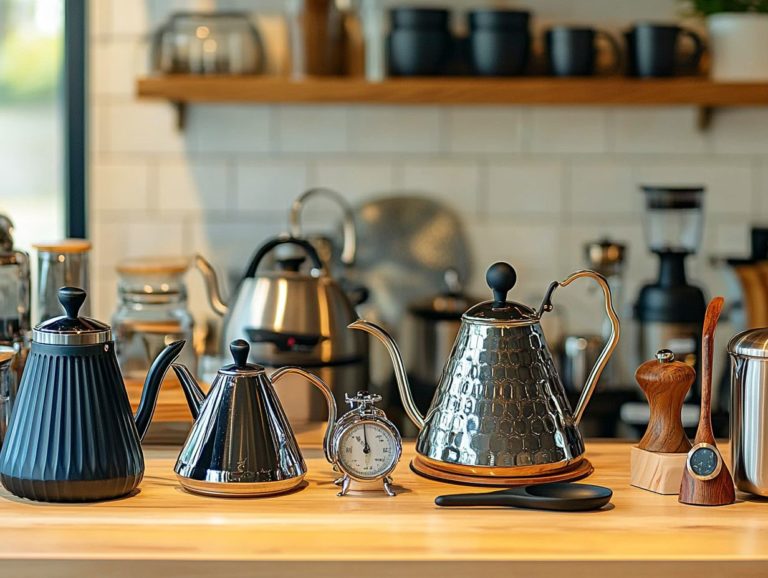
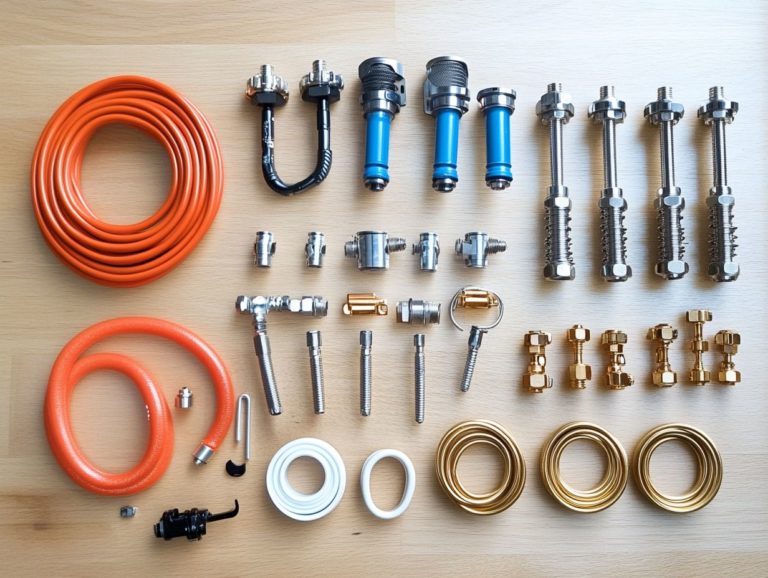
3. Necessary Equipment for Making a Yeast Starter
To craft a successful yeast starter, gather some essential brewing equipment. A yeast starter kit is a great start, typically including an Erlenmeyer flask, a stir plate for optimal yeast growth, and yeast nutrient to support fermentation.
A high-quality thermometer is crucial for monitoring the yeast s environment. A hydrometer is also essential; it measures the density of liquids, helping you track specific gravity during fermentation and ensuring the proper temperature.
Having a sanitized stirring rod or paddle is key for mixing ingredients seamlessly while preventing contaminants. Utilizing a stir plate enhances yeast propagation and oxygenation.
The stir plate creates a consistent vortex that promotes oxygenation, boosting yeast viability and overall health. Don t overlook the importance of yeast nutrient; it provides essential building blocks like nitrogen, vital for yeast growth and reproduction, helping your culture thrive during challenging fermentation stages.
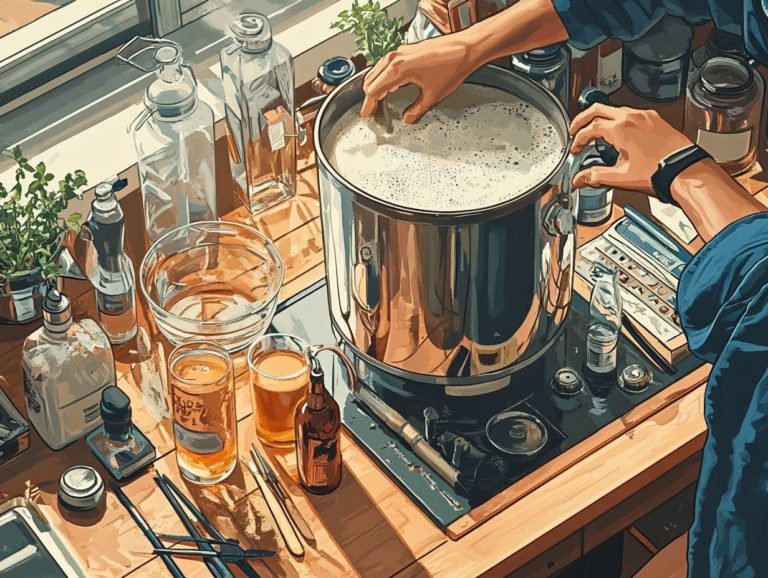
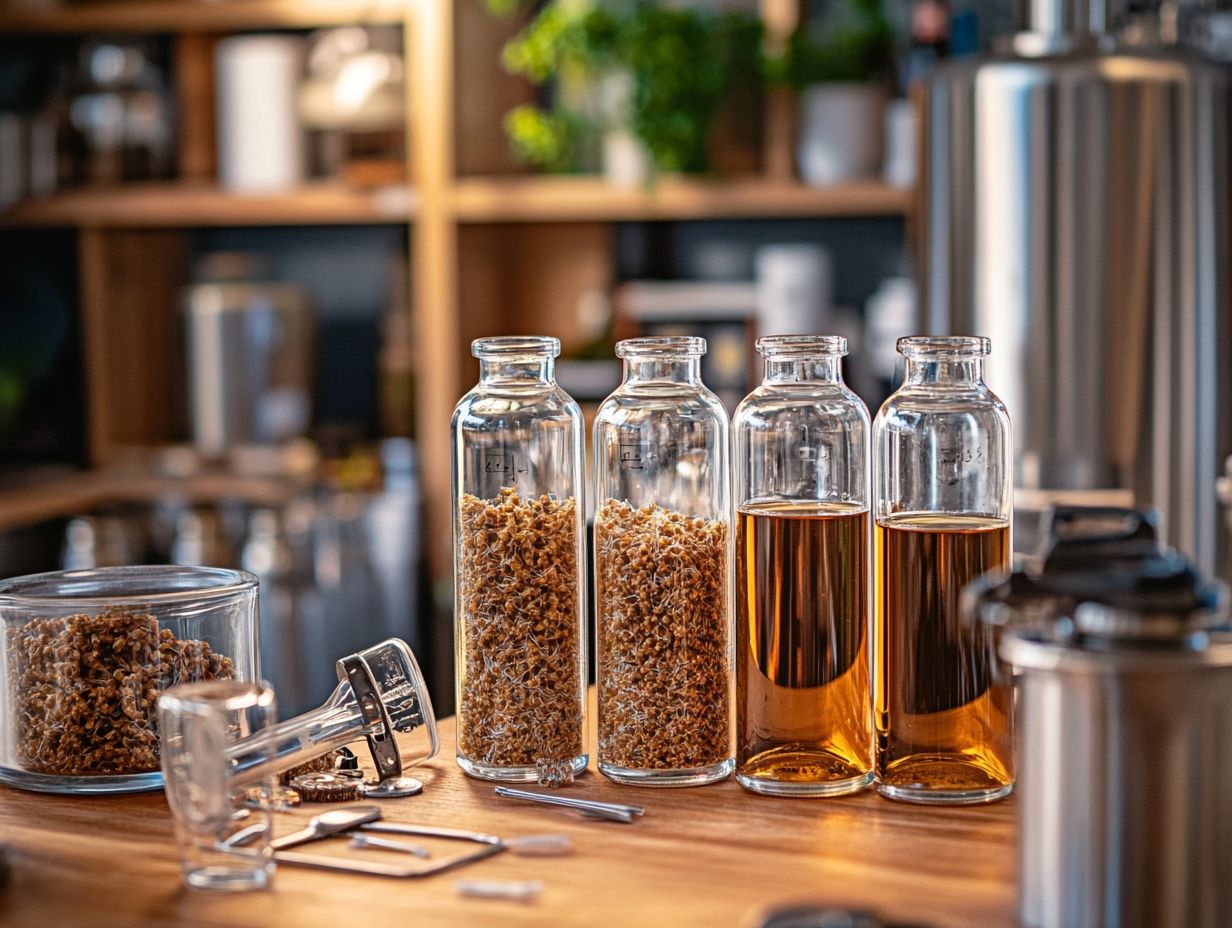
4. How to Make a Yeast Starter at Home
Creating a yeast starter at home is a surprisingly simple yet rewarding process of yeast propagation. You’ll mix malt extract with water in a mini-batch, crafting a nutrient-rich environment for the yeast, then provide it with oxygen to kickstart its growth.
Start by heating your water and dissolving the malt extract, ensuring a homogeneous mixture. Aim for a temperature between 150 to 160 F; this range activates the sugars for fermentation beautifully. Once the mixture cools down to around 70 F, it’s time to aerate the starter. Shake the container well or use a stir plate oxygen is essential for keeping your yeast thriving.
As fermentation progresses, monitor the temperature closely. Fluctuations can stress the yeast and affect its vitality. Look for signs of activity, like bubbling or a frothy top. These indicators show your yeast is lively and ready to be pitched.
To achieve the best results, pitch the yeast when your starter is at its peak activity, just before it starts to decline. This timing ensures a robust fermentation process for your main brew, setting the stage for a truly exceptional batch.
5. Common Mistakes to Avoid When Making a Yeast Starter
To perfect your yeast starter, avoid common pitfalls like neglecting proper sanitation or failing to create optimal fermentation conditions.
These oversights can compromise yeast health and lead to lackluster beer quality. Introducing unwanted bacteria or wild yeasts can disrupt the fermentation process, affecting the flavor profile and stability of your finished brew.
Meticulously clean and sanitize all equipment, including flasks and stir plates, to protect your yeast culture’s integrity. Maintaining a stable fermentation temperature while observing signs of yeast vitality like active bubbling and sediment formation provides insights into your starter’s health.
Consider using a yeast nutrient to strengthen your culture, ensuring fermentation proceeds smoothly and yields the desired characteristics in your beer.
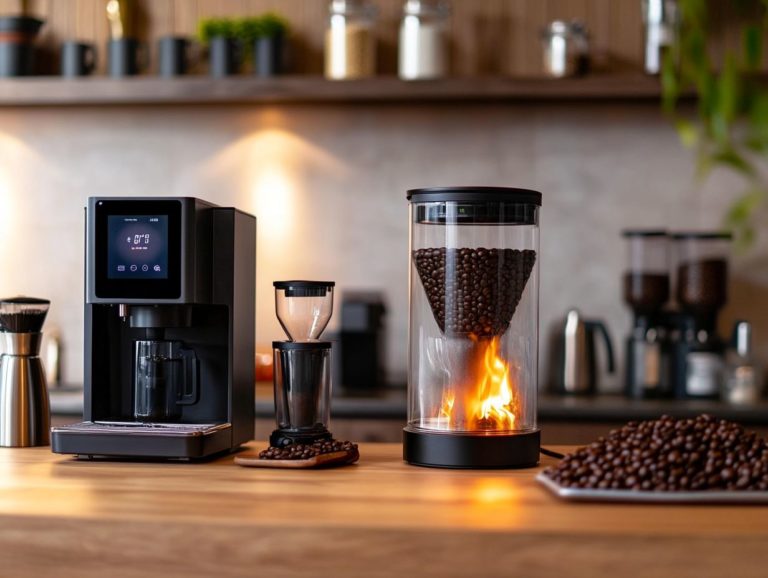
6. Best Yeast Starters on the Market

Among the finest yeast starters available, products like the Fast Pitch Kit truly distinguish themselves with their exceptional quality and effectiveness. They cater to homebrewers seeking a robust yeast starter kit compatible with various yeast varieties and lager strains.
This product is crafted to streamline your brewing process, enabling enthusiasts of every experience level to attain optimal fermentation results and ideal yeast conditions.
Fast Pitch shines with its clear instructions and minimal equipment requirements, making it an ideal choice for beginners. It also boasts advanced features that seasoned brewers will find beneficial.
When compared to other starter kits that may demand more complex setups, the Fast Pitch offers a user-friendly experience. This allows you to concentrate on your craft rather than the intricacies of growing yeast and the oxygenation process.
Its compatibility with a wide array of ales and lagers highlights its versatility and reliability in achieving the flavor profiles you desire.
7. How to Choose the Right Yeast Starter for Your Needs
Selecting the right yeast starter for your brewing journey requires a keen understanding of your specific needs. Consider the type of beer you re crafting, the brewing ratios you desire, and the overall health of your yeast management practices, including yeast health and ideal yeast conditions.
Several factors play a pivotal role in this decision-making process. Your batch size can significantly influence the amount of yeast you’ll need. Larger batches often necessitate bigger starters to ensure proper fermentation and optimal yeast culture.
Different yeast varieties offer unique characteristics that cater to specific beer styles. For example, you might opt for a German Hefeweizen yeast for a classic wheat beer or choose a Belgian yeast for those rich, fruity ales. It’s essential to maintain yeast health. A robust starter not only fuels vigorous fermentation but can also elevate flavor profiles.
For instance, if you’re brewing an imperial stout, a larger starter might be advantageous to manage the high gravity, while a simple pale ale could thrive on a smaller, well-managed starter. Homebrewers should consider using a yeast starter kit to simplify the process. By considering these elements, you can lay the groundwork for a successful brew.
8. Yeast Starter Recipes for Different Types of Beer
Creating yeast starter recipes specifically designed for various beer types whether you re working with lager strains or ales is crucial for achieving the perfect fermentation temperature and the flavor profile you desire. Employing proper yeast management techniques can ensure optimal results.
By grasping the unique characteristics of each yeast strain, you can establish a foundation that promotes vigorous fermentation while amplifying the specific aromas and flavors inherent to each beer style. For example, a straightforward starter for an American Pale Ale might consist of light dry malt extract, fermented at around 68 F. This temperature allows the yeast to generate those bright, fruity esters characteristic of the style. Incorporating yeast nutrients can further support yeast health and activity.
If you re gearing up for a lager, your starter may require Pilsner malt and cooler fermentation temperatures of about 50 F, which helps highlight a clean and crisp beer profile. Using a stir plate can also improve yeast growth and activity. Each brew will benefit tremendously from this initial boost, setting the stage for a truly exceptional final product.
Get ready to elevate your brewing game with these fantastic yeast starters!
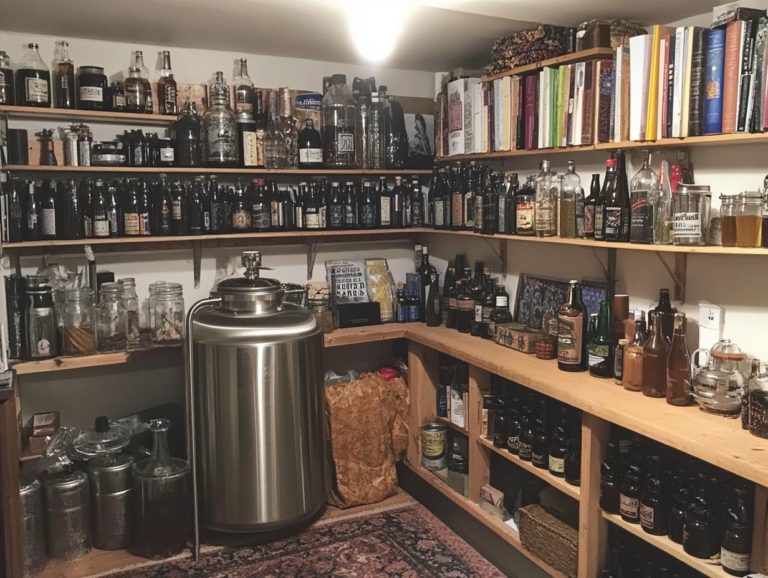
9. Tips for Maintaining and Reusing Your Yeast Starter
To effectively maintain and reuse your yeast starter, it s essential to prioritize yeast vitality. Implement good fermentation practices and uphold strict sanitation standards. This commitment ensures you cultivate a healthy brewer’s yeast culture.
By doing so, you can foster a robust fermentation process that ultimately enhances the overall quality of your brew. Preparing your yeast for subsequent batches involves a meticulous approach to washing and proper storage post-fermentation. This means decanting the beer from the yeast and gently adding a small amount of sterilized water to the sediment, which keeps the yeast in its prime. Regular oxygenation also helps maintain yeast vitality for future use.
Monitoring yeast health is vital. Look for signs of viability, such as active bubbling during re-pitching, to avoid off-flavors or stalled fermentations. Thorough sanitation is crucial; sanitize all equipment that comes into contact with the yeast to significantly reduce the risk of contamination and help maintain the quality of your yeast for future brewing adventures.
10. Frequently Asked Questions about Yeast Starters
Frequently asked questions about yeast starters delve into essential topics, such as the significance of pitching yeast at just the right moment and understanding fermentation activity to ensure a successful brewing experience. Knowing about yeast production and its impact on the fermentation process is equally important.
In your brewing journey, it s vital to know how long it takes to prepare a starter and how to recognize the signs that your yeast is ready to be pitched. Generally, allowing about 24 to 48 hours for optimal growth is recommended when preparing a yeast starter. Monitor the starter; a healthy yeast starter will show bubbling or foam on the surface, indicating active fermentation.
Understanding the differences between using a yeast starter and direct pitching can be incredibly beneficial. A yeast starter promotes a more vigorous yeast population, enhancing fermentation efficiency and ultimately resulting in better flavors in your final product. This involves converting wort into beer more efficiently.
What Are the Different Types of Yeast Starters?
You have a variety of yeast starters at your disposal, each crafted to suit different yeast varieties and tailored to specific fermentation conditions. This ensures that your yeast performs optimally throughout the brewing process. Using a Fast Pitch Kit can simplify the preparation process.
Among these choices, liquid yeast starters provide a rich and vibrant environment for yeast growth, making them ideal for crafting complex beer styles that demand extensive flavor profiles. On the other hand, dry yeast starters offer convenience and an impressive shelf life, perfect for brewers who value ease of use and reliability. Both types of starters require proper sanitation to maintain yeast health.
Slurries, often derived from previous batches, can significantly boost fermentation vigor. However, it s essential to ensure they come from healthy yeast. The type of starter you choose will influence fermentation speed, flavor nuances, and the overall quality of your beer. This will guide you toward the right selection based on the characteristics you wish to achieve in your brew. Using brewing equipment like Erlenmeyer flasks can further enhance yeast propagation.
How Does a Yeast Starter Differ from Direct Pitching Yeast?
A yeast starter stands apart from the direct pitching of yeast, providing you with the opportunity to cultivate a healthy yeast culture (a thriving population of yeast tailored specifically for your brewing process). This approach enhances your fermentation outcomes significantly.
By utilizing a yeast starter, you ensure that your yeast is both healthy and active essential factors in crafting high-quality beer. This method grants you greater control over yeast health and fermentation activity. It is particularly beneficial when dealing with larger batches or higher sugar content worts, which is essential for homebrewers aiming for consistency in brewing.
Take, for example, brewing a strong ale or an imperial stout. Here, direct pitching may lead to challenges in achieving proper fermentation. In such cases, a starter allows you to build the yeast cell count, ensuring a robust fermentation process. This helps prevent unpleasant off-flavors that might emerge from stressed yeast, ultimately leading to a more enjoyable and consistent product. Consider using Fast Pitch to simplify the starter preparation.
What Are the Key Factors to Consider When Choosing a Yeast Starter?
When selecting a yeast starter, it s essential to consider several key factors, such as yeast health, the target gravity of your wort (the liquid extracted from the malted grains used in brewing), and the consistency in brewing you desire in your final product. Using yeast extract can enhance nutrient availability for the yeast.
A robust yeast starter is vital; it significantly influences fermentation activity and flavor development, ensuring that your yeast can effectively ferment the sugar content in the wort. The target gravity is equally important higher gravity worts can put your yeast under stress, potentially leading to off-flavors or even a stalled fermentation if not handled with care. Employing temperature control methods can help maintain optimal fermentation conditions.
The choice of yeast variety cannot be overlooked, as different strains bring unique characteristics and aromas that align beautifully with specific beer styles. For example, Belgian yeasts lend fruity esters, whereas lager yeasts deliver a clean and crisp finish. Understanding gravity temperature relationships is key to optimizing yeast performance.
By grasping these elements, you not only elevate your brewing process but also pave the way for a more consistent and high-quality beer.
How Long Does It Take to Make a Yeast Starter?
The time required to create a yeast starter typically spans from 24 to 48 hours, influenced by factors such as fermentation duration and the initial vitality of the yeast at the outset.
In your initial preparation, it s crucial to establish an optimal environment for the yeast to flourish. This often includes warming the starter flask and ensuring the precise amounts of liquid and malt extract are utilized. Adding oxygen to the starter can further promote yeast activity.
As you transition into the fermentation phase, the yeast will multiply effectively, with active fermentation generally peaking around 12 to 24 hours into the process. Once your starter demonstrates vigorous fermentation characterized by bubbling or a frothy head it s time to pitch the yeast into your main brew. This step is crucial for achieving the original gravity targets in your beer.
Maintaining proper timing throughout this entire procedure can significantly impact yeast health, which ultimately influences fermentation efficiency and the final flavor and quality of your beer.
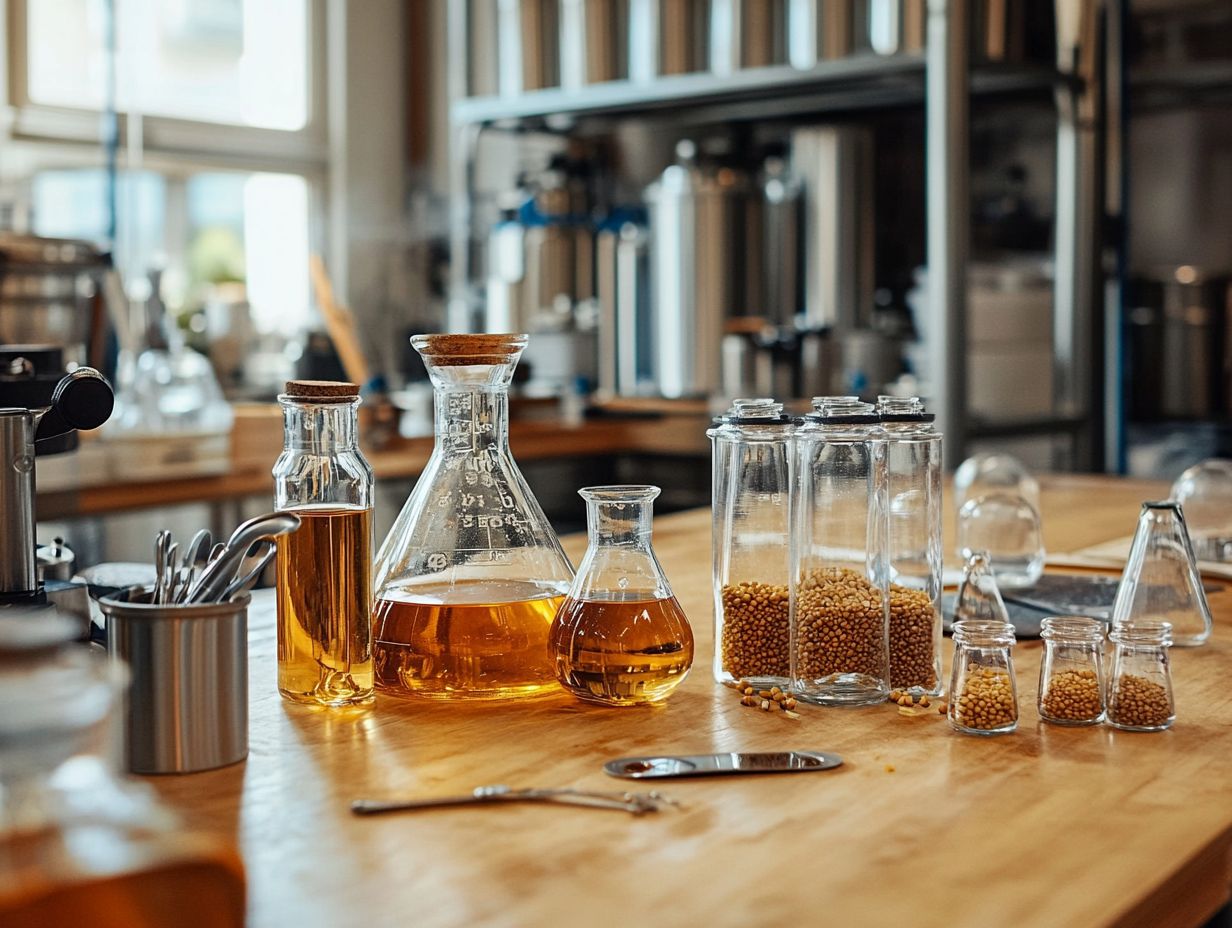
Can You Make a Yeast Starter without Special Equipment?
While you can certainly whip up a yeast starter without any fancy gear, having the right brewing tools can elevate your fermentation game and enhance the overall effectiveness of the process. Investing in a homebrew scale can help measure ingredients accurately.
You can easily improvise with everyday items like clean glass jars or bottles to hold your starter mixture, and kitchen scales to measure your ingredients with precision. By utilizing these household essentials, you create a conducive environment for your chosen yeast, promoting healthy growth and activity.
However, it’s essential to understand that skipping specialized brewing tools, such as beakers or stir plates, might result in inadequate aeration or contamination, which can ultimately compromise the quality and efficiency of your yeast.
Investing in proper equipment ensures you maintain optimal conditions for yeast propagation, leading to robust fermentation and a superior finished beer. A Fast Pitch kit can simplify the preparation process.
How Can You Tell If Your Yeast Starter Is Ready to Use?
To determine if your yeast starter is ready for action, keep an eye out for signs of fermentation activity, like bubbling and a frothy head. These indicators suggest that you have a robust yeast population eager to join your brewing endeavor. Regularly monitoring yeast activity will help you recognize the optimal pitching time.
A distinct, pleasant aroma is another good sign of a thriving yeast culture, while any off-putting smells should raise a red flag, hinting at potential problems. Ensuring proper sanitation throughout the process is key.
Timing is crucial when it comes to pitching your yeast. Waiting too long can lead to diminished viability, so aim to pitch your starter at its peak activity typically within 24 to 48 hours after mixing. Look for an actively releasing airlock and a cloudy liquid, which means your yeast is not just lively but also ready to deliver optimal fermentation. This attention to detail will pave the way for a superior brew.
Frequently Asked Questions
What is a yeast starter and why is it important in the brewing process?
A yeast starter is a small batch of wort (unfermented beer) that is used to grow a larger population of yeast cells before adding them to the main batch of beer. It is important because it ensures a healthy and vigorous fermentation process, leading to better tasting beer. Homebrewers often use a yeast starter to improve yeast activity and yeast health, which are crucial for a successful brewing process.
What is the best brewing equipment to use for making a yeast starter?
The best equipment for making a yeast starter includes an Erlenmeyer flask, stir plate, and an airlock. A flask allows for easy swirling and a stir plate helps keep the yeast in suspension, promoting yeast growth. An airlock prevents contamination while still allowing gas to escape. Some homebrewers also use a Fast Pitch kit for convenience.
How do I make a yeast starter?
For those new to the brewing hobby, the yeast starter kit makes the process simple and efficient.
To make a yeast starter, you will need to mix water and malt extract (DME) to create a small mini-batch of wort. Once cooled, you can add the yeast and let it grow for 24-48 hours before adding it to your main batch of beer. For optimal growth, consider adding yeast nutrient and ensuring a proper oxygenation process.
What type of yeast should I use for my starter to ensure proper yeast production?
The type of yeast you use for your starter will depend on the type of beer you are making. Generally, it is recommended to use the same strain of yeast for both the starter and the main batch of beer to maintain brewing consistency. However, some brewers also use a neutral strain of yeast for starters to avoid any potential flavor impact. For lager strains, controlling fermentation temperature is crucial. Using a healthy brewer’s yeast or a viable yeast culture ensures better yeast propagation and optimal fermentation conditions.
What is the ideal size for a yeast starter?
The ideal size for a yeast starter is typically 10% of the total batch size. For a 5-gallon batch of beer, make a 500ml yeast starter.
This can vary depending on the beer’s original gravity and yeast health. Calculate the target number of yeast cells based on gravity, temperature, and yeast vitality to ensure effective fermentation.
Can I reuse yeast from a previous batch for my starter?
Yes, you can reuse yeast from a previous batch for your starter. This method is cost-effective and ensures you are using a reliable strain of yeast.
Be sure to sanitize all equipment before use. Check how healthy the yeast is before adding it to your main batch of beer.