Best Practices for Kegging Your Home Brew
Kegging your homebrew can greatly improve your brewing experience, providing a wealth of benefits that extend far beyond mere convenience.
By opting for kegging, you save time and money while simplifying both storage and transport. It s an efficient method that enhances the enjoyment of your homebrew, especially when using a Cornelius keg or similar types.
Discover the essential equipment you’ll need, delve into the kegging process, and gather valuable tips for maintaining your setup, including keg cleaning and sanitization methods.
Whether you re just starting out or have been brewing for years, mastering the art of kegging is a transformative opportunity you won t want to overlook! From kegging tips to understanding keg components, there’s always something new to learn.
Contents
Key Takeaways:
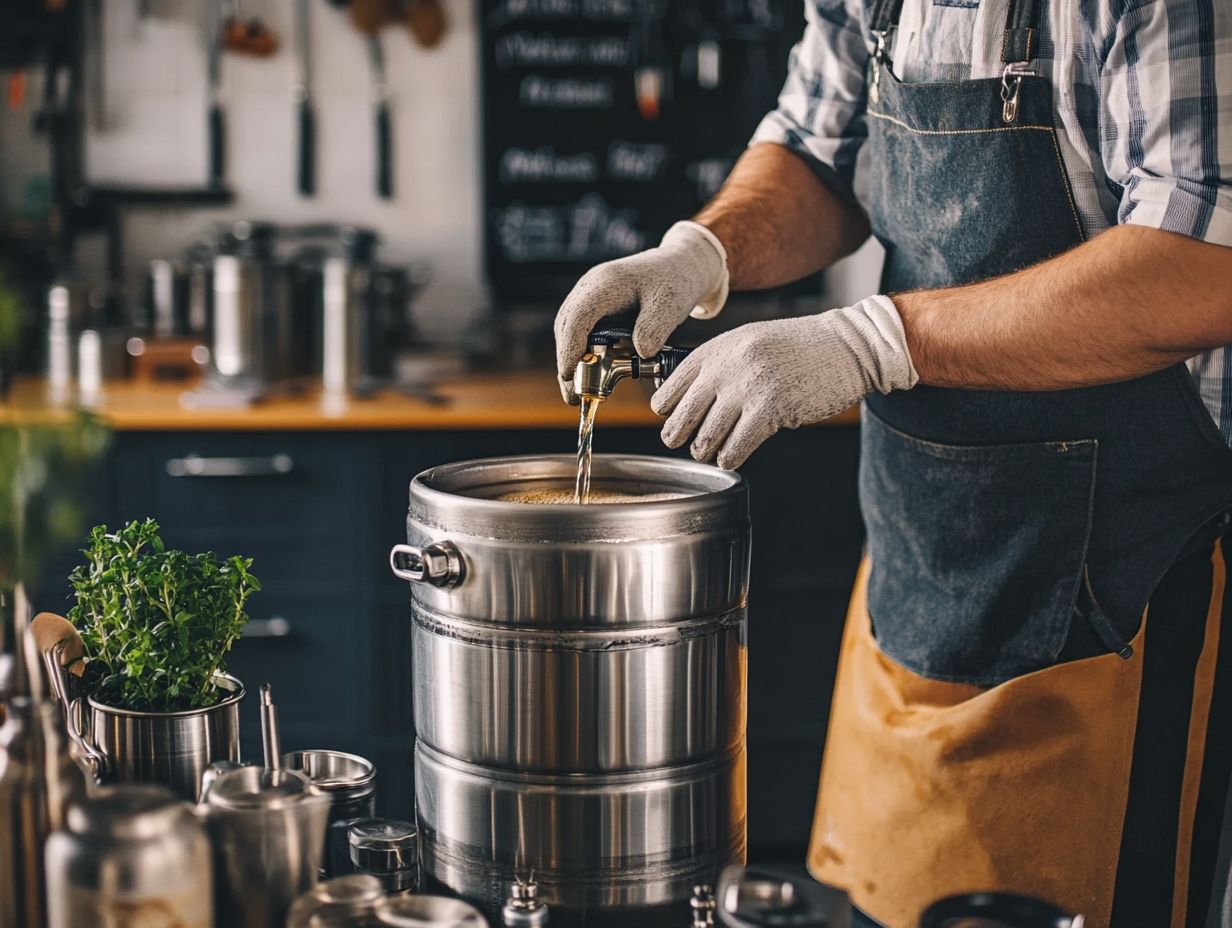
- Kegging your homebrew saves time, money, and makes storage and transportation easier.
- Essential kegging equipment includes a keg, CO2 tank, pressure regulator, gas and liquid lines, and cleaning supplies like PBW and Star San.
- To keg your homebrew, clean and sanitize equipment, transfer beer, carbonate, and dispense. Regular maintenance includes cleaning, proper storage, leak checks, and part replacements.
Why Keg Your Homebrew?
Kegging your homebrew can greatly improve your brewing experience, bringing a wealth of benefits that enhance taste, convenience, and overall enjoyment.
By transitioning from traditional bottles to a kegging system, you make it easier to pour your beer, ensuring each pour maintains optimal carbonation and freshness. This is especially true when using a Cornelius keg with a pressure regulator to manage CO2 levels.
Kegging simplifies how you store and transport your beer, making it perfect for parties, gatherings, or simply savoring at home. With proper keg maintenance, you can also significantly extend the lifespan of your homebrew, allowing you to relish your creations for longer periods without sacrificing quality.
1. Time-saving
Kegging your homebrew is a game-changer, saving you precious time compared to traditional bottling methods. This means you can spend more moments savoring your beer rather than fussing over its storage.
This streamlined approach simplifies the filling process and significantly improves cleaning efficiency. With keg filling, specialized equipment like quick disconnects helps to minimize spills and reduce aeration, both of which can compromise the quality of your beer.
Regarding keg maintenance, including sanitization, the cleaning routines are refreshingly straightforward and far less cumbersome than washing and sanitizing countless bottles. As a result, the entire kegging setup is less time-consuming and much more user-friendly, appealing to both novice and seasoned brewers alike.
By embracing kegging, you ensure that your craft beer remains fresh and flavorful with effortless ease.
2. Cost-effective
Investing in a kegging system can prove to be remarkably cost-effective over time, especially for those who revel in the art of homebrewing and frequently produce substantial batches of beer.
While the initial investment in kegging equipment such as kegs, regulators, and CO2 tanks might appear overwhelming, it is minuscule compared to the accumulating costs of purchasing bottles, caps, and other single-use materials.
As time goes on, these keg accessories not only help you reduce the waste generated by empty bottles but also simplify the homebrewing process by eliminating the tedious cycle of cleaning and bottling. Kegs enhance beer preservation, minimizing spoilage and ensuring that those delightful flavors remain vibrant for longer periods. Consider using food-grade tubing for gas and liquid lines to maintain quality.
Ultimately, making the switch to a kegging setup can lead to significant savings, making it a wise choice for anyone keen on elevating their brewing experience while keeping an eye on their budget.
What Equipment Do You Need for Kegging?
3. Easier to Store and Transport
One of the standout perks of kegging is that it elevates your homebrewing experience, making it much easier to store and transport your creations. You can effortlessly share your craft with friends and family, free from the usual hassle.
Kegs, with their compact design, outshine traditional glass bottles when it comes to space efficiency. This allows you to maximize your storage options like a pro. Since kegs are stackable, they fit snugly in various spaces, which means you can minimize the footprint in your fridge or during transport to social gatherings.
Kegs are durable, adding convenience to your brewing process. Unlike bottles that often fall victim to unfortunate accidents, kegs are built to withstand the rigors of moving. This makes dispensing your beer a straightforward affair. Their sturdiness not only simplifies logistics but also helps maintain the quality of your brew, preserving carbonation and freshness over time.
Kegging your homebrew demands a specific set of equipment to guarantee a successful setup and elevate your beer dispensing experience. It s essential for you, as a homebrewer, to grasp what you truly need.
Start with a reliable Cornelius keg, a type of keg commonly used in homebrewing, engineered for optimal pressure and carbonation. Don t forget a CO2 tank to provide the gas supply, along with a pressure regulator to maintain the right keg pressure. You ll also require various keg components, including gas and liquid lines, quick disconnects, and a quality faucet to ensure seamless dispensing.
With this essential kegging equipment, including a kegging starter kit for beginners, you can keep your beer fresh and delicious, making the entire kegging process both straightforward and enjoyable.
1. Keg
The keg is the heart of any kegging system, and the Cornelius keg stands out as one of the most popular options among homebrewers, thanks to its unique features and impressive durability.
These versatile containers not only provide an efficient way to store and serve your favorite beverages but also come equipped with fittings that simplify the processes of filling, dispensing, and cleaning. You ll find that Cornelius kegs, available in ball lock and pin lock configurations, are often preferred for their stackable design, which maximizes storage space an essential consideration for any brewing setup.
Engineered from materials that can withstand pressure, these kegs promise long-lasting reliability. You ll appreciate how easy maintenance and sanitation are, allowing you to spend less time cleaning and more time savoring freshly poured craft beer or soda. With their user-friendly design and robust construction, Cornelius kegs have solidified their status as a must-have for anyone diving into the world of kegging.
2. CO2 Tank
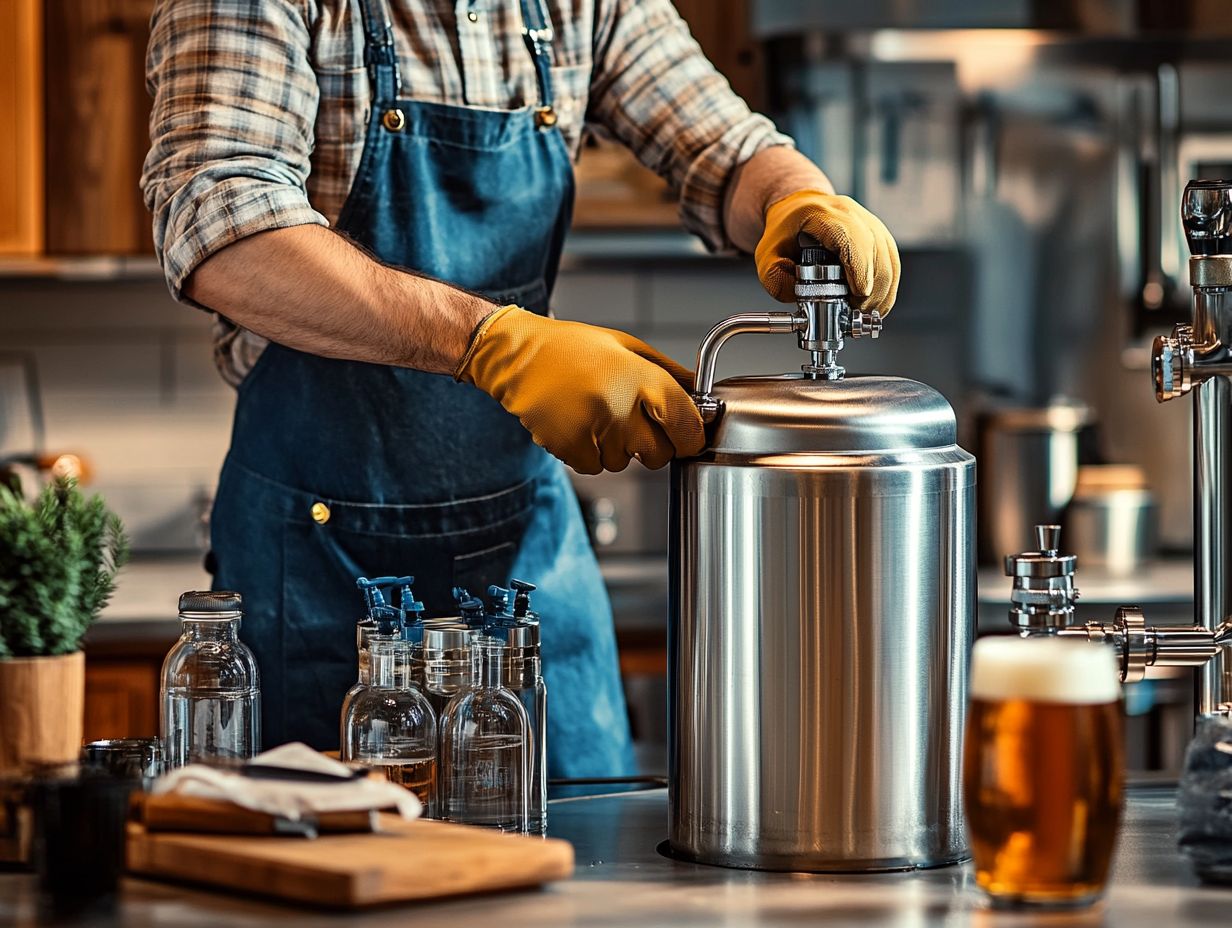
A CO2 tank is an essential element of your kegging system, supplying the vital gas needed for keg carbonation and maintaining the ideal keg pressure.
You ll be thrilled to discover these tanks come in all sizes, making it easy to find your perfect fit! They typically range from compact 5-pound cylinders to more substantial 20-pound options, allowing you to select the right size for your kegging requirements.
The tanks function by releasing carbon dioxide, which dissolves into the beer under pressure, achieving the desired carbonation level that enhances both flavor and mouthfeel.
It’s important to keep an eye on the gas levels in these tanks; too little CO2 can leave your beer flat, while excessive pressure might lead to over-carbonation, jeopardizing the taste. Effectively managing keg pressure not only guarantees optimal beer quality but also extends the life of the keg, ensuring that you make the most out of your entire kegging system. Regularly check your pressure relief valve to maintain ideal conditions.
3. Regulator
A pressure regulator is a crucial component of kegging equipment that governs the flow of CO2 from the tank to the keg, ensuring that you achieve consistent keg pressure for the optimal serving of your beer. It’s an essential part of any keg assembly, helping to maintain the desired carbonation level.
Proper regulation of CO2 is vital in attaining the desired carbonation level, which can differ depending on the style of beer you re serving. Various brew styles, such as ales and lagers, necessitate distinct pressure settings. For example, lagers might require a higher pressure to maintain their refreshing crispness. Ales can typically be served at a lower PSI (pounds per square inch).
Think of the regulator as the gatekeeper, enabling you to fine-tune keg pressure to meet specific needs. This level of precision elevates the drinking experience by preserving the intended mouthfeel and flavor profile of each brew. Furthermore, it minimizes waste and over-carbonation issues, safeguarding the integrity of the beer throughout its serving life.
4. Gas and Liquid Lines
Gas and liquid lines are essential components of your kegging system, seamlessly connecting various parts to ensure smooth flow and dispensing of your homebrew. Using food-grade tubing for these lines guarantees the best quality and safety.
Understanding the differences between these lines is crucial. Gas lines are typically crafted from materials like PVC or polyethylene, designed to withstand higher pressures, while liquid lines often utilize food-grade rubber or silicone, preserving the quality of your brew.
Quick disconnects significantly enhance the convenience of your setup, allowing you to easily assemble and disassemble components without the hassle of specialized tools. This not only simplifies maintenance but also ensures that both gases and liquids are managed efficiently, minimizing downtime and maximizing your enjoyment of the final product. Consider kegging upgrades like improved fittings and O-rings for better performance.
5. Faucet and Shank
The faucet and shank are pivotal components in keg dispensing, enabling you to pour with precision while ensuring your beer is served at the perfect pressure and temperature. A picnic tap can also be a handy addition for outdoor events and gatherings.
Understanding the different types of faucets available is crucial, as they come in various styles such as standard, flow control, or even creamer faucets, each designed to meet distinct serving needs. Each mechanism you choose significantly influences how the beer is dispensed, impacting both the pour quality and your overall beer dispensing experience.
When these keg components are paired with compatible shanks, they create a seamless transition from keg to glass. By selecting the right keg accessories, such as couplers, pressure regulators, and quick disconnects, you further optimize the dispensing process. This not only enhances flavor profiles but also provides an exquisite serving experience for any homebrew enthusiast.
6. Cleaning and Sanitizing Supplies
Equip yourself with top-notch cleaning and sanitizing supplies for a sparkling clean keg and the best beer experience! It’s essential to have proper cleaning and sanitizing supplies such as PBW and Star San.
Regular keg cleaning and sanitization should never be overlooked; it is vital in preventing contamination that can spoil the flavor of your meticulously crafted beer. When neglected, residues from previous batches can alter the taste profile, resulting in off-flavors that detract from your overall homebrewing experience.
Utilizing effective cleaning solutions like PBW (Powdered Brewery Wash) or other specialized keg cleaning solutions ensures that all surfaces are thoroughly free from remnants and organic matter. Following this up with a reliable sanitizer, such as Star San, adds a vital layer of defense against microbial growth, ensuring effective keg sanitization. This way, you can savor the pure essence of your beer with confidence, unburdened by the fear of spoilage.
How to Keg Your Home Brew
Kick off your brewing adventure by giving your keg a thorough clean! Kegging your homebrew is an intricate process that transforms your beer into a masterpiece, ensuring it is properly transferred, carbonated, and served to deliver a truly rewarding brewing experience.
Start by meticulously cleaning and sanitizing your keg. This step is vital and can’t be skipped, as it eliminates any potential contaminants. Next, transfer your beer into the keg, taking care to fill it while maintaining the perfect headspace to facilitate proper keg carbonation. After that, it’s time to carbonate your brew using CO2, adjusting the pressure to achieve your desired carbonation level.
Finally, as you pour your beer using a picnic tap or other dispensing method, savor the moment each sip should be a reflection of the hard work and passion you ve poured into your brewing journey.
1. Clean and Sanitize Your Keg and Equipment
The first and most crucial step in kegging your homebrew is to ensure that your keg and equipment are clean and sanitized. This is vital to keeping your beer free from contamination.
Utilizing a powerful cleaning solution like PBW (Powdered Brewery Wash) will provide a thorough cleanse. This solution effectively strips away residues and organic materials from your keg and accessories. Once you ve tackled the initial cleaning, rinsing thoroughly is essential to remove any lingering traces of the cleaner.
After everything is dry, you ll want to move on to sanitizing your keg with a no-rinse sanitizer such as Star San. This product is straightforward to use and highly effective, creating a sterile environment essential for maintaining the integrity of your brew.
Remember, consistent hygiene throughout the brewing process is paramount, as even the tiniest contaminants can significantly alter the flavor profile and quality of your beer.
2. Transfer Your Beer into the Keg
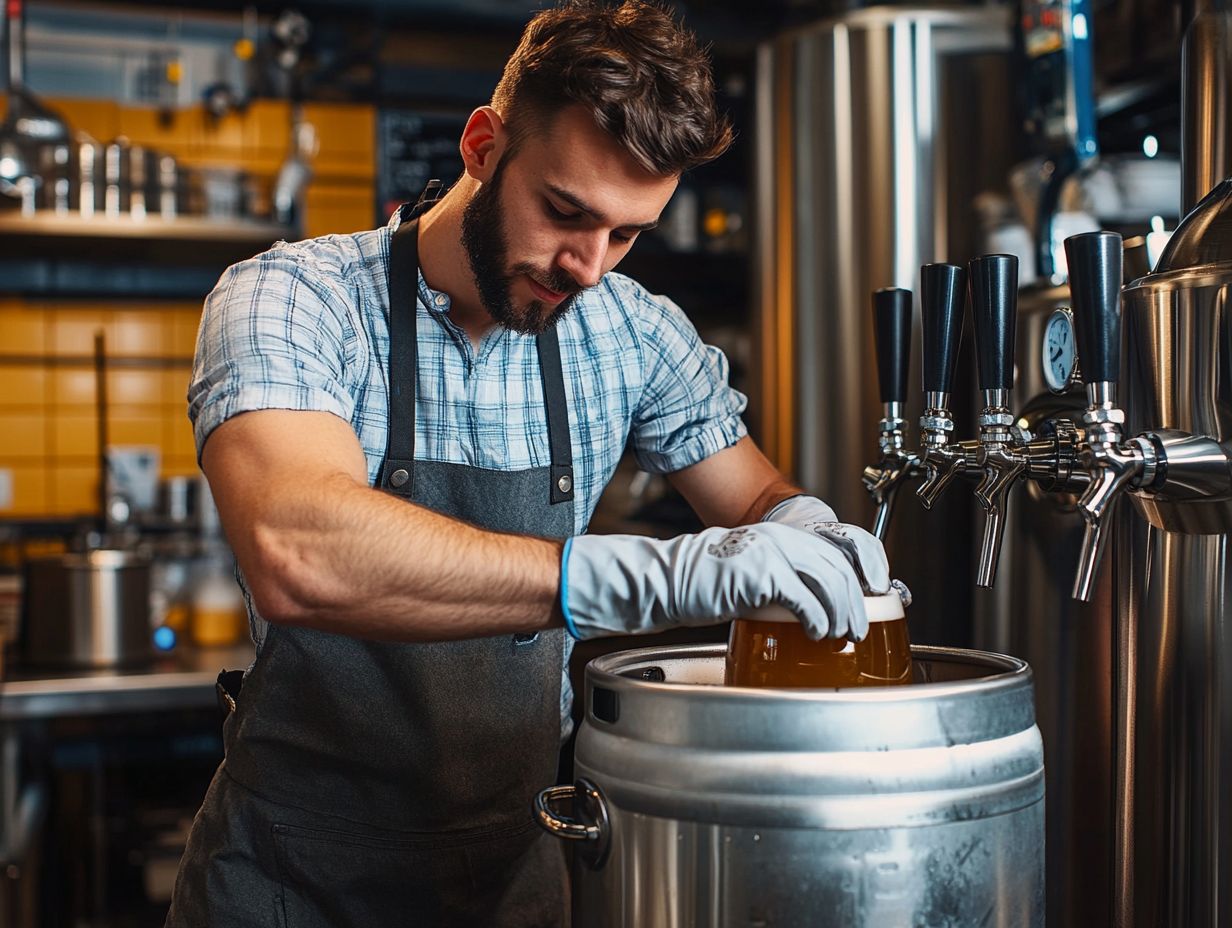
Once your keg and equipment are clean, it s time to transfer your beer into the keg a process that demands careful handling to avoid oxidation. This step is crucial for preserving the freshness and integrity of your brew.
Excess oxygen can introduce off-flavors and spoilage. To effectively minimize oxygen exposure during kegging, consider using a closed transfer system. This system allows you to fill the keg without exposing the beer to air. Employing techniques such as purging the keg with CO2 before filling can further mitigate the risk.
Monitoring keg volume is just as important during the kegging process. Utilizing sight gauges or weight measurements ensures that each keg is filled accurately, allowing for consistency in serving and efficient inventory management.
3. Carbonate Your Beer
Carbonating your beer is a crucial step in the kegging process, as it significantly influences the flavor and mouthfeel of your homebrew. Achieving that ideal level of carbonation can elevate an ordinary brew into a delightful experience, enhancing both its aroma and your overall enjoyment.
You have two primary methods at your disposal in the kegging world: force carbonation and natural carbonation. Force carbonation involves using CO2 tanks to inject carbon dioxide into the keg, granting you swift and precise control over carbonation levels. On the other hand, natural carbonation harnesses residual sugars and yeast during fermentation to create carbonation organically.
Whichever method you choose, setting the keg pressure correctly is vital to prevent under- or over-carbonation. Regular monitoring will ensure that each pour delivers a consistent and enjoyable product, making every sip a testament to your brewing prowess.
In conclusion, kegging is an essential process that can greatly influence your home brewing experience. With careful attention to cleaning, transferring, and carbonating your brew, you’ll create a product that reflects your hard work and dedication. So grab your equipment and give kegging a try!
4. Dispense Your Beer
Once your beer is carbonated to perfection, the final step is to dispense it using a faucet, showcasing your brewing efforts with every pour.
To achieve the ideal pour, set the faucet angle to around 45 degrees. This angle allows for optimal flow and minimizes excessive foam, creating a delightful pour. A well-maintained faucet ensures a smooth dispense while promoting head retention, enhancing the beer’s aroma and flavor.
Cleaning both the faucet and the beer lines using food-grade tubing is paramount. Neglecting this maintenance can lead to off-flavors and a decline in freshness. By focusing on these techniques, your homebrew will be a hit, just as you envisioned, delivering the perfect balance of taste and presentation with every glass served.
Tips for Maintaining Your Kegging Equipment
Maintaining your kegging equipment, including regular checks of rubber seals that prevent leaks and other keg parts, is crucial for ensuring longevity and optimal performance. Regular keg maintenance involves simple steps that every discerning homebrewer should embrace.
Clean and sanitize your keg components after each use to prevent off-flavors and preserve the integrity of your beer. This ensures a high-quality kegging experience. Inspect your keg parts regularly and make timely upgrades to enhance your kegging system’s efficiency. This enables you to serve your homebrew with the finest flavor imaginable, maximizing the benefits of kegging.
1. Clean and Sanitize Regularly
Regular cleaning and sanitization of your kegging equipment are essential for preventing contamination and ensuring that every batch of your homebrew matches the quality of the last.
Establish a meticulous cleaning schedule to enhance the quality of your final product and extend the lifespan of your equipment. Aim to clean your kegs and lines immediately after use, utilizing effective cleaning solutions like PBW (Powdered Brewery Wash) to tackle stubborn residues and prevent contamination.
After cleaning, rinse thoroughly and soak in a sanitizer such as Star San, known for its quick action and no-rinse properties, ensuring thorough keg sanitization. Maintaining strict hygiene throughout the brewing process minimizes the risk of off-flavors and spoilage, ultimately leading to a more enjoyable kegging experience.
2. Store in a Cool, Dry Place
Proper storage of your kegs is essential in preserving the quality and lifespan of your homebrew, so it’s important to select a cool, dry location for keg storage.
Fluctuations in temperature and humidity can significantly impact the durability of the keg and the integrity of the beer within. Ideally, maintain kegs at a stable temperature between 35-50 F, as extreme heat can lead to spoilage and a noticeable loss of flavor.
High humidity levels can also promote mold growth, compromising the quality of your brew and reducing keg durability. To achieve optimal storage conditions, consider investing in a temperature-controlled fridge or a dedicated keg cooler.
Regularly inspect your kegs for any signs of leakage or damage. Maintaining their integrity is key to preserving the taste and freshness of your homebrew over time.
3. Check for Leaks
Regularly checking for leaks in your kegging system is essential. Even the tiniest leak can wreak havoc on keg pressure and compromise the quality of your beer.
Staying vigilant in monitoring all keg components is key to maintaining optimal brewing conditions. By inspecting connections such as the coupler, gas lines, liquid lines, and discharge lines you can ensure that tight seals are intact and prevent any unwanted air from sneaking into the system.
A highly effective method for identifying leaks is to use a soap solution. This handy trick will show you any escaping gas through bubbling at the connection points, helping maintain proper keg pressure. Watch CO2 levels and listen for any hissing sounds; these could be clear indicators of potential leaks.
By promptly addressing any issues you discover during these checks, you’ll keep your kegging equipment working well and ensure that each pour meets your high standards of satisfaction. This proactive approach will also help maintain the longevity and reliability of your homebrew setup.
4. Replace Parts as Needed
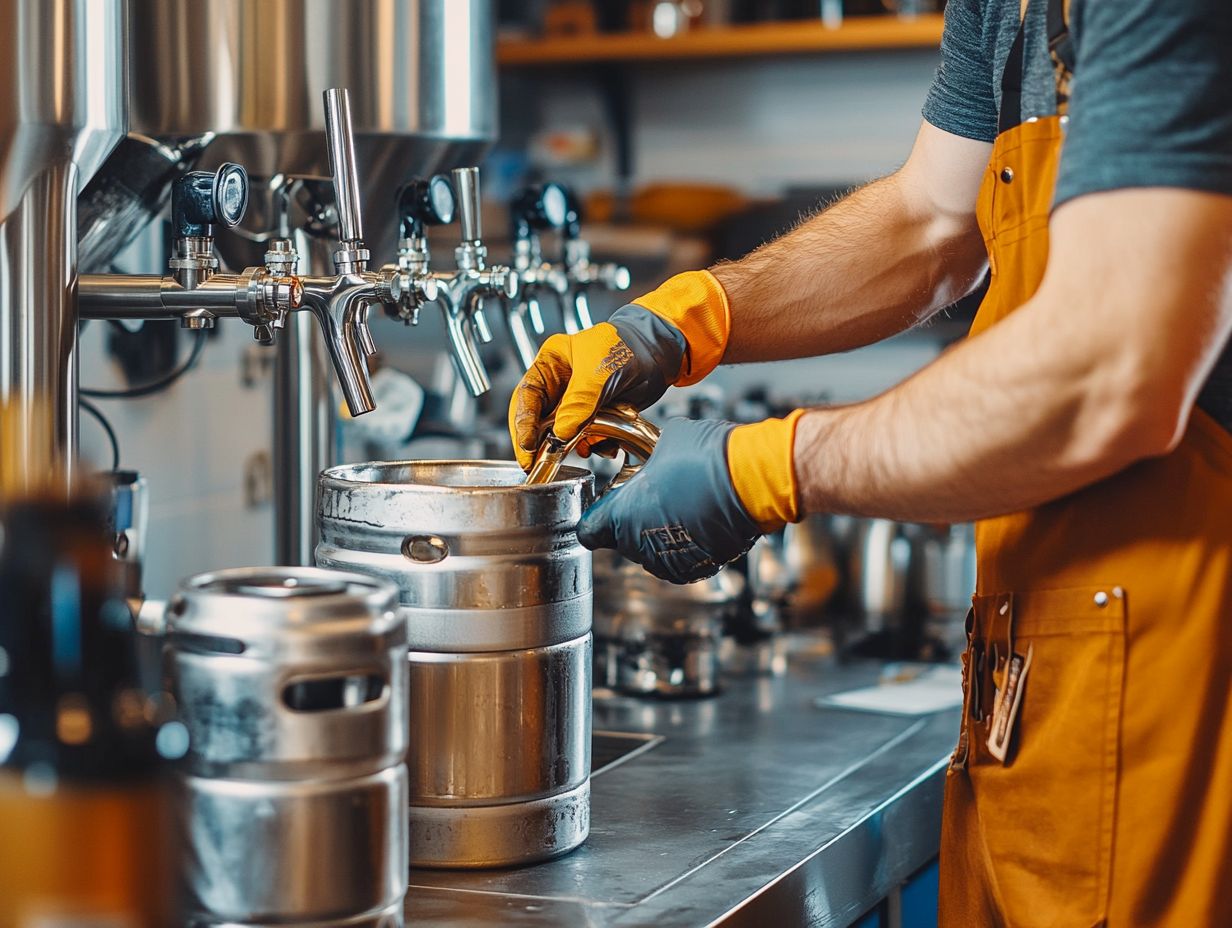
Replacing worn or outdated keg parts is a vital aspect of keg maintenance. This keeps your kegging equipment performing well.
It’s all too easy to overlook the signs indicating that certain parts may need an upgrade persistent leaks, difficulty in pouring, or inconsistent pressure levels are all red flags worth noting. Components like O-rings, valves, and seals naturally wear out over time, which can lead to unwanted air exposure and spoilage of your carefully crafted beverage. Regular checks of your pressure relief valve and quick disconnects can also prevent issues before they start.
High-quality kegging equipment boosts both longevity and reliability. It also improves the performance of your brews, delivering fresher flavors and better carbonation retention. By staying proactive with replacements, you can prevent costly downtimes and sustain an optimal brewing operation. Consider upgrading to superior keg components like food-grade tubing and a reliable pressure regulator; they can make a significant difference.
Frequently Asked Questions
-
What are the benefits of kegging my home brew?
Kegging your home brew gives you amazing control over carbonation! It allows for better carbonation control, faster carbonation time, and easier transportation compared to bottling.
-
What equipment do I need for kegging my home brew?
You will need a keg, CO2 tank, gas and beer lines, a regulator, and a kegging system (such as a kegerator) for storing and serving your home brew. Consider using a keg starter kit that often includes ball lock or pin lock options, as well as necessary kegging supplies like keg accessories and quick disconnects.
-
How do I properly clean and sanitize my keg?
To ensure your home brew stays free of contamination and off-flavors, it is important to thoroughly clean and sanitize your keg before use. This includes disassembling all parts and soaking them in a cleaning solution (such as PBW), followed by a sanitizing solution (like Star San). Effective keg cleaning and keg sanitization are crucial steps in the kegging process.
-
What pressure should I use to carbonate my home brew?
The recommended pressure for carbonating your home brew varies depending on the style and your personal preference. It is best to start with a lower pressure (around 5-10 psi) and gradually increase until you achieve the desired level of carbonation. Proper keg carbonation is essential to achieving the perfect balance of bubbles and flavor in your homebrew.
-
How do I troubleshoot common issues with kegging my home brew?
If your home brew is not carbonating properly, check for leaks in your system, make sure the CO2 tank is not empty, and check the temperature of your keg. If your home brew tastes off, it may be due to poor cleaning and sanitizing or an issue with the keg itself. Additionally, ensure your keg setup is correctly assembled and that all keg components, including gas line and liquid line, are functioning properly.
Storing Your Home Brew
How long will my home brew stay fresh in a keg?
Keep your home brew at the right temperature and pressure. It can stay fresh in a keg for several months, but it’s best to drink it within 1-2 months for optimal flavor and quality.
Proper keg storage (keeping it in a cool, dark place) and maintaining the right amount of pressure (to keep it carbonated) are key factors in prolonging the lifespan of your brew. Don t wait too long enjoy your delicious brew while it’s fresh!

