7 Signs Your Beer Isn’t Fermenting
Brewing beer at home can be an immensely rewarding experience, though it does come with its fair share of challenges. One of the most exasperating problems you might encounter is a batch that simply won t ferment.
This article delves into the seven signs that suggest your beer may not be fermenting as it should, from the disappointing lack of bubbling in the airlock to an unchanged aroma. You’ll also discover common mistakes that can stifle fermentation, along with troubleshooting tips designed to help you rescue your brew.
Whether you re a seasoned brewer or just embarking on your brewing adventure, grasping these signs will empower you to navigate your journey toward brewing success.
Contents
- Key Takeaways:
- 1. No Bubbling in the Airlock
- 2. No Change in Specific Gravity
- 3. No Yeast Sediment at the Bottom of the Fermenter
- 4. No Change in Color or Clarity
- 5. Lack of Aroma or Off Smells
- 6. No Increase in Temperature
- 7. No Signs of Carbonation
- What Causes Beer to Not Ferment?
- What Are the Best Practices for Fermenting Beer at Home?
- Is There a Way to Salvage a Batch of Beer That Isn’t Fermenting?
- Frequently Asked Questions
Key Takeaways:
- If there is no bubbling in the airlock, your beer may not be fermenting. This could be due to a faulty seal or incorrect yeast amount.
- No change in specific gravity indicates that the fermentation process isn t happening. This might result from incorrect temperature or insufficient yeast nutrients.
- If there is no yeast sediment at the bottom of the fermenter, the yeast is not actively fermenting. This may be due to old or inactive yeast, or an incorrect yeast strain for your beer style.
1. No Bubbling in the Airlock
When you re homebrewing beer, it’s essential to pay close attention to the bubbling in the airlock; it acts as a crucial indicator of fermentation activity.
If you notice that the bubbling has come to a standstill, you must act quickly to resolve fermentation issues that require your immediate attention. This often happens when the yeast has become dormant or fails to ferment the wort as it should, raising important questions about your brewing process and the health of your fermentation.
Understanding these nuances is vital for any beer enthusiast or educator, particularly those in Kansas City, MO, who are keen on mastering their homebrewing craft.
Monitoring airlock activity not only illuminates the progress of fermentation but also offers valuable insights into the overall health of the process. For example, a lack of bubbling might indicate that the yeast didn t activate, possibly due to temperature fluctuations or inadequate aeration.
Renowned brewing experts like RJRobb2 and Marty Nachel emphasize the necessity of troubleshooting these fermentation challenges. Their expertise can guide you in determining whether the yeast was added correctly or if environmental factors contributed to any sluggishness in fermentation.
By addressing these key elements, you can keep your brewing batches on course and embark on a successful brewing journey.
2. No Change in Specific Gravity
A crucial part of your homebrewing journey is carefully checking specific gravity with a hydrometer. Specific gravity measures the sugar content in the beer; if you notice no change, it might suggest that fermentation is either stalled or not happening at all.
To make the most of your hydrometer, ensure it s calibrated correctly and that you’re measuring at the appropriate temperature. Taking hydrometer readings at various stages allows you to observe how the yeast is transforming sugars into alcohol and carbon dioxide.
Typically, specific gravity measurements start high and decrease as fermentation advances, reflecting the yeast’s active work. If your readings stay constant over several days, it could signal a few potential issues, such as under-pitching your yeast, which may result in insufficient fermentation, or suboptimal fermentation conditions like temperature swings or a lack of oxygen.
Understanding these nuances gives you the power to troubleshoot effectively and guarantee a successful batch of your craft beer.
Conclusion: In summary, recognizing the signs that your beer isn’t fermenting properly can save your batch. By addressing issues like airlock bubbling and specific gravity readings, you can ensure a successful brewing journey.
3. No Yeast Sediment at the Bottom of the Fermenter
In the brewing process, spotting yeast sediment at the bottom of the fermenter is usually a good sign that fermentation has taken place. Conversely, if that sediment is missing, it might mean the yeast didn t quite fulfill its essential role in producing alcohol.
Yeast sediment serves as more than just a visual cue about fermentation activity; it s a vital indicator of the yeast s overall health during the brewing cycle. Understanding the different yeast strains you choose whether they re ale or lager variations can significantly impact your fermentation outcomes.
As a homebrewer, you have a range of dry yeast options at your disposal. Each brings unique properties that influence the flavors and aromas in your final product. The health and activity of these yeast strains play a crucial role in determining the clarity, stability, and taste of your beer. This underscores the importance of careful monitoring throughout the fermentation process.
4. No Change in Color or Clarity
Changes in color and clarity serve as essential visual cues in the fermentation process of beer. So, when you notice a lack of alteration in these aspects, it might indicate that your wurt isn t fermenting correctly or that certain brewing techniques haven t been applied effectively.
The journey from sweet, sugary wort to a crisp, refreshing beverage involves distinct transformations that you should monitor closely. Each style of beer be it a pale ale, stout, or lager displays a spectrum of hues, influenced by your choice of malt and ingredients. For example, darker malts can impart a rich amber or near-black shade, while lighter grains yield bright golden tones.
As yeast actively consumes sugars, significant shifts in opacity can occur, leading to a clearer appearance over time. However, factors such as temperature variations, insufficient oxygen levels, or yeast health can impede these visual changes. This underscores the importance of meticulous brewing practices to create an optimal fermentation environment and achieve that perfect brew.
5. Lack of Aroma or Off Smells
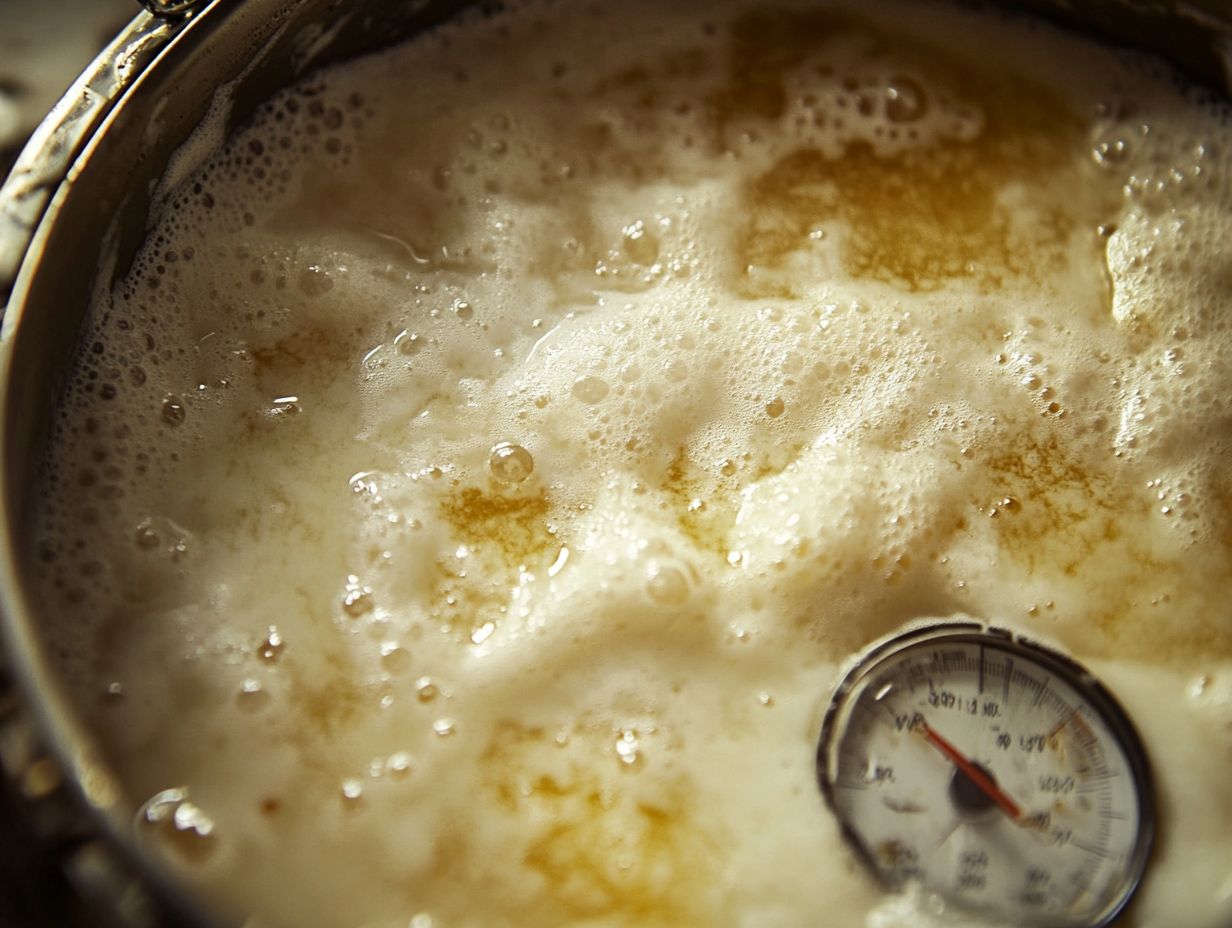
Aromas play an essential role in your enjoyment of beer. If you notice a lack of desirable scents or the presence of off-smells, don’t wait it’s time to tackle those fermentation issues head-on!
Aroma elevates your sensory experience. It also reveals insights into the fermentation process, particularly the activity of yeast.
The various yeast strains you use produce a delightful array of aromas through their natural processes. Any unexpected scents could indicate underlying problems. For example, if you detect aromas akin to rotten eggs or vinegar, that could signal an infection or the use of an unsuitable yeast strain. Common off-smells, such as diacetyl a compound that can give beer a buttery flavor, which is generally undesirable often point to a deficiency in your yeast during fermentation.
To troubleshoot these concerns, ensure you manage your yeast correctly, maintain impeccable sanitation, and monitor fermentation temperatures closely. Each of these factors significantly influences the final aroma.
By understanding and controlling these elements, you can dramatically enhance the aroma profile and overall quality of your beer. Act quickly; addressing fermentation issues can transform your beer from average to extraordinary!
6. No Increase in Temperature
Temperature is important in the fermentation process of beer. When you don’t see a temperature increase, it could mean fermentation is not going well. This can lead to off-flavors or incomplete fermentation that no one wants in their brew.
Understanding the optimal temperature ranges for different yeast strains is essential for crafting the desired flavor profile and achieving the right carbonation levels in your final product. Typically, most ale yeasts thrive at temperatures between 65 F and 75 F, while lager yeasts prefer cooler conditions, around 45 F to 55 F. By maintaining these temperature ranges consistently, you enable the yeast to efficiently convert sugars into alcohol and carbon dioxide.
Be mindful that temperature fluctuations can stress the yeast, resulting in sluggish or stalled fermentation. This is when those undesirable esters and phenols can make an unwelcome appearance in your beer! To avoid these pitfalls, consider investing in temperature control systems, such as fermentation chambers or temperature-controlled vessels.
It s essential to monitor your brew closely to ensure the yeast remains healthy and active throughout the entire fermentation process.
7. No Signs of Carbonation
The presence of carbonation in your beer is a true indicator of successful fermentation. When you notice a lack of carbonation, it often signals that the fermentation process has stalled or, worse, failed altogether. This absence not only impacts the flavor profile of your brew but also affects its mouthfeel and overall drinking experience, which can be quite disheartening after you ve invested so much time and effort into crafting your beer!
Understanding carbonation is crucial, as it s all about the production of carbon dioxide (CO2) during fermentation a natural byproduct of yeast activity that contributes to the delightful bubbles every beer enthusiast craves. Common culprits behind a lack of carbonation include insufficient fermentation time, low yeast activity, and unfavorable fermentation conditions, all of which can prevent your brew from achieving that sought-after fizzy quality.
To tackle these issues, prioritize yeast health. Using fresh yeast and maintaining optimal temperatures can significantly boost fermentation strength. Reassess your fermentation environment to avoid temperature fluctuations, as this can greatly enhance yeast performance.
If you still find your beer lacking carbonation post-fermentation, a careful addition of priming sugar before bottling can encourage the remaining yeast to generate CO2 once sealed. By properly monitoring and understanding these processes, you ll be well on your way to achieving that refreshing carbonation, leading to a more enjoyable craft beer experience!
What Causes Beer to Not Ferment?
Understanding what causes beer to not ferment is crucial for you as a homebrewer aiming to craft a successful batch. Several factors, such as under-pitching of yeast (using too few yeast cells), insufficient fermentation temperature, and poor-quality wort (the liquid extracted from the mash), can significantly impede the fermentation process.
Each of these elements plays a vital role in whether your yeast can thrive and efficiently convert sugars into alcohol. Under-pitching means you re using too few yeast cells, which can lead to a slow or stalled fermentation due to a lack of biomass to consume all the available sugars.
Moreover, maintaining the ideal fermentation temperature is essential. If the temperature is too low, the yeast can become sluggish; too high, and you risk creating off-flavors or even killing the yeast altogether. The quality of your wort shaped by your choice of ingredients and sanitation practices directly influences the fermentation environment as well.
By addressing these issues ensuring you re pitching the right amount of yeast and maintaining a consistent brewing temperature you can enhance fermentation health and ultimately produce a more enjoyable beer. Experiment with your brewing techniques to achieve better results!
How Can You Tell If Your Beer Is Fermenting Properly?
Determining whether your beer is fermenting properly involves several key indicators. These include regular gravity readings with a hydrometer and observing the activity in your fermentation bucket.
These indicators are crucial not just for confirming that fermentation is taking place but also for measuring your progress toward achieving the desired alcohol content and flavor profile. A consistent drop in gravity readings over several days signals that fermentation is in full swing and that the yeast is actively consuming the sugars present in the wort.
You ll also want to watch for bubbles or a steady flow of CO2 escaping through the airlock; these are strong signs that fermentation is happening. If you notice an absence of such activity, it may indicate a stalled fermentation. Pay attention to changes in smell as well. A pleasant fruity or floral aroma generally signifies healthy yeast activity, whereas any off odors could be a red flag.
To effectively monitor these indicators, it’s wise to take gravity readings at the same time each day. Observe your fermentation vessel for visual cues, such as foam formation and sediment buildup. Keeping these elements in check will ensure your brewing process remains on the right track.
What Are the Common Mistakes That Can Affect Fermentation?
You might be surprised to learn that many homebrewers fall into a few common traps that can seriously impact the fermentation process. Things like under-pitching yeast, ignoring temperature control, or overlooking essential yeast nutrients can make a world of difference.
These oversights can lead to sluggish fermentation, off-flavors, or even complete fermentation failures definitely not the outcome you want! One crucial factor to keep in mind is the health and vitality of the yeast. Using an adequate quantity of active yeast cells, often referred to as proper pitching, is vital for effective fermentation.
Maintaining a stable fermentation temperature is essential, as fluctuations can put stress on the yeast and lead to undesirable byproducts. Don t forget to properly aerate your wort and add the right yeast nutrients to boost your fermentation success.
By addressing these potential pitfalls and ensuring optimal conditions, you can elevate your brewing experience and achieve consistently delicious results.
How Can You Troubleshoot a Stuck Fermentation?
When you encounter a stuck fermentation, act quickly to troubleshoot the situation. Carefully assess factors such as yeast health, fermentation temperature, and nutrient availability to restore that vital fermentation activity. Understanding the specific conditions that may have led to this halt is crucial.
First, it’s wise to test the yeast’s viability. This can be accomplished using a yeast calculator or simply checking for signs of activity, like bubbles in the airlock or a frothy surface. If the yeast appears inactive, consider adding a fresh batch of healthy yeast or making a yeast starter to reignite the fermentation process.
Monitoring and adjusting the fermentation temperature significantly influences yeast behavior; if it s too cool or too warm, you could face sluggish fermentation, which can be frustrating! Ensuring that sufficient nutrients, particularly nitrogen, are available can also help revive those stalled yeast cells.
At this stage, it s not just about addressing the immediate issue; think ahead about strategies to prevent future stuck fermentations. Maintaining proper sanitation and regularly checking the progress of fermentation will go a long way in ensuring smoother brewing experiences.
What Are the Best Practices for Fermenting Beer at Home?
Implementing best practices for fermenting beer at home can greatly enhance your chances of achieving brewing success. Focus on careful temperature control, use high-quality yeast, and maintain sanitation throughout the brewing process.
By adhering to these principles, you ensure that the delicate balance of flavors develops properly, leading to a truly delicious final product. As a novice brewer, it s worth your time to invest in selecting the right equipment; having the proper tools can streamline your brewing operation and help you avoid common pitfalls.
Understanding yeast behavior, including its food requirements and fermentation dynamics, gives you the power to manage the brewing cycle more effectively. This level of attention and consistency at every step from mashing to putting beer in bottles will undoubtedly help you craft exceptional homebrewed beer that impresses family and friends alike.
Is There a Way to Salvage a Batch of Beer That Isn’t Fermenting?
Ready to become a homebrewing champion? Let’s dive into how to salvage your batch! When you find yourself with a batch of beer that isn’t fermenting as expected, there are several strategies you can employ to potentially salvage it.
Consider re-pitching fresh yeast, adjusting the fermentation conditions, or adding yeast nutrients to stimulate activity.
Each of these methods can be customized to address the specific issues plaguing the fermentation process. If you realize that insufficient yeast was initially pitched, re-pitching with a robust yeast strain can breathe new life into the batch by ensuring there are enough cells to complete the fermentation journey.
On the flip side, adjusting fermentation conditions like temperature or oxygen levels can create a more inviting environment for the yeast, encouraging it to get back to work. Adding yeast nutrients can also be beneficial, as it supplies essential minerals and vitamins that may be in short supply, thereby enhancing yeast vitality and performance.
Before diving into these solutions, it s essential to assess the viability of your batch. Check the specific gravity, evaluate the smell and taste, and look for any signs of fermentation. This initial evaluation will guide your decision-making process and significantly improve the chances of a successful salvage.
Frequently Asked Questions
Here are some common signs that your beer might not be fermenting as it should:
- No bubbles in the airlock: One of the most obvious signs that your beer isn’t fermenting is the lack of bubbles in the airlock. This indicates that there is no CO2 being produced, which is a byproduct of fermentation.
- No change in gravity reading: If you take a gravity reading before and after fermentation and there is no change, it’s a clear sign that the yeast isn’t doing its job.
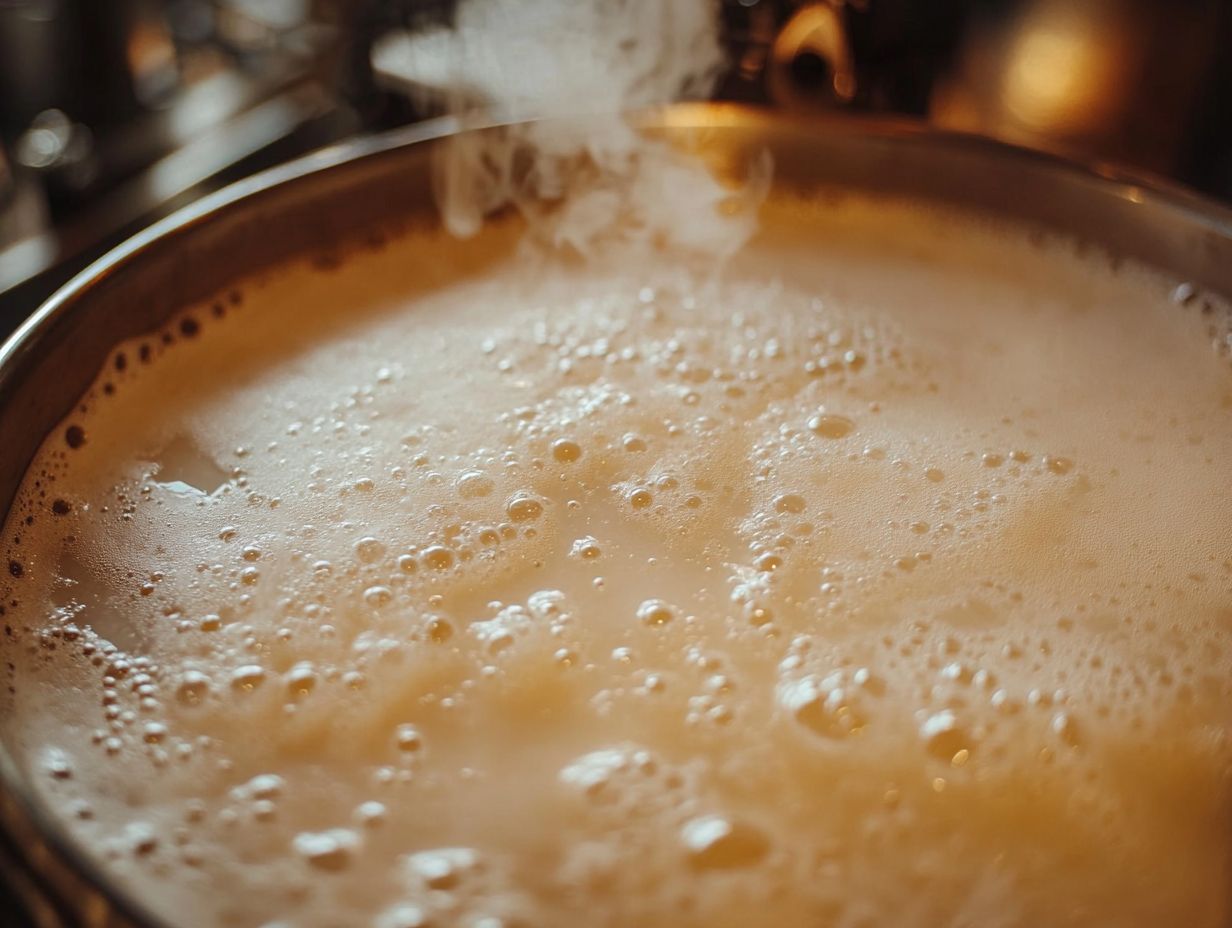
- No krausen formation: Krausen is the foamy layer that forms on top of fermenting beer. If there is no krausen, it means the yeast isn’t actively fermenting.
- No yeast activity: When yeast is fermenting, it will typically produce a lot of activity in the form of foam, bubbles, and movement in the fermenter. If there is no activity, it’s a sign that something is wrong.
- Off-putting smells: Certain off-putting smells like sulfur or rotten eggs can indicate that the yeast isn’t properly fermenting the beer. This can be a common problem in homebrewing.
- Unusual taste: Along with strange smells, an unusual taste in your beer can also be a sign that fermentation isn’t occurring as it should. Under-pitching or using incorrect yeast strains can contribute to this.
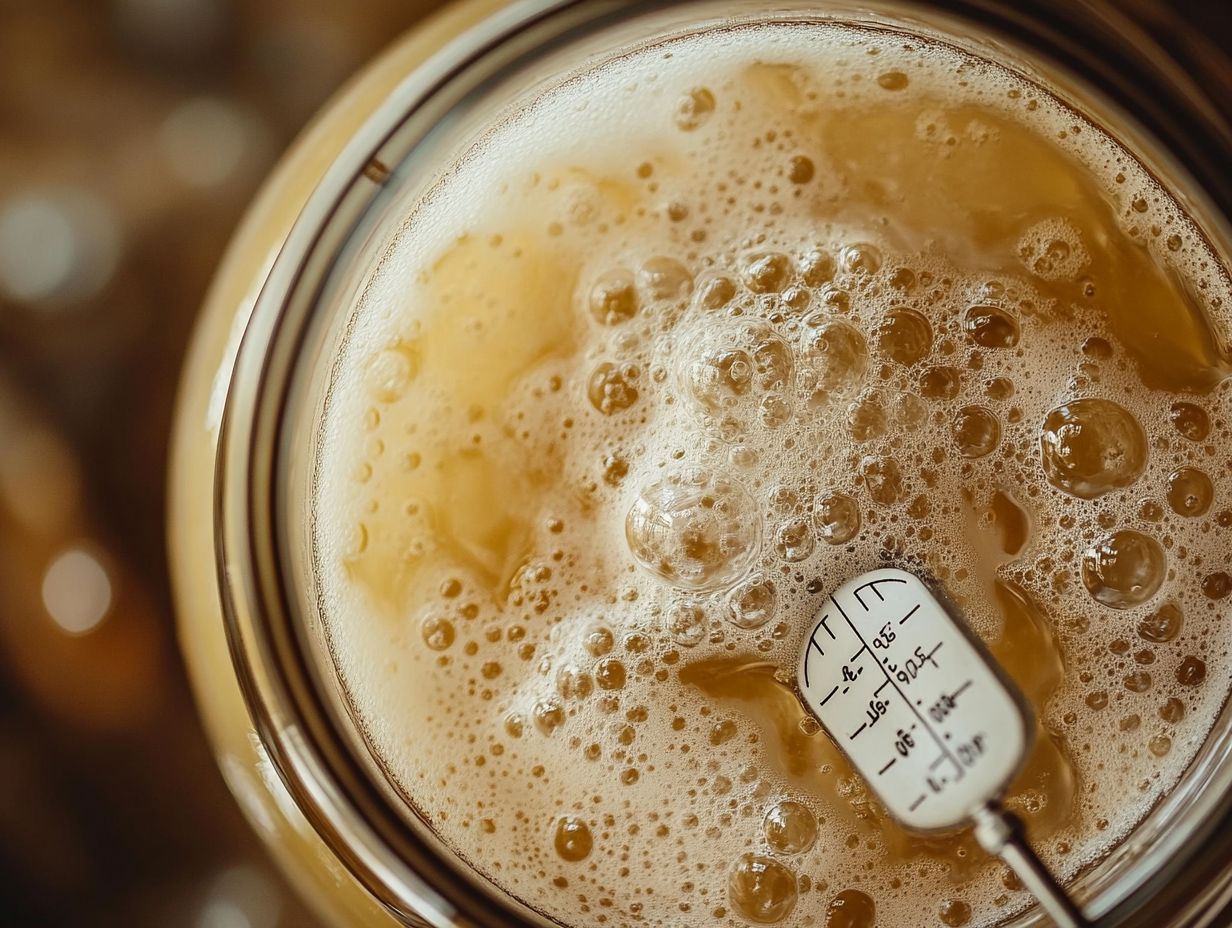
What can cause my beer to not ferment properly?
1. Inactive or old yeast: If the yeast you are using is old or inactive, it may not have enough viable cells to properly ferment the beer. Using dry yeast can help avoid this issue.
2. Temperature fluctuations: Yeast is sensitive to temperature. If the temperature fluctuates too much, such as between 64 degrees Fahrenheit and 72 degrees Fahrenheit, it can slow down or completely stop fermentation. Maintaining a stable temperature is crucial for fermentation health.
3. Incorrect yeast strain: Different yeast strains like Safale S-05 have various optimal fermentation temperatures and characteristics. Using the wrong strain for your beer can result in a stalled fermentation.
4. Contamination: If your equipment or ingredients are contaminated with bacteria or wild yeast, it can interfere with the fermentation process. Ensuring that your fermentation bucket, airlock, and other brewing equipment are sanitized is essential.
How long should it take for my beer to start fermenting?
The onset of fermentation can vary depending on factors such as yeast strain, temperature, and gravity of the beer. Generally, you should start to see signs of fermentation within 24-48 hours after pitching the yeast.
Using a hydrometer, which measures the specific gravity of your beer, can help you monitor this process.
What should I do if my beer isn’t fermenting?
If you suspect that your beer isn’t fermenting, the first step is to take a gravity reading to confirm. If there is no change in gravity, try gently stirring the fermenter to wake up the yeast and get that fermentation party started! Adding yeast nutrient might also help kickstart the fermentation. If that doesn’t work, you may need to repitch new yeast.
Can I still save my beer if it isn’t fermenting?
In some cases, it may be possible to save a stalled fermentation by troubleshooting the issue and taking corrective measures. However, if the beer has been contaminated, it may be best to discard it and start over to avoid off-flavors or potential health risks. Consulting a beer educator or referring to resources like “Homebrewing For Dummies” by Marty Nachel and Steve Ettlinger can provide additional guidance.

