Troubleshooting Stuck Fermentation Issues
Don t let stuck fermentation derail your brewing journey! Discover how to identify and solve these issues quickly.
Fermentation is a delicate dance of yeast, nutrients, and environmental conditions, yet sometimes it can stumble, leading to stuck fermentation issues that can complicate the brewing process.
This frustrating setback can halt your brewing journey, leaving you questioning where it all went wrong and requiring you to consider re-pitching new yeast or other fermentation revival techniques.
You ll explore the common causes of this issue, learn how to identify the problem, and uncover effective solutions to get your brew back on track. You ll also discover tips to prevent these challenges in the future, ensuring that your brewing experience remains smooth and enjoyable.
Contents
- Key Takeaways:
- What Causes Stuck Fermentation?
- How to Fix Stuck Fermentation?
- Preventing Stuck Fermentation
- Frequently Asked Questions
- 1. What are stuck fermentation issues?
- 2. What causes stuck fermentation issues?
- 3. How can I prevent stuck fermentation issues?
- 4. How can I troubleshoot a stuck fermentation issue?
- 5. How long should I wait before troubleshooting a stuck fermentation issue?
- 6. What can I do if my troubleshooting attempts do not work?
Key Takeaways:
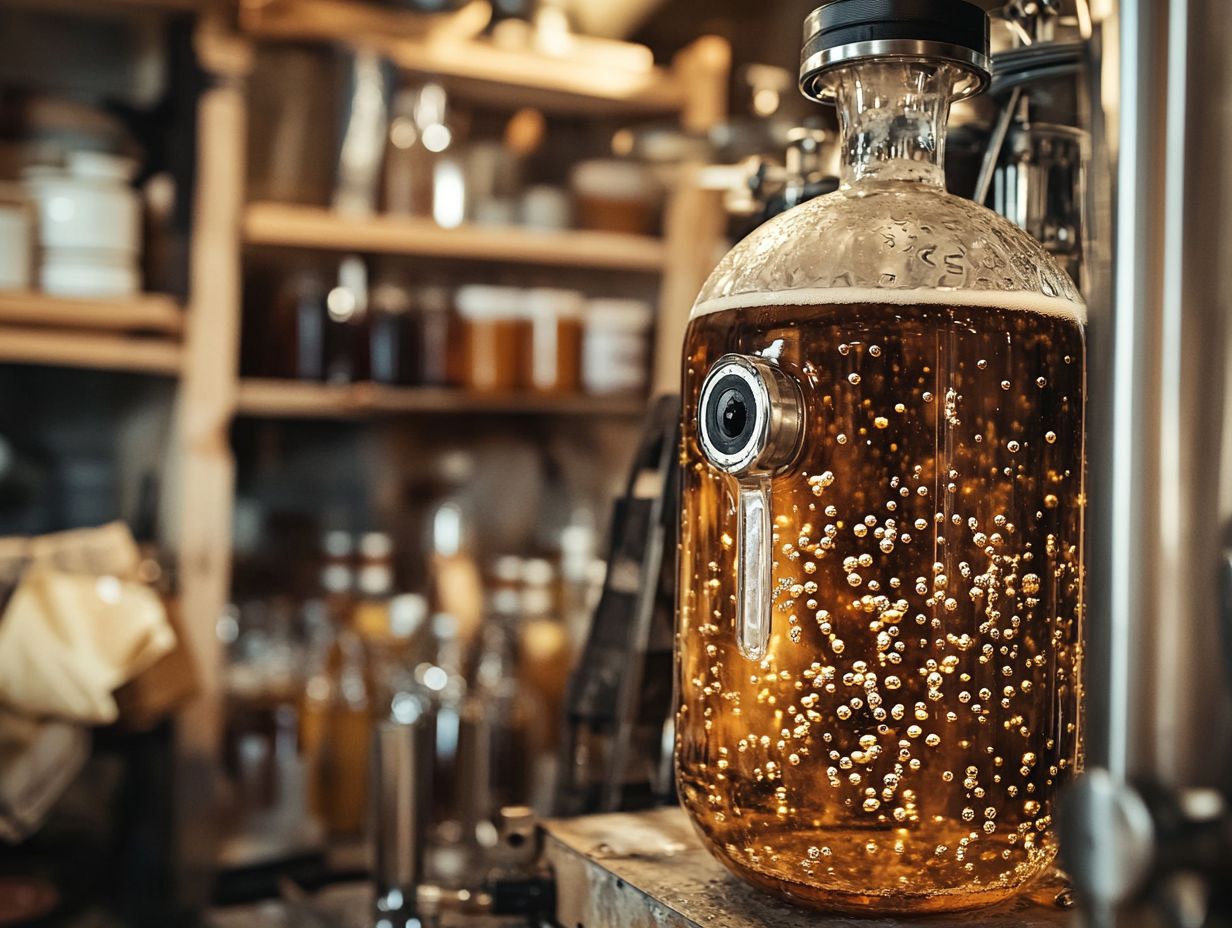
- Ensure proper sanitation and use quality yeast to prevent stuck fermentation.
- Identify stuck fermentation by a lack of bubbling, high specific gravity (the measurement that helps determine how much sugar is in the liquid), and unpleasant odor.
- Fix stuck fermentation by adding nutrients, increasing temperature, diluting with water, repitching yeast, and adding enzymes.
What Causes Stuck Fermentation?
Stuck fermentation is a challenge that brewers often encounter, capable of halting the production of both alcohol and the intricate flavors that make beer or cider truly remarkable. This problem can be particularly troubling during the critical fermentation stage when optimal temperature and yeast health are paramount.
This issue can stem from various factors, such as insufficient yeast nutrients (the essential vitamins and minerals that yeast need to grow), low fermentation temperatures, elevated alcohol levels, the unwelcome presence of unwanted microbes like Lactobacillus or Brettanomyces, or compromised yeast health.
By grasping these underlying causes, you can take charge of fermentation management and troubleshoot issues effectively, paving the way for a successful and rewarding beer brewing process.
1. Insufficient Nutrients
Insufficient nutrients play a pivotal role in causing fermentation to become stuck, as yeast requires adequate food sources to thrive and perform at its best during the fermentation process. A deficiency in essential yeast nutrients like nitrogen, vitamins, and minerals can seriously hinder the growth and activity of your brewing yeast, ultimately leading to fermentation problems.
These nutrient deficiencies may arise from various factors, such as inadequate preparation of the fermentation medium, low-quality raw materials, or improper handling of ingredients. When fermentation becomes sluggish or stalls entirely, the repercussions go beyond mere delays; they can significantly impact the flavor profile and overall quality of your final product, making it essential to monitor yeast vitality closely.
Adding sugar without ensuring a proper nutrient balance can further complicate matters, preventing your yeast from efficiently converting glucose into alcohol and carbon dioxide. This is particularly true for complex sugars, which require a healthy and active yeast population for effective fermentation. For you as a brewer, providing a well-rounded nutrient supply is essential for maintaining healthy yeast populations and promoting robust fermentation activity.
2. Low Temperature
Maintaining the correct fermentation temperature is essential; if temperatures dip too low, you risk significantly slowing down yeast metabolism, which can lead to a host of fermentation problems. Fluctuations in fermenting temperature cause significant issues.
When fermentation takes place at suboptimal temperatures, yeast activity wanes, extending the fermentation time and potentially producing off-flavors or leaving the fermentation incomplete. This diminished yeast activity can also hinder the production of crucial flavor compounds and aromas, ultimately affecting the quality of your final product. Effective fermentation temperature control is vital to avoid these issues.
Temperature fluctuations can stress the yeast, resulting in inconsistent performance and unwanted by-products. Therefore, mastering the art of controlling and stabilizing fermentation temperatures is vital for achieving optimal yeast performance and ensuring a successful fermentation process. This underscores the importance of meticulously monitoring conditions throughout the process using tools like a hydrometer to capture accurate gravity readings.
Ready to brew without worries? Implement these tips today and enjoy the brewing process like never before!
3. High Alcohol Content
High alcohol content can impede how well the yeast works, leading to fermentation challenges where the yeast becomes stressed and struggles to fully ferment the sugars present in the wort. This is particularly true when dealing with high alcohol levels in beer wort.
This stress can compromise the health of the yeast, resulting in inadequate flocculation the process where yeast clumps together and settles. When yeast doesn’t flocculate properly, it remains suspended in the fermentation vessel, further hindering the process. Consequently, high-attenuating yeast may find it difficult to reach their desired attenuation levels, potentially causing the fermentation to stall. Advanced brewing techniques can make a significant difference in this area.
To address these issues, winemakers and brewers often explore various fermentation revival techniques, such as adding nutrient supplements or rehydrating yeast, to alleviate these challenges and promote a more vigorous fermentation process.
4. Contamination
Contamination from unwanted microbes can wreak havoc on your fermentation process, causing stuck fermentations and introducing off-flavors that can spoil your final product.
These disturbances happen when rogue organisms manage to outcompete your carefully selected yeast strains, inhibiting their health and fermentation activity. This unfavorable environment can hinder yeast propagation, leading to decreased cell viability and altered metabolic pathways. You may find yourself troubleshooting various fermentation issues, as the presence of wild yeasts or bacteria can introduce unwelcome acidity and flavors.
Even trace amounts of contaminants can cause significant deviations in aroma and taste, ultimately compromising the overall quality of your brew. To safeguard your yeast’s thriving condition and ensure a successful fermentation outcome, maintaining a clean and sterile brewing environment is critical.
5. Poor Yeast Health
Poor yeast health significantly contributes to stuck fermentation, as yeast that lacks vitality struggles to convert sugars into alcohol effectively.
Several factors can lead to diminished yeast health, with inadequate rehydration being a primary concern. When yeast cells aren’t properly revived before fermentation, they find it difficult to perform optimally, which can halt the fermentation process entirely. Nutrient deficiencies such as insufficient nitrogen or essential vitamins can also undermine yeast vitality.
Effective fermentation management strategies come into play here. By ensuring that yeast receives ample nutrients and is correctly rehydrated, you can mitigate the risks of stalled fermentation and foster a robust fermentation environment.
How to Identify Stuck Fermentation?
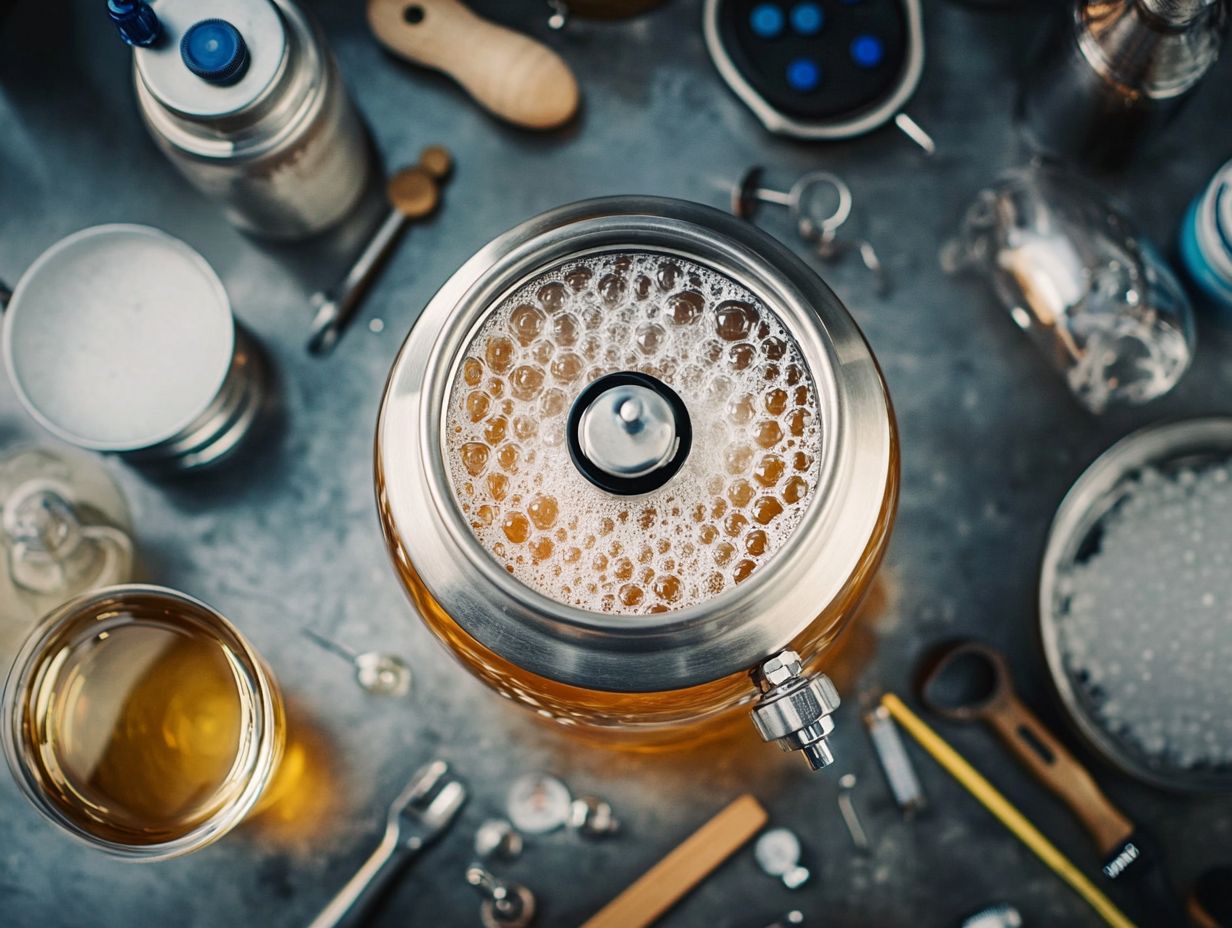
Identifying stuck fermentation is crucial for you as a brewer, enabling you to intervene promptly and salvage your batch. Look out for common signs, such as a distinct absence of bubbling in the fermentation vessel, steady high specific gravity readings that remain unchanged over time, and any unpleasant odors that may signal fermentation issues.
By recognizing these indicators early, you can employ effective techniques to revive the fermentation process and ensure a successful brew.
1. Lack of Bubbling
A lack of bubbling in your fermentation vessel is one of the clearest signs that your fermentation might be stuck, indicating that yeast activity has significantly decreased or even come to a halt. This situation can be quite concerning for both brewers and winemakers, as it may signal underlying issues that could obstruct the successful conversion of sugars into alcohol.
Bubbles aren t just for show; they provide a visual cue of active fermentation and reflect the metabolic processes of yeast as they feast on sugars and produce carbon dioxide. To keep a close eye on this activity, monitor the bubbling rate and take specific gravity readings, which will give you valuable insights into the fermentation progress.
If you notice the bubbling slowing down or stopping altogether, it could indicate not just a slowdown in sugar metabolism but also potential nutrient deficiencies or unfavorable environmental conditions. Understanding these implications is essential, as stagnation can lead to off-flavors, stalled fermentation, or even spoilage, all of which can severely impact the quality of your final product.
2. High Specific Gravity
Consistently high specific gravity readings may signal that your fermentation has stalled, as the wort remains overly sweet, suggesting that not all sugars have been converted into alcohol.
This situation necessitates careful monitoring of gravity measurements throughout the fermentation process. You can take hydrometer samples at regular intervals to ensure you’re capturing accurate readings. By transferring a small amount of the liquid into a hydrometer tube and gently floating the hydrometer, you can determine the specific gravity.
If those values remain stubbornly constant over a few days, it might indicate a fermentation problem, potentially stemming from insufficient yeast activity or unfavorable temperatures.
Recognizing these changes in gravity is crucial for troubleshooting and ensuring a successful fermentation.
3. Unpleasant Odor
An unpleasant odor emanating from your fermentation vessel is a clear indication of potential fermentation issues, often stemming from stressed yeast or contamination. Regular fermentation troubleshooting can help identify and rectify these problems early.
Recognizing these odors early is crucial for you as a brewer, as they can signal underlying problems that might impact the overall quality of your final product. Common culprits include insufficient oxygen during the initial stages, improper sanitation practices, or even an unbalanced temperature, all of which can lead to undesirable off-flavors. Effective fermentation science and control techniques can mitigate such risks.
These factors not only jeopardize the fermentation process but can also result in a brew that’s less enjoyable for the consumer, potentially leading to various issues in the brewing process.
Master fermentation troubleshooting to tackle these issues quickly and confidently! By understanding fermentation troubleshooting, you can address these issues promptly, ensuring that you follow proper brewing techniques to create a healthy yeast environment and ultimately produce a superior beer, whether it be ale, lager, or even cider.
How to Fix Stuck Fermentation?
Addressing stuck fermentation demands a comprehensive approach that tackles the underlying issues at hand. You may consider several effective solutions, such as yeast rehydration and yeast propagation:
- Introducing nutrients to enhance yeast health,
- Raising the temperature to stimulate fermentation activity and ensuring the fermentation temperature remains in the optimal range,
- Or even diluting the wort with water to reduce the alcohol content.
Repitching new yeast can revitalize the fermentation process. Adding enzymes can help break down complex sugars. Other techniques, such as agitating the carboy, ensuring proper oxygen requirements, and adding high attenuating yeast, can also be beneficial. By employing these strategies, you can successfully restart fermentation and achieve a rewarding brewing outcome.
1. Add Nutrients
Incorporating nutrients into your brewing process can significantly enhance yeast health. This effectively revives stuck fermentation by supplying the essential elements necessary for optimal yeast metabolism, including nitrogen sources, vital vitamins, and minerals.
These nutrients often consist of nitrogen sources like a type of nitrogen source, alongside vital vitamins and minerals that aid in rejuvenating active yeast. When you introduce these nutrients during the rehydration phase or at strategic points throughout fermentation, you not only bolster yeast viability but also encourage a more vigorous fermentation process.
Employing techniques such as staggered nutrient additions ensures that the yeast receives the support it needs during critical phases, allowing it to convert sugars into alcohol with greater efficiency. By grasping how these nutrients interact with yeast during both rehydration and fermentation, you can achieve more consistent results and elevate your overall fermentation outcomes, avoiding issues like stagnant fermentation.
2. Increase Temperature
Increasing the fermentation temperature can breathe new life into sluggish yeast, encouraging them to awaken and convert any remaining sugars into alcohol. This revives the fermentation process.
Approach this adjustment carefully. Each yeast strain reacts differently to varying temperatures. Most ale yeasts flourish in the range of 65 F to 75 F. In contrast, lager yeasts tend to favor cooler conditions, typically around 45 F to 55 F.
Closely monitoring the temperature throughout this process is crucial. Stressing the yeast can lead to off-flavors, fermentation issues, or stalled fermentation, which no brewer wants. Implementing a temperature controller can create a stable environment, enabling you to achieve optimal results while fully harnessing the yeast’s potential.
By understanding the intricacies of fermentation temperature control, you can significantly elevate the overall quality of your final product.
3. Dilute with Water
Diluting the wort with water is a strategic move to lower the alcohol content. It creates an ideal environment for yeast activity and effectively tackles any fermentation hiccups, particularly in high alcohol brews.
When calculating the dilution ratio, consider the volume of water to add in relation to the initial volume of the wort. A practical approach is to divide the desired final alcohol percentage by the current alcohol level. This calculation helps you determine the precise amount of water to incorporate.
This method helps achieve the targeted alcohol level. It also subtly influences the beer’s flavor profile. By adding water, you adjust the concentration of sugars and other compounds, significantly impacting the overall taste and balance. This ensures your high alcohol management techniques align seamlessly with the desired outcome of your brew, especially in beer brewing.
4. Repitch Yeast
Repitching fresh yeast can often breathe new life into a stalled fermentation. This provides a renewed population of yeast that efficiently consumes any remaining sugars. This method is vital for reviving fermentation and keeping your yeast healthy!
Choose the yeast strain carefully. It should harmonize with the existing microbiome in your fermentation vessel. Evaluate the health and viability of the new yeast, paying close attention to factors like temperature tolerance, yeast vitality, and the specific fermentation style you re pursuing.
To enhance your chances of success, consider propagating the yeast in a starter culture. This allows it to acclimate and grow before making its grand entrance. This step is essential in yeast propagation and ensuring a healthy fermentation stage.
Keeping an eye out for signs of a healthy fermentation such as active bubbling and decreasing gravity readings will give you confidence that the fresh yeast is establishing itself and playing a pivotal role in your revival.
5. Add Enzymes
Incorporating enzymes into your fermentation process can significantly aid in breaking down complex sugars that yeast might struggle to ferment. This effectively tackles issues related to stuck fermentation and stagnant fermentation.
This strategy is especially beneficial when managing fermentation. It is crucial when working with musts (unfermented juice from crushed grapes) or wort (the liquid extracted from the malted grains) that have high sugar content. Enzymes such as amylases, beta-glucanases, and pectinases play essential roles by hydrolyzing starches, cell wall components, and pectins, which enhances the overall fermentability of your substrate.
By facilitating the conversion of complex carbohydrates into simpler sugars, these enzymes not only streamline the fermentation process but also reduce the likelihood of sluggish yeast activity. Understanding how these enzymes interact with yeast can be crucial for troubleshooting any fermentation challenges you encounter. This ensures your fermentation journey is both successful and smooth. This is especially important when working with beer wort deficient in nutrients.
Preventing Stuck Fermentation
Preventing stuck fermentation starts with careful preparation and attention to detail throughout the brewing process. Your key strategies should include proper fermentation control and fermentation management:
Key Strategies
- Ensuring proper sanitation to eliminate any potential contaminants, preventing fermentation issues.
- Selecting high-quality yeast strains that perfectly match your brewing conditions.
- Diligently monitoring fermentation temperature to maintain it within the optimal range.
Controlling the alcohol content is also crucial to keep your yeast happy. Maintaining the right sugar addition and oxygen requirements can also be pivotal. By implementing these preventive measures, you can significantly lower the chances of facing stuck fermentation issues.
1. Proper Sanitation
Proper sanitation is absolutely crucial in the brewing process. It’s your first line of defense against contamination that could result in stuck fermentation and undesirable off-flavors in your final product. This can potentially lead to issues like bottle bombs.
You need to recognize that even the tiniest residue left on your equipment can introduce unwanted microbes. These not only disrupt the fermentation process but could jeopardize the integrity of the entire batch. Use hot water and brewing detergents to clean thoroughly, followed by effective sterilization methods like chemical sanitizers or steam cleaning. This is vital in avoiding fermentation problems and ensuring yeast health.
By consistently adhering to these practices, you protect your creations and ensure a reliable, high-quality yield. In terms of troubleshooting fermentation issues, remember that it all begins with a solid foundation of cleanliness. This underscores the vital role sanitation plays in achieving the rich flavors and aromas you desire in your brewed beverages, whether you’re producing beer, cider, or other fermented drinks.
2. Use Quality Yeast
Utilizing high-quality yeast strains can significantly elevate fermentation activity and diminish the risk of stuck fermentation during your brewing process. Brands like Wyeast 3711 and Safale US-05 are popular choices.
Choosing the right strain is essential, as each type of yeast imparts distinct flavors and aromas to your final product. Consider factors such as temperature tolerance, how well the yeast clumps together, and fermentation speed when making your selection. Yeast strains like Brettanomyces and Lactobacillus can also be used for specific beer styles.
The health of the yeast cannot be overlooked. Ensuring your yeast is well-nourished with the appropriate nutrients can greatly enhance fermentation outcomes. Strains like Saccharomyces cerevisiae are commonly preferred for ales, while lager-style brews often call for specific lager yeast to achieve optimal performance. This is crucial for maintaining yeast vitality and ensuring optimal fermentation performance.
By grasping these subtleties, you can effectively manage fermentation and attain the desired results in your brewing endeavors.
3. Monitor Temperature and Nutrients
Monitoring fermentation temperature and nutrient levels is essential to maintain yeast health and ensure a smooth fermentation process, free from interruptions, especially during high-attenuating yeast activities.
To achieve this, consider using advanced temperature control devices, such as fermentation chambers or immersion heaters. These tools will provide precise readings and help maintain optimal conditions for your brew. This is key for successful fermentation temperature control.
Regular sampling techniques will allow you to gauge nutrient levels effectively. Tools like refractometers and hydrometers can help you monitor yeast health. Taking regular hydrometer samples is crucial for tracking fermentation progress and gravity readings.
Incorporating practices like staggered nutrient additions can enhance your fermentation process by supplying essential nutrients at critical stages. By adopting these methods, you can create an environment that promotes vigorous yeast activity and minimizes the risk of off-flavors, fermentation issues, or stalled fermentation.
4. Control Alcohol Content
Controlling alcohol content during fermentation is essential. Excessive alcohol can create fermentation challenges, potentially leading to a stuck fermentation. This is especially crucial for you as a winemaker or brewer. You strive to craft beverages with harmonious flavor profiles while ensuring optimal yeast health.
To effectively manage high alcohol levels, consider mixing in more liquid. Introducing water or other low-alcohol liquids before or during fermentation can help balance the overall alcohol concentration.
Selecting the right yeast strain is also vital. Some yeasts are designed to withstand higher alcohol levels and can continue fermenting even as the alcohol concentration increases. Make sure to monitor gravity readings and fermentation temperature control closely during this process.
By employing these strategies, you can adeptly navigate the challenges of fermentation troubleshooting and maintain optimal alcohol levels in your final products. Ensuring proper yeast nutrients and effective yeast propagation can further aid in avoiding fermentation problems.
Frequently Asked Questions
1. What are stuck fermentation issues?
Stuck fermentation refers to a situation where the yeast in a fermentation process stops working, and the sugars are not fully converted into alcohol. This can result in a batch of wine, beer, or other fermented beverages with an unpleasant taste and lower alcohol content than desired. Monitoring fermentation activity and taking hydrometer samples are essential to detect such issues early.
2. What causes stuck fermentation issues?
Stuck fermentation can be caused by a variety of factors, such as insufficient nutrients for the yeast, incorrect temperature, too high or too low pH levels, or the use of a weak or inactive yeast strain. Understanding the fermentation process and maintaining the optimal range of conditions are crucial to avoiding these issues.
3. How can I prevent stuck fermentation issues?
To prevent stuck fermentation, it is important to use a high-quality, active yeast strain and ensure that your fermentation environment has the proper temperature, nutrients, and pH levels. Monitor the fermentation process closely, regularly check gravity and pH levels, and adjust as needed to maintain fermentation control.
4. How can I troubleshoot a stuck fermentation issue?
If you encounter a stuck fermentation, try to restart the process by adding more yeast or yeast nutrients, adjusting the temperature, or stirring the mixture to oxygenate it. Check the pH levels and make any necessary adjustments. Utilizing additional yeast or practicing yeast rehydration can also be effective methods.
5. How long should I wait before troubleshooting a stuck fermentation issue?
Act quickly! If your fermentation has stopped for more than 3-4 days without any signs of activity, it’s time to troubleshoot. However, if there are still signs of fermentation, such as bubbles in the airlock or a frothy top, it is best to give the yeast more time before taking any actions. Ensuring the mix is at the right fermenting temperature and considering agitating the carboy might help to revive the process.
6. What can I do if my troubleshooting attempts do not work?
If your initial troubleshooting attempts do not restart the fermentation process, it is best to seek advice from a more experienced brewer or winemaker. They may offer additional insights or suggest different methods to try. In some cases, it may be necessary to discard the batch and start again with new ingredients and a different approach. You could also consider using a high attenuating yeast or re-pitching new yeast to address the issue.


