How to Fix Yeast Starter Issues in Brewing
Brewing beer is an art and a science. Yeast is the vital catalyst that transforms basic ingredients into a rich and flavorful beverage. Whether you’re a home brew enthusiast or a professional brewmaster, understanding the role of yeast is essential.
One key element in this intricate process is the yeast starter, which is essential for kickstarting fermentation with optimal efficiency. Whether you’re preparing a small starter or using a professional-grade starter vessel, understanding this step is crucial. You might encounter some common challenges along the way, such as low yeast viability, sluggish fermentation, or the unwelcome presence of off-flavors.
This discussion delves into the significance of yeast starters, identifies potential pitfalls, and provides you with practical solutions to ensure your brewing endeavors reach their fullest potential.
Contents
- Key Takeaways:
- What Is a Yeast Starter?
- Why Is a Yeast Starter Important in Brewing?
- What Are the Common Issues with Yeast Starters?
- How to Fix Low Yeast Viability?
- 1. Check the Temperature
- 2. Oxygenate the Wort
- 3. Add More Yeast
- How to Fix Off-flavors in the Beer?
- 1. Proper Sanitation
- 2. Use High-quality Ingredients
- 3. Control Fermentation Temperature
- Frequently Asked Questions
- Yeast Starter FAQs
Key Takeaways:
- Use fresh yeast and handle it properly to ensure high yeast viability in your starter.
- Check the fermentation temperature and oxygenate your wort to fix slow or no fermentation issues with your yeast starter.
- Maintain proper sanitation, use high-quality brewing ingredients, and control fermentation temperature to avoid off-flavors in your beer caused by yeast starter issues.
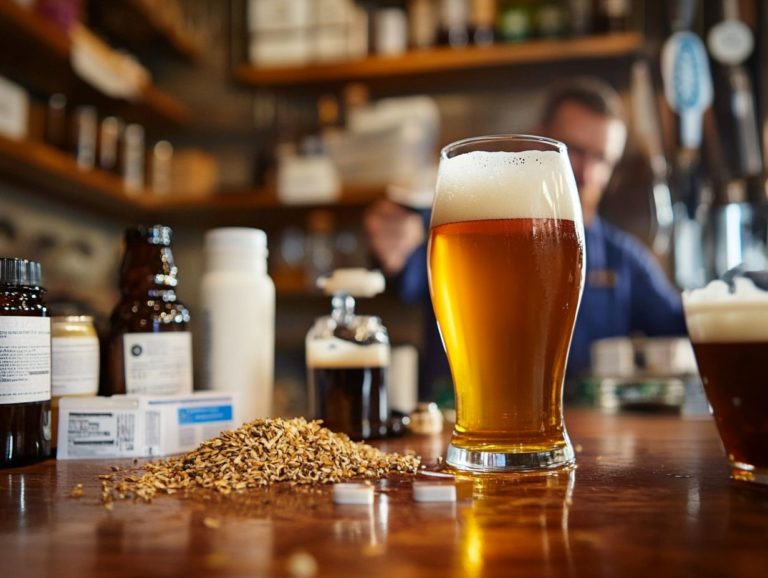
What Is a Yeast Starter?
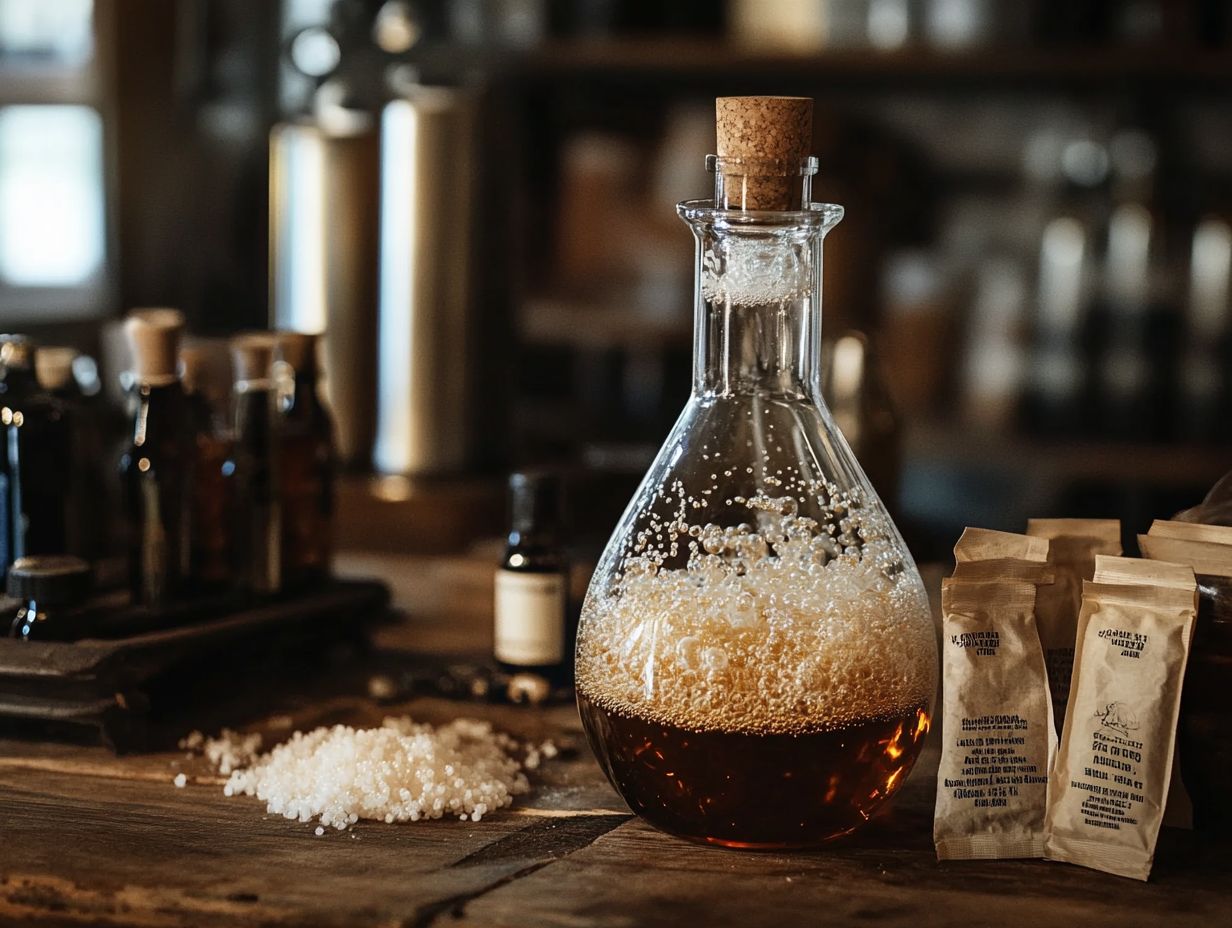
A yeast starter is a vital element in your brewing journey. It serves as a concentrated batch of yeast culture designed to enhance yeast viability and foster robust growth before you introduce it into the main wort. This is an essential step in ensuring your homebrew batch achieves its full potential.
Generally, this is prepared by combining dry malt extract (DME) or yeast extract with water and aerating the mixture. This process ensures that the yeast pack you utilize in your home brewing is not just active but primed for fermentation.
By incorporating a starter into your process, you can markedly elevate fermentation performance and minimize the risk of brewing mishaps. This all contributes to a richer, more rewarding brewing experience. Utilizing tools like a temperature controller can further refine your brewing techniques.
Why Is a Yeast Starter Important in Brewing?
A yeast starter is an essential element in your brewing process. It significantly enhances the pitch rate of yeast, which means it increases the amount of yeast added to the beer to start fermentation. By ensuring you have an adequate number of viable yeast cells, you set the stage for a vigorous and healthy fermentation at your desired temperature. This is key to brewing success, whether you re sticking to traditional methods or trying something new.
This practice not only maintains optimal yeast activity but is also crucial for effectively converting sugars into alcohol and carbon dioxide during brewing. Using a yeast starter also minimizes the risk of off-flavors that can result from under-pitching, while promoting a robust fermentation profile.
Ultimately, this leads to a superior brewing experience and the creation of high-quality beer.
What Are the Common Issues with Yeast Starters?
Despite their undeniable advantages, several common challenges can emerge with yeast starters. These challenges could adversely affect your fermentation process. You might encounter low yeast viability, sluggish or stalled fermentation, and even undesirable off-flavors in your beer.
These complications often arise from improper starter preparation, insufficient aeration, or the use of stale yeast packs. These pitfalls can result in brewing failures and a less-than-stellar experience. Regular gravity readings can help you monitor the progress and catch issues early.
Understanding these issues is crucial for home brewers like you who aim to refine their techniques and achieve consistently successful outcomes. Engaging with the brewing community, through forums or podcasts like Bru-Lab Podcast, can provide valuable brewing advice and troubleshooting tips.
Now that you understand the importance of yeast starters, why not try one in your next brewing session? Happy brewing!
1. Low Yeast Viability
Low yeast viability in a starter can spell trouble for your fermentation, leading to off-flavors and potential brewing mishaps. This often happens when the yeast pack is old, not stored correctly, or if the yeast culture wasn t sufficiently propagated before pitching.
Maintaining optimal yeast health is crucial in any brewing process. It greatly impacts the quality of the final product. To evaluate yeast vitality, you can use a method to check live yeast cells, which reveals the percentage of live cells. It s essential to use fresh yeast, ideally within the manufacturer s recommended shelf life, to reduce the risk of sluggish fermentation.
Proper storage techniques such as refrigeration and avoiding temperature fluctuations are key to extending yeast lifespan. By paying attention to these details, you can enhance fermentation performance, minimize the chances of undesirable flavors, and ultimately achieve brewing success.
2. Slow or No Fermentation
Slow or no fermentation can occur due to various factors, including inadequate yeast activity, insufficient nutrients for the yeast, or unfavorable temperatures. These issues can impede the brewing process and result in a final beer that falls short of your expectations.
Understanding the environmental elements at play is essential for a successful brew. The health of your yeast is critical; if it s old or has been stored improperly, it may lack the vitality needed for vigorous fermentation. Temperature fluctuations can create a hostile environment for your yeast, causing their activity to stall.
As a brewing enthusiast, you can easily fix these issues and enjoy brewing success! Implement proper aeration techniques gently shaking the wort can help introduce oxygen, promoting stronger yeast growth. Consider using an aeration system for continuous aeration during the fermentation process.
Maintaining a consistent fermentation environment, ideally between 65 F to 75 F for ales, can greatly enhance yeast performance and improve your overall fermentation outcomes.
3. Off-flavors in the Beer
Off-flavors in your beer can often be linked back to problems with the yeast starter, like using unhealthy yeast cultures or creating improper fermentation conditions. These issues can generate undesirable compounds that compromise the quality and flavor profile of your brew.
Understanding the various off-flavors that can pop up during brewing is vital for you as a brewmaster. Common offenders include diacetyl, which lends a buttery taste, and phenolic flavors that might remind you of band-aids or smoke. These flavors stem from stressed yeast and can often be linked back to improper starter fermentation or the use of an inadequate starter wort.
These unwelcome flavors often emerge from inadequate fermentation temperature control or exposure to oxygen during the brewing process. To avoid these pitfalls, you must prioritize yeast health by ensuring proper hydration and pitching the right amount of yeast.
Adopting best practices in fermentation, such as maintaining an optimal environment in terms of temperature and steering clear of contamination, can lead to a cleaner, more balanced beer that truly reflects your brewing intent free from the distractions of off-flavors.
How to Fix Low Yeast Viability?
To address low yeast viability, act now! You can take several proactive measures that will elevate your brewing process. Begin by utilizing fresh yeast, and ensure that your yeast packs are stored and handled correctly. Sourcing yeast from specialized yeast banks can guarantee high viability.
Incorporate nutrient-rich wort to promote vigorous yeast growth and optimal health prior to pitching. These steps can significantly enhance the quality of your brew.
1. Use Fresh Yeast
Using fresh yeast is one of the most effective strategies to boost yeast viability and ensure a successful fermentation process. It contains a higher concentration of viable cells, ready to convert sugars into alcohol.
Older yeast packets lose their power over time, which can ruin your brew! Fresh yeast not only boasts a robust cell count but also maintains its metabolic vigor, which is crucial for achieving consistent results in your brewing or baking endeavors.
To source fresh yeast, you can visit local brew shops or specialty yeast banks that often carry a variety of strains tailored for specific recipes. Make it a point to look for yeast with a recent production date to guarantee optimal viability. Don t hesitate to inquire about handling and storage practices designed to maintain its freshness.
Taking this proactive approach will ensure that your fermentation process kicks off energetically, ultimately enhancing the quality of your resulting product.
2. Properly Store and Handle Yeast
Proper storage and handling of yeast are crucial for ensuring its viability, with temperature control and the avoidance of contaminants standing out as key factors in maintaining a healthy yeast culture for your brewing endeavors. Using a dedicated starter vessel can help maintain an optimal environment for yeast growth.
To ensure this essential ingredient thrives, store yeast in a cool, dark environment, ideally between 32 F and 50 F. This temperature range helps preserve its potency effectively.
Employing sanitized tools and equipment is non-negotiable; this practice prevents unwanted microbial growth. Cleanliness not only affects the yeast s performance but also plays a significant role in the overall quality of the fermentation process. Consider using yeast nutrients to support yeast activity during fermentation.
Implementing proper techniques, such as rehydrating dried yeast in sterile water, can enhance replication rates, ultimately leading to a more vigorous fermentation. By adhering to these best practices, you can significantly influence the desired flavors and aromas in your final brew.
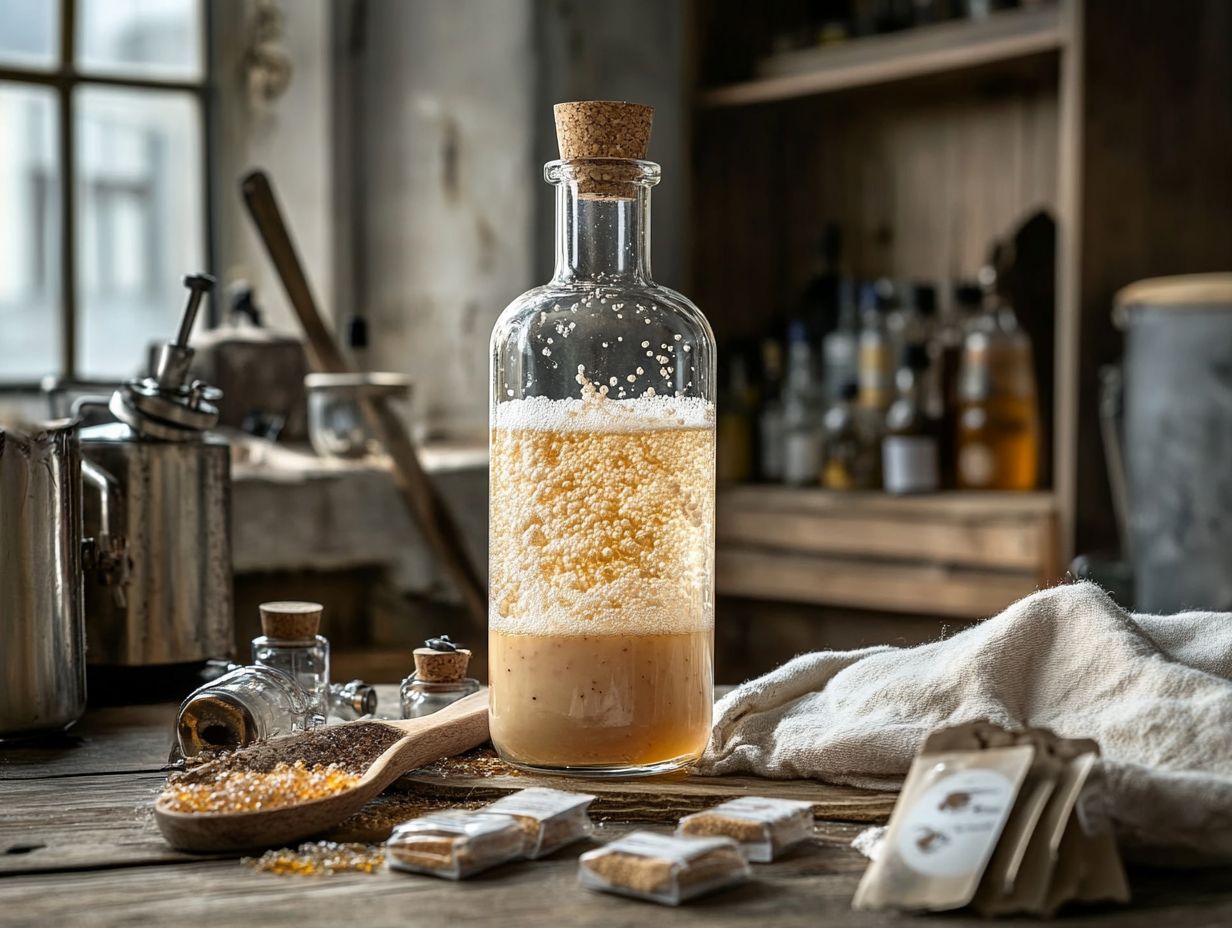
3. Use Nutrient-rich Wort
Utilizing nutrient-rich wort is vital for fostering healthy yeast growth and enhancing yeast viability during fermentation, as it offers the essential components for yeast to flourish and perform at their best. A robust aeration system can ensure continuous aeration and optimal yeast performance.
This nutrient-dense wort is crafted by blending a balanced mix of essential vitamins, minerals, and amino acids, all crucial for vigorous fermentation activity. Key nutrients include nitrogen sources like ammonium sulfate and diammonium phosphate, which promote protein synthesis and cell division. Trace minerals like zinc and magnesium are critical for enzyme activation, while B vitamins bolster overall yeast metabolism. Incorporating yeast nutrients can further enhance the wort’s quality.
To create such a wort, implement proper mashing techniques and consider adding nutrient supplements at strategic stages to ensure yeast health throughout fermentation. Utilizing yeast extract during the brewing process can also optimize yeast growth. By focusing on these elements, you can significantly elevate the fermentation experience and produce a more robust and flavorful beer.
How to Fix Slow or No Fermentation?
To tackle slow or stalled fermentation, you can take several actionable steps to get things back on track. Consulting brewing advice from the brewing community can also provide valuable insights.
- Start by checking the fermentation temperature to ensure it s within the ideal range for your yeast.
- Consider oxygenating the wort before pitching, as this can provide the yeast with the boost it needs to thrive.
- If initial fermentation lacks adequate activity, don t hesitate to add more yeast to give it another chance to kick off. Using a fresh yeast pack or yeast slurry can be effective options.
Experiment with these tips, and share your fermentation successes with the community!
1. Check the Temperature
Checking the fermentation temperature is absolutely essential, as yeast activity is incredibly sensitive to temperature fluctuations. Using a temperature controller can help maintain the optimal range crucial for successful fermentation.
The outcome of your fermentation process can significantly depend on how well you control this variable. Different yeast strains thrive within specific temperature ranges, impacting not only the speed of fermentation but also the flavor profile of your final product.
For many ale yeasts, temperatures around 65 to 75 F are ideal. In contrast, lager yeasts prefer cooler conditions, typically between 45 to 55 F. If you stray too far outside these ranges, you risk stalled fermentation or the unwanted production of off-flavors. This highlights the importance of closely monitoring and adjusting your fermentation environment to achieve the best results.
2. Oxygenate the Wort
Adding oxygen to the liquid before yeast is added is crucial for ensuring robust yeast activity and fostering healthy fermentation. Yeast thrives on oxygen for cell division and growth, particularly during those vital initial fermentation stages. Continuous aeration can further support the fermentation process.
This process is key to creating an optimal environment where the yeast can flourish and develop the rich flavors and enticing aromas you desire in your final product. You can employ various tools, such as an aquarium pump, diffusion stone, or even a simple whisk, to effectively introduce oxygen into the wort.
While each method differs in efficiency, your ultimate goal is the same: to saturate the wort with the oxygen that enables yeast metabolism. Proper aeration not only boosts yeast health but also significantly reduces the risk of fermentation stalling due to insufficient oxygen levels. This attention to detail can elevate your brewing adventure to new heights.
3. Add More Yeast
If you find that fermentation is slow or has come to a standstill, one effective solution is to add more yeast. You can either use a fresh yeast pack or create a yeast slurry from an active fermentation. Employing a yeast starter method can also help in boosting yeast viability.
Before proceeding, it s vital to consider a few key factors. First, make sure the yeast you re adding is healthy and suitable for your specific fermentation environment, as different strains can react differently under various conditions. Properly preparing the yeast is essential; for instance, rehydrating dry yeast according to the package instructions will help awaken those dormant cells, significantly boosting their viability. A starter vessel is recommended for starter preparation to ensure optimal yeast growth.
When you’re ready to pitch the yeast, consider staggering the addition to the fermenter and introducing it gently. This approach helps prevent any sudden temperature or pressure changes, leading to a smoother fermentation process. By managing the yeast effectively checking its viability, monitoring fermentation temperature, and maintaining strict sanitary practices you ll optimize the overall outcome and ensure a high-quality final product.
How to Fix Off-flavors in the Beer?
To effectively tackle off-flavors in beer, you should concentrate on several crucial elements. Prioritizing strict cleaning habits is essential; it prevents unwanted contaminants from spoiling your brew.
Additionally, investing in high-quality ingredients will elevate your beer s flavor profile. Finally, maintaining precise control over fermentation temperatures throughout the brewing process is vital for achieving the desired taste and aroma.
By honing in on these key areas, you can enhance the quality of your beer and ensure a more enjoyable experience for your drinkers.
1. Proper Sanitation
Proper sanitation is essential in brewing to prevent any contamination that could lead to off-flavors and brewing mishaps. It s crucial for you to ensure that every piece of brewing equipment and ingredient is impeccably clean and sanitized.
This meticulous focus on cleanliness not only safeguards the integrity of your final product but also promotes yeast health. By using effective brewing methods like thorough cleaning with food-safe sanitizers and using hot water appropriately you can create an environment that encourages robust fermentation.
Maintaining sanitation throughout every phase, whether in the preparation of malt, during hop additions, or throughout fermentation, is key to preventing unwanted microbial activity. By prioritizing these best practices, you will significantly enhance the overall flavor profile and clarity of your beer, resulting in a delightful and consistent brew that you can be proud of.
2. Use High-quality Ingredients
Using high-quality ingredients is essential to prevent off-flavors in beer. Inferior or stale ingredients can introduce undesirable flavors that detract from the overall brewing experience. Sourcing from a reputable brewery can ensure the quality of your brewing ingredients.
Your choice of malt, hops, and yeast significantly influences the final product, shaping both flavor profiles and aromatic characteristics. Fresh, high-quality malts contribute to richer and more complex flavors, while hops can impart vibrant notes that range from floral to citrusy, depending on their quality and variety.
The yeast culture you select also plays a crucial role; healthy, well-cultured yeast is vital for fermentation, ensuring a clean and balanced taste. In your brewing recipes, the meticulous selection of these ingredients is not merely a technicality; it is the foundation for creating an exceptional beer that truly delights the palate.
3. Control Fermentation Temperature
Controlling fermentation temperature is absolutely vital to producing clean flavors and avoiding unwelcome off-flavors. The performance of yeast and the resulting flavor profile can be significantly impacted by temperature variations during fermentation. Monitor gravity readings throughout fermentation to gauge yeast activity and progress.
By maintaining a stable fermentation environment, you foster optimal yeast activity, which is essential for achieving the desired taste and aroma profiles in your final product. When fermentation temperatures fluctuate, it can stress the yeast, leading to undesirable byproducts that can completely transform the beer’s flavor.
To keep those temperatures consistent, utilize various methods, including:
- Temperature-controlled fermentation vessels
- Insulating your fermenters
- Placing your brews in temperature-regulated spaces
Employing cooling jackets or immersing fermenters in water baths can also help manage the heat generated by active fermentation. Ultimately, paying close attention to temperature control enhances yeast health and elevates the overall quality of your brew.
Frequently Asked Questions
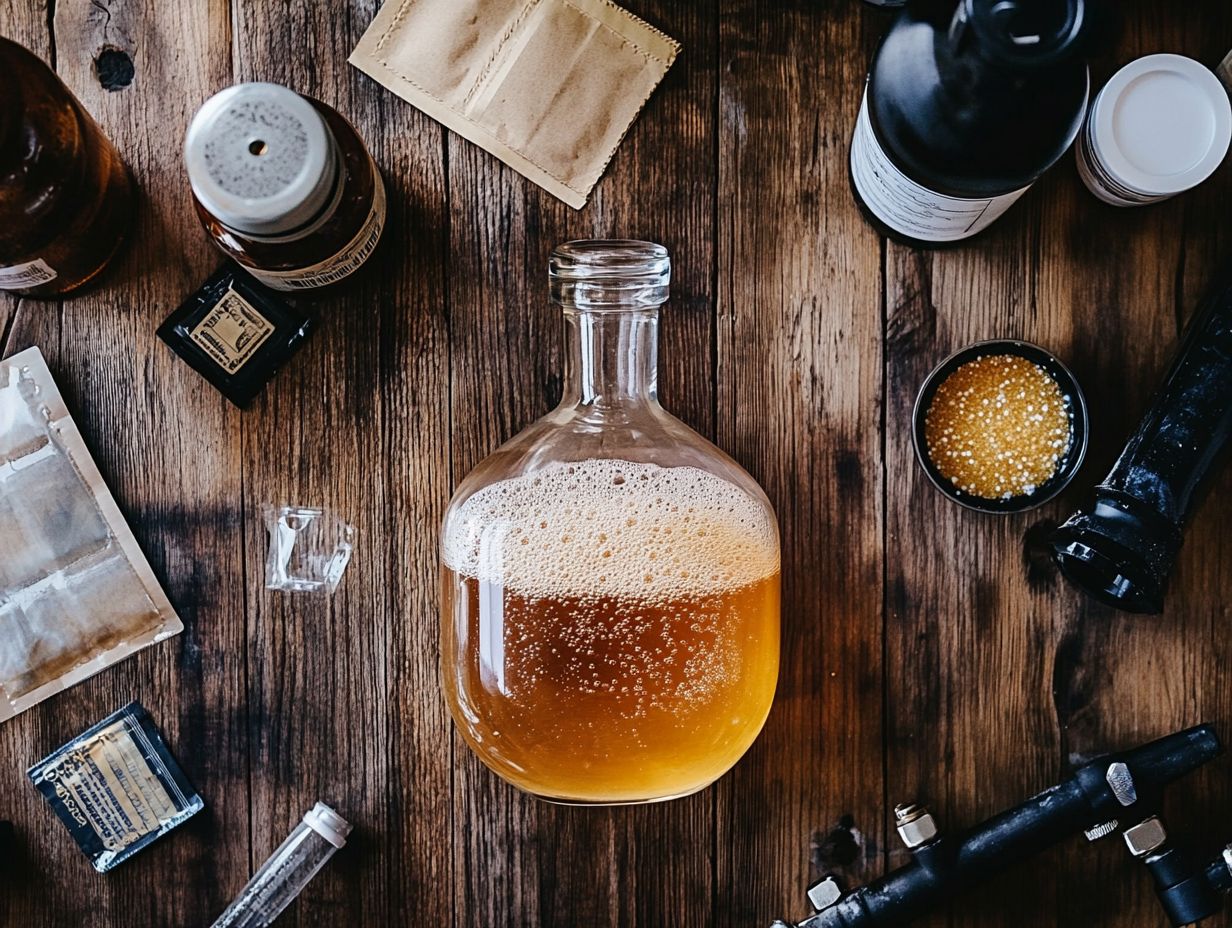
What is a yeast starter and why is it important in brewing?
A yeast starter is a small batch of actively growing yeast that is used to inoculate a larger batch of beer. It s essential for brewing because it helps ensure a strong and healthy fermentation, resulting in better-tasting beer. Yeast bank resources can provide you with high-quality yeast cultures for your starter.
What are some common issues that can occur when making a yeast starter?
Common issues that can occur when making a yeast starter include slow or stalled fermentation, contamination, and low yeast cell count. Utilizing proper aeration techniques can help mitigate these issues and promote healthy yeast growth.
How can I tell if my yeast starter has a low yeast cell count?
If your yeast starter is not showing any signs of fermentation within the first 24-48 hours, it is likely that your yeast cell count is low. You can confirm this by taking a sample of the starter and using a microscope to count the number of yeast cells present.
Yeast Starter FAQs
How can I prevent contamination in my yeast starter?
To prevent contamination, use proper sanitation techniques when making your yeast starter. Ensure all equipment and surfaces are sanitized. Avoid introducing any foreign objects or bacteria into the starter.
Investing in reliable brewing equipment from a trusted brewing supply store can also help maintain high hygiene standards.
What should I do if my yeast starter is not fermenting during the starter fermentation?
If your yeast starter is not fermenting, gently swirl the container to oxygenate the yeast. This encourages yeast growth and activity.
If this doesn’t work, consider adding more yeast or starting with a fresh batch.
Can I reuse yeast from a previous homebrew batch for my yeast starter?
Yes, you can reuse yeast from a previous batch. Make sure to sanitize the yeast and calculate how much yeast to use. This common practice in homebrewing helps save costs.
Also, check that the yeast slurry is healthy and has high viability for the best results.