How Do I Make a Starter for Yeast?
Yeast is a captivating microorganism, essential in the worlds of baking, brewing, and fermentation, especially in the context of making bread and creating unique sourdough variations.
This guide will illuminate what yeast is, the importance of a starter, basic instructions for its creation, and the ingredients required to make sourdough.
You will discover a detailed, step-by-step process for preparing, nurturing, and utilizing your yeast starter effectively, ensuring that your culinary endeavors yield truly delightful results.
Contents
- Key Takeaways:
- What is Yeast?
- Why Do You Need a Starter for Yeast?
- What Ingredients Do You Need to Make a Yeast Starter?
- How Do You Make a Yeast Starter?
- How Do You Know When Your Yeast Starter is Ready to Use?
- How Do You Use a Yeast Starter?
- How to Add Your Yeast Starter to the Dough
- Tips for Maintaining and Using Your Yeast Starter
- Keeping Your Yeast Starter Active and Healthy
- Making Your Own Sourdough Starter
Key Takeaways:
- A yeast starter is a mixture of flour, water, and sugar used to activate and multiply yeast before adding it to a recipe.
- A yeast starter is necessary for recipes that require a longer fermentation process or for using old or inactive yeast.
- To make a yeast starter, mix flour, water, and sugar, feed it daily, and store it properly until it shows signs of activity, such as rising and falling, and is ready to use.
- Wild yeast is the natural yeast found in your environment, which can enhance flavors and textures in your bread.
- A kitchen thermometer can help maintain the right fermentation temperature for your starter.
What is Yeast?
Yeast is a microscopic fungus that serves as a cornerstone in the baking process, especially when it comes to crafting breads like sourdough and its many variations.
This living organism ferments the sugars found in your dough, producing carbon dioxide and alcohol key components for achieving that delightful rise in leavened breads.
Recognizing the different types of yeast, particularly wild yeast, is essential for any home baker looking to infuse unique flavors and textures into their creations.
The fermentation process involving yeast is vital for creating a robust sourdough starter and significantly influences the overall quality of your homemade bread and other baked goods.
Why Do You Need a Starter for Yeast?
A yeast starter, especially a sourdough starter, is critical for crafting high-quality breads that boast distinctive flavors and textures.
This starter creates a vibrant colony of live yeast and bacteria, working in harmony to ferment the dough and provide a healthier alternative to conventional breads that rely on store-bought yeast.
Nurturing a yeast starter allows you to tap into the wild yeast present in your environment, elevating the quality of your bread and enriching the entire experience of baking at home.
What Ingredients Do You Need to Make a Yeast Starter?
To create a successful yeast starter, you ll need a few simple ingredients that nourish the yeast and create the perfect fermentation environment.
Start with high-quality organic bread flour, which offers the ideal balance of proteins and starches to fuel the yeast.
Pair this with filtered water to ensure the best possible quality, free from any impurities.
A pinch of sugar can also kickstart the fermentation process, cultivating a vibrant, active starter that will be your trusted companion in various bread baking adventures, from sourdough to banana bread.
Get ready to embark on a baking adventure with your own yeast starter! Start your sourdough journey today, and you ll create bakery-quality bread right at home!
1. Flour: The Foundation of Your Starter
Flour serves as the cornerstone of any yeast starter, providing vital nutrients that nourish the yeast and play a crucial role in achieving the desired dough consistency during baking. Selecting the right type of flour be it organic bread flour or whole grain flour can profoundly influence the flavor, texture, and nutritional profile of your final product.
The higher protein content found in bread flour helps create robust gluten networks, which provide the structure that helps your dough rise and hold its shape, leading to an exceptional sourdough bread or other baked delights. For the best results, consider using a kitchen scale to measure your ingredients accurately.
Choosing all-purpose flour can lead to a more delicate crumb, which might be exactly what you re after. On the other hand, specialty flours like rye or spelt can add intriguing flavors and enhance fermentation activity, thanks to their unique nutrient compositions.
For instance, rye flour not only brings a complex taste to the table but also encourages rapid fermentation, making it an excellent choice for cultivating a lively starter. The flour you choose directly affects hydration levels, which in turn influences the dough s handling and the final texture of your bake.
By diving into the characteristics of various flours, you can refine your techniques and elevate the quality of your sourdough. This knowledge gives you the power to create breads that are not only delicious but also visually stunning. Get ready to elevate your baking!
2. Water: The Lifeblood of Fermentation
Water plays a pivotal role in crafting a yeast starter; it hydrates the flour, activates the yeast, and facilitates the fermentation process that is essential for baking bread. It’s crucial to use filtered water to ensure the quality is top-notch, free from any harmful chemicals that could hinder yeast activity. The temperature of the water is also a game-changer; warm water can boost yeast activity, while cold water may stall it. This makes it imperative for you to hit the right fermentation temperature for your starters.
In this delicate dance between hydration and yeast vitality, finding the perfect water-to-flour ratio is equally vital. Too much water can create a runny starter that lacks structure, while too little can lead to a lackluster rise. Aim for water temperatures around 70-80 F to create optimal conditions, allowing the yeast to thrive without jeopardizing its health.
Keep a close eye on your starter during fermentation; monitoring its activity can provide valuable insights, enabling you to adjust hydration or temperature as necessary. By incorporating these practices, you’ll not only cultivate a robust yeast starter but also lay a solid foundation for any bread-making venture you embark upon.
3. Sugar: Fuel for Fermentation
Sugar acts as an essential nutrient source for yeast in your starter, providing the necessary fuel that ignites fermentation and encourages that delightful bubbling activity in your dough. While flour naturally contains sugars, adding just a touch of sugar can effectively kickstart the fermentation process, particularly during the early stages of starter development.
This step is crucial for maintaining an active starter that consistently rises and falls, a clear indicator of a healthy yeast culture ready to shine in your sourdough recipes and more. Regular feeding schedules are key to maintaining this activity.
The type of sugar you choose can dramatically influence yeast activity and the overall flavor profile of your baked goods. For example, granulated sugar is a favorite due to its easy incorporation and efficiency in fueling fermentation. If you opt for honey or maple syrup, you’ll not only enjoy their sweetness but also benefit from their unique flavors and added nutrients, enhancing the richness of your bread.
Brown sugar, with its molasses content, contributes moisture and a deeper, more complex flavor. Each type of sugar interacts with yeast in its own distinct way, leading to delightful variations in texture and taste, showcasing the incredible versatility of this baking essential.
Try experimenting with different sugars to discover your perfect flavor combination!
How Do You Make a Yeast Starter?
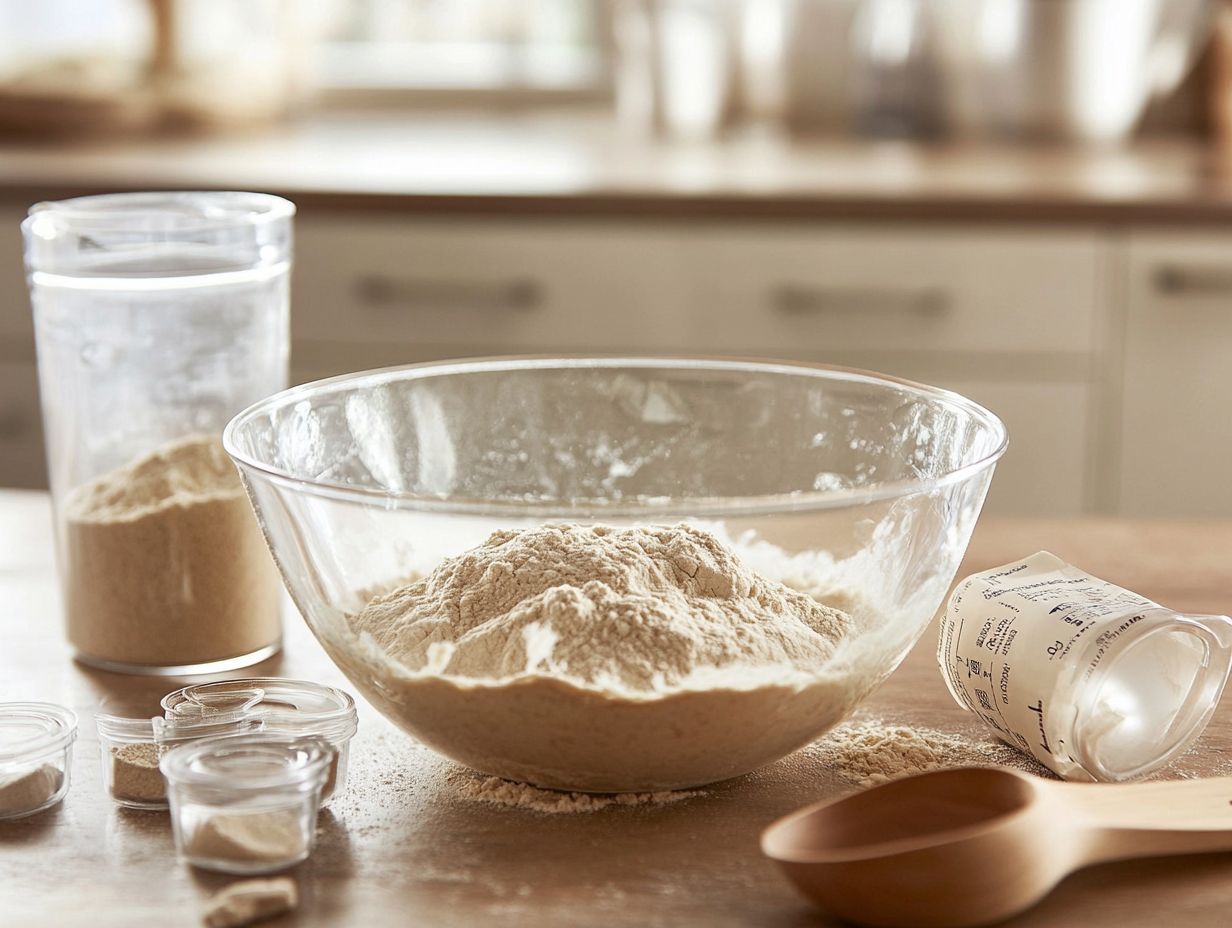
Creating a yeast starter is a simple yet rewarding process. It begins with the fundamental act of mixing flour, water, and sugar in a jar. This combination sets the stage for cultivating a thriving yeast culture.
As you embark on this fermentation journey, you will witness wild yeast come to life. The result is a vibrant starter just waiting to elevate your bread-baking endeavors. Adhering to a consistent feeding schedule is crucial for keeping your starter active, ensuring it remains healthy and vigorous for all your baking adventures whether you’re whipping up sourdough tortillas, crafting crusty baguettes, or experimenting with other delectable baked goods.
1. Mix Flour, Water, and Sugar
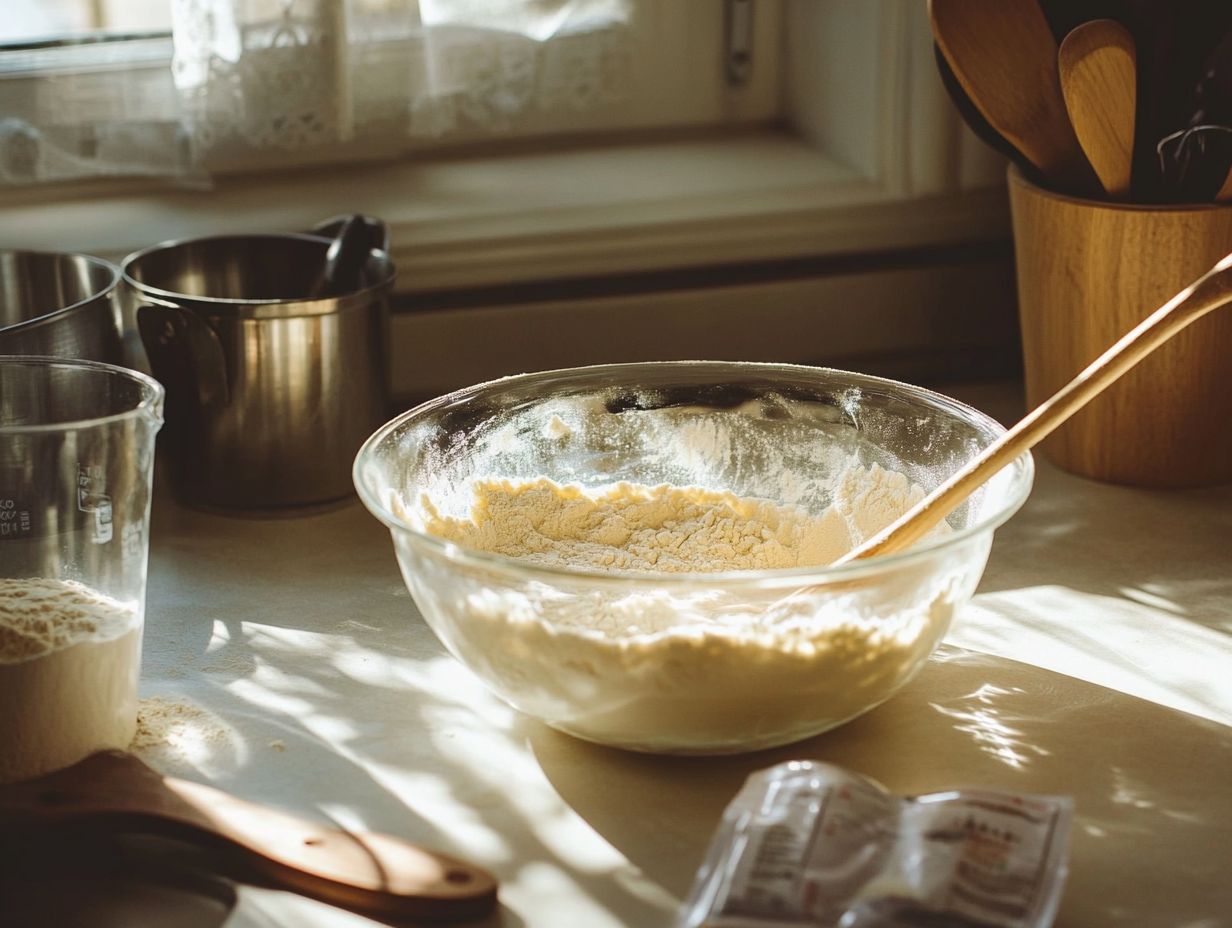
To begin creating your yeast starter, start by carefully mixing flour, water, and sugar in a clean glass jar. Make sure all the ingredients are thoroughly incorporated. This mixture serves as the foundation for your yeast culture.
It activates the wild yeast in the flour while also providing essential nutrients through the sugar. The ratio of flour to water is crucial; for optimal results, aim for a 1:1 ratio by weight. This helps achieve the right consistency for fermentation.
For accuracy in your measurements, it’s highly recommended to use a kitchen scale. This tool allows for precise ratios that will lead to successful fermentation.
Maintaining a clean environment is essential. Before you prepare the starter, take the time to sanitize all your tools and the work surface to avoid contamination. This includes the glass jar and any mixing utensils. Unwanted bacteria can disrupt the yeast cultivation process.
Monitoring the temperature of your environment is also vital. A warmer area, around 75-80 F (24-27 C), encourages active yeast growth, while cooler temperatures can slow down fermentation. Using a kitchen thermometer can help you achieve the precise temperature needed.
By following these steps, your yeast starter will thrive. This sets the stage for some truly delicious baked goods.
2. Feed the Starter Daily
Feeding your starter daily is essential for maintaining an active and healthy yeast culture. It ensures that the yeast has all the nutrients it needs to thrive and show off its bubbling activity. This routine involves discarding a portion of your starter and replenishing it with fresh flour and water.
Stick to a consistent feeding schedule to encourage fermentation. As you observe the rise and fall of the starter during this daily ritual, you gain valuable insight into its health and readiness for baking bread. This enables you to prepare dough that rises beautifully.
For the best results, consider a feeding ratio of 1:1:1 one part starter, one part filtered water, and one part flour. This creates an ideal environment for your yeast to flourish.
Keep an eye out for the telltale signs of an active starter: a pleasant aroma, noticeable bubbles, and a doubling in volume. All of these indicate that fermentation is in full swing.
Adjusting your feeding frequency can make a significant difference. For example, a starter fed every 12 hours may develop a more vigorous character than one fed every 24 hours. Understanding these dynamics allows you to fine-tune your feeding practices to align perfectly with your baking needs, whether you’re making sourdough or other variations.
In summary, making a yeast starter is both an art and a science. With proper care and attention, you can create a lively starter that will enhance your baking. Don t wait! Start making your own yeast starter today and experience the joy of baking with fresh, homemade yeast.
Have you tried making your own starter? Share your experiences and let us know how it turned out!
3. Store the Starter Properly
Properly storing your yeast starter is crucial for maintaining its longevity and effectiveness in bread baking. You have two primary methods at your disposal: the jar method and the feeding method.
With the jar method, you keep the starter in a jar at room temperature ideally right on your kitchen counter to encourage active fermentation. The feeding method may require refrigeration for less frequent feeding. It’s essential to know the right temperature for your kitchen counter, as it directly influences the fermentation rate and overall maintenance of your starter, ensuring it’s always primed for baking that irresistible sourdough bread or other delightful bread varieties.
Each of these storage methods comes with its own set of advantages and disadvantages that can significantly impact your yeast starter’s performance. For example, the jar method creates a lively starter, perfect for those who bake regularly, but it demands daily attention and feeding from you. The feeding method offers more flexibility for less frequent bakers, as refrigeration slows down yeast activity. However, this can lead to a less robust starter over time.
Remember, factors like temperature, humidity, and airflow are vital for your starter’s health. Warmer kitchen temperatures can speed up fermentation, but they may also deplete yeast nutrients more quickly. In contrast, cooler settings might require you to extend the intervals between feedings.
How Do You Know When Your Yeast Starter is Ready to Use?
Determining when your yeast starter is ready for action is essential for achieving baking success. Pay attention to several key indicators, including bubbling activity, aroma, and color.
A robust starter usually showcases vigorous bubbling, signaling active fermentation and a flourishing yeast culture. You should also notice a pleasantly tangy aroma, reminiscent of sourdough, which adds to its appeal. The color may range from creamy beige to light brown, influenced by the type of flour you ve chosen, such as whole grain flour or organic bread flour.
To further validate its readiness, consider performing a rise test, ensuring that your starter is primed for baking those delightful loaves of sourdough bread or other homemade bread.
1. Observe Bubbles and Activity
Bubbles serve as a vital indicator of active fermentation, signaling that your yeast starter is vibrant and poised for baking. It s essential to observe the bubbling activity within the jar; a healthy starter will produce a multitude of bubbles that rise to the surface, a clear sign of the carbon dioxide released by the yeast as it ferments the sugars in the flour. Bubbles are crucial in the sourdough process.
Understanding the timing of this bubbling activity is key for you as a baker, helping you determine the perfect moment to incorporate the starter into your sourdough or other recipes, ensuring optimal rise and flavor.
Paying attention to the size and frequency of these bubbles is crucial. A starter that produces a steady stream of medium to large bubbles indicates robust fermentation, while a sluggish starter may only show sporadic small bubbles, suggesting that your yeast might not be thriving.
Act now to adjust the temperature if you notice sluggish bubbling! It could be beneficial to tweak your feeding schedule or the temperature of the environment to encourage more vigorous activity. By monitoring this bubbling progression, you can effectively gauge the health of your yeast, setting the stage for a successful baking endeavor.
2. Smell and Color
The smell and color of your yeast starter hold vital clues to its readiness for baking; a pleasant, slightly tangy aroma indicates that the fermentation process is progressing healthily. As the starter matures, you may notice it developing a light beige or creamy hue, depending on the types of flour you’ve chosen, such as whole grain flour or organic bread flour. If the scent turns overly sour or becomes off-putting, it’s a clear signal that something has gone awry, making it crucial for you to keep a close eye on these sensory indicators.
A vibrant and lively culture is characterized by its enticing fragrance and visually appealing color, providing reassurance that your starter is thriving. Be cautious, though any signs of dark discoloration or an excessively pungent odor should raise red flags.
In such situations, it s wise for you to assess the starter for potential contamination or unwanted bacteria. To troubleshoot, consider refreshing it with new flour and water, or tweak the fermentation environment by lowering the temperature to slow down any aggressive fermentation.
Healthy starters are critical for baking success, as they play a pivotal role in enhancing the flavor, texture, and rise of your final product.
How Do You Use a Yeast Starter?
Incorporating a yeast starter into your baking recipe is an exhilarating step that can significantly enhance the flavor and texture of your breads, particularly when crafting sourdough or other delectable baked treats like sourdough tortillas or banana bread.
Begin by measuring the precise amount of your active starter according to your recipe’s guidelines, ensuring it’s well-fed and bubbling with energy for peak performance. Once you ve measured it out, you can effortlessly blend it into your dough preparation, harmonizing it with the other ingredients to create a vibrant and flavorful mixture that promises delightful results.
1. Measure Out the Amount Needed
Establishing a feeding schedule and understanding fermentation temperature are also key aspects of starter maintenance for achieving consistent results.
Accurately measuring the right amount of yeast starter for your recipe is essential for achieving consistent results in your baked goods. It’s highly recommended that you use a kitchen scale for this task, as it provides precise measurements in grams rather than cups, which can vary significantly.
A common rule of thumb is to use about 20% of the total flour weight in your dough preparation as the amount of active starter. This ensures that your bread benefits from a sufficient yeast culture, promoting an excellent rise and flavor, whether you’re baking sourdough buns or pizza dough.
While this guideline is a great starting point, you may need to adjust these ratios based on the specific characteristics of your recipe. For instance, if you re working with a richer dough that includes sugar or fat, consider slightly reducing the starter amount, as these ingredients can inhibit yeast activity. On the other hand, if your recipe calls for a quicker fermentation process or higher hydration levels, increasing the starter proportion can yield better results.
Using a kitchen scale allows you to fine-tune these measurements, accommodating variations in flour types and moisture content. This makes it an critical tool for anyone looking to elevate their baking, whether you’re an aspiring baker or a seasoned pro.
How to Add Your Yeast Starter to the Dough
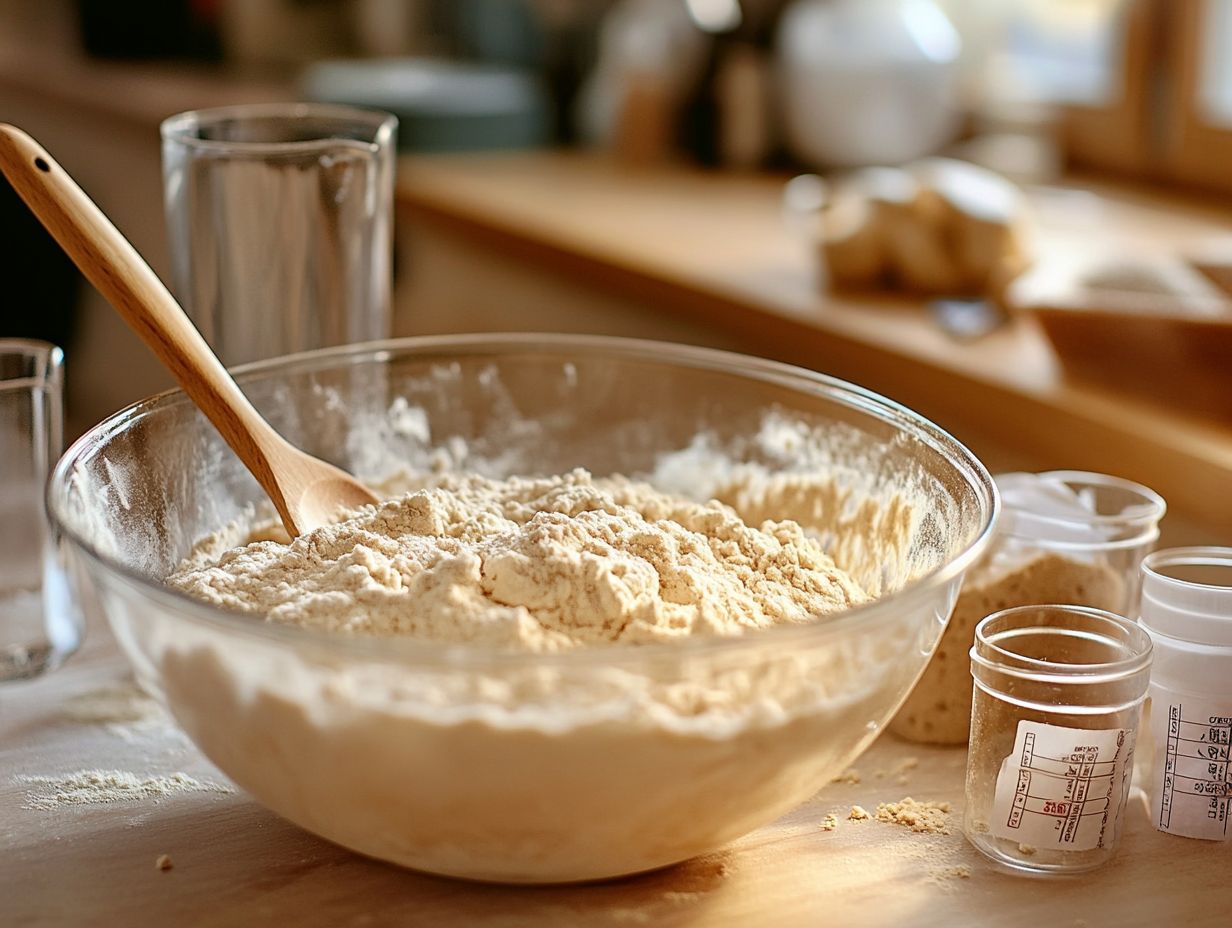
Once you ve measured the perfect amount of yeast starter, your next step is to incorporate it into your recipe, seamlessly blending it with the other ingredients for your dough preparation. This involves mixing the starter with flour, water, and any optional ingredients you choose, ensuring that the mixture becomes uniform and well combined.
In sourdough recipes, this step is especially crucial, as it allows the wild yeast to mingle with the dough, promoting fermentation and resulting in beautifully risen bread with complex, delightful flavors.
To effectively integrate the yeast starter, it s smart to first dissolve it in the water, creating a smooth slurry that helps with even distribution. After that, gradually add the flour and mix using either your hands or a dough mixer, taking care to eliminate any dry clumps.
Mixing the flour thoroughly ensures a consistent dough consistency. Kneading the dough helps evenly distribute the yeast and develops the gluten structure, which is essential for achieving the desired texture in your final product.
Your attentiveness during these initial mixing stages significantly contributes to the overall success of the baking process, ensuring a delicious loaf that rises beautifully, whether you’re making crusty baguettes or traditional biscuits.
Tips for Maintaining and Using Your Yeast Starter
Learn how to maintain and utilize your yeast starter effectively for baking success. This guarantees that you always have an active starter at your fingertips for your culinary masterpieces, whether you’re preparing sourdough bread or other variations.
Establishing a consistent feeding schedule is essential; it keeps the yeast culture vigorous and thriving. Day by day, you’ll notice the rising and falling of the starter, indicating its health.
Getting familiar with troubleshooting tips helps you quickly identify and fix any activity issues with your starter. Understanding the basics of starter maintenance and proper fermentation temperature is key to achieving the best results.
Keeping Your Yeast Starter Active and Healthy
Keep your starter buzzing with energy by feeding it regularly! To ensure your sourdough starter remains a powerhouse for baking bread, it s vital to keep it active through regular feedings and a keen eye on its bubbling activity.
Sticking to a strict feeding schedule not only supplies the yeast with essential nutrients but also fosters lively fermentation, which is the secret ingredient for that airy texture and complex flavors you crave in bread, especially sourdough.
By observing your starter s activity and adjusting the feeding quantities as needed, you can maintain a robust and healthy yeast culture.
Look for signs of lots of bubbles and a noticeable rise within a few hours of feeding as indicators of a thriving culture. If your starter seems sluggish or takes longer to rise, it s a clear sign that you might need to increase the frequency of feedings or adjust the amount of flour compared to water.
A well-fed starter doesn t just ferment faster; it also ensures consistent flavors in your baked goods. Regular care and monitoring are fundamental for achieving top-notch results in baking, making your yeast starter a critical ally in your kitchen for creating everything from crusty baguettes to pizza dough.
2. Use it Regularly
Using your yeast starter regularly is essential for keeping it active and healthy. Frequent baking ensures it remains vibrant and primed for your next culinary adventure. By incorporating your starter into a variety of recipes think sourdough bread, banana bread, or even sourdough tortillas you gradually enhance its flavor profile and effectiveness. Make sure to use organic bread flour and filtered water for the best results.
Adhering to a consistent feeding schedule while using it regularly allows your starter to thrive. This enables you to achieve the best results in your baking endeavors. Monitor the kitchen counter temperature to ensure optimal fermentation.
Try exciting variations to elevate the flavors of your baked goods. For example, adding herbs or spices to your bread recipes can create delightful new twists, while experimenting with whole grain flours or gluten-free options introduces exciting textures and depths of flavor.
Utilizing your yeast starter in pastry doughs or pancakes can turn an ordinary breakfast into an extraordinary treat, comparable to enjoying a San Pellegrino with a freshly baked pastry.
Embrace the journey of experimenting with your starter; each trial presents an opportunity to discover unique combinations that elevate your baking. This transforms routine recipes into remarkable creations. Keep a baking journal to document your experiments, including your experience with rising and falling patterns.
3. Experiment with Different Flours and Feeding Methods
Maintaining a yeast starter offers you the delightful opportunity to experiment with various flours and feeding methods. This opens the door to unique sourdough variations that can elevate your baking skills. By incorporating whole grain flour or even gluten-free options into your feeding routine, you can infuse new flavors and textures. Using a kitchen scale ensures accuracy in your measurements, optimizing the starter’s performance.
Exploring different feeding methods, such as the jar method or tweaking your feeding schedule, allows you to discover what works best for your specific environment and baking preferences. A kitchen thermometer can help you monitor the fermentation temperature more accurately.
These experiments not only spark your creativity but can also enhance yeast activity and improve the characteristics of your bread. A baking journal is essential; it enables you to document changes in flavor profiles and rise times, refining your approach over time. By recording the outcomes of each variation, you gain a clearer understanding of how specific flours or feeding techniques impact your starter’s vitality and the overall taste and aroma of your baked goods. Understanding the sourdough process in detail will help in achieving the perfect bread every time.
This thoughtful experimentation cultivates a deeper connection with the baking process, resulting in a more personalized and delicious outcome.
For more details, you can watch this cooking video to understand the practical aspects of dough preparation and mixing flour.
Frequently Asked Questions about Sourdough Baking
What is the purpose of making a starter for yeast?
A starter is used to activate and increase the amount of yeast needed for baking. It is especially useful for inactive or old yeast or for recipes that require a large amount of yeast. This traditional method is often preferred over store bought yeast for its ability to grow natural yeast.
How do I know if I need to make a starter for my yeast?
If your yeast has been sitting in the pantry for a long time, it may have become less potent. You can test it by adding a teaspoon of yeast to warm water and sugar. If it doesn’t start to foam after 10 minutes, you will need to make a starter using basic instructions and reliable ingredients like King Arthur Flour.
What ingredients do I need to make a starter for yeast?
You will need flour, water, and yeast. Some recipes recommend adding sugar or honey, but this is not necessary as the yeast will feed off the flour. You will also need a container with a lid, such as a mason jar or plastic container. Using high-quality ingredients like Breadtopia flour and Santa Barbara water will yield the best results.
Making Your Own Sourdough Starter
Creating a sourdough starter is a fun and rewarding process. Follow these steps to get started!
How do I make a Sourdough Starter?
Mix equal parts flour and warm water in your container. Add a bit of yeast and stir well. Cover the container and let it sit in a warm spot for 24 hours. You should see bubbles forming, which means the starter is alive and ready to grow!
Can I make a Sourdough Starter ahead of time?
Yes, you can prepare your starter up to a week in advance. After the first 24 hours, store it in the refrigerator. Take it out and let it warm up before using it in your recipes. This is a key part of starter maintenance!
Do I have to use all of the Sourdough Starter in my Recipe?
No, you can keep a portion of the starter for later use. After using what you need, feed the remaining starter with equal parts flour and warm water. Let it sit for another 24 hours before refrigerating it again. This keeps your starter active and opens the door to endless baking opportunities!

