Brewing Coffee with a Moka Pot: Tips and Tricks
Contents
- Mastering the Moka Pot: Your Ultimate Guide to Brewing Coffee
Mastering the Moka Pot: Your Ultimate Guide to Brewing Coffee
Are you ready to elevate your coffee brewing experience? The Moka pot is your gateway to a delightful coffee experience, letting you craft rich, espresso-like brews right from your kitchen. Brands like Bialetti have perfected the design of these moka pots over decades.
This guide will delve into the essentials of the Moka pot, covering its mechanics and the best types of coffee to choose, such as specialty coffee blends from Starbucks or Pike Place.
You’ll discover the ideal grind size, step-by-step brewing instructions, and invaluable tips to sidestep common mistakes. Whether you’re using an Oxo Conical Burr Grinder or a coffee scale to measure your grounds, prepare yourself to brew the perfect cup of coffee!
Key Takeaways:
What is a Moka Pot?
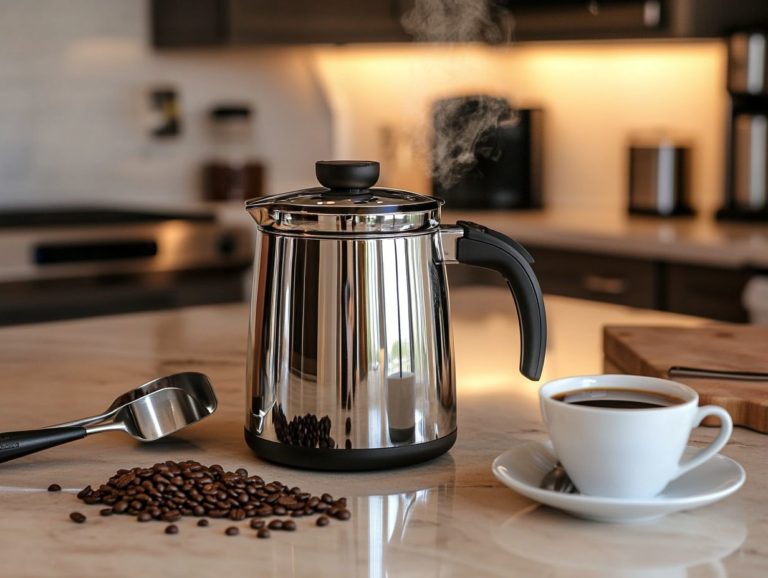
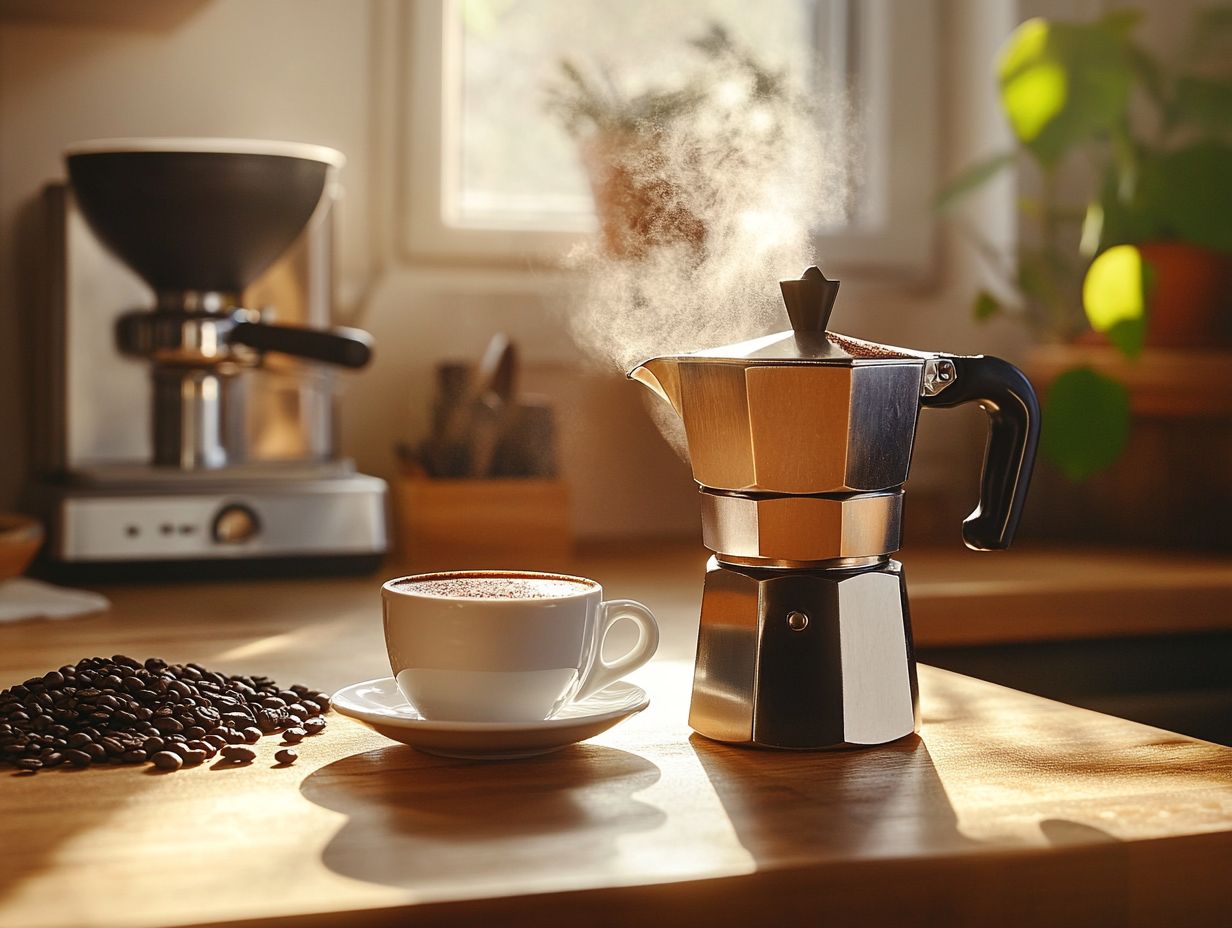
The Moka Pot, a brilliant invention by Alfonso Bialetti in the early 20th century, stands as a cherished stovetop coffee maker that brews rich, intense coffee using the power of pressurized steam. This distinctive brewing method artfully combines water and coffee grounds to create a strong, espresso-like coffee, celebrated for its convenient preparation and exquisite crema. It s a staple in Italian households and has been a part of coffee culture globally.
Thousands of households cherish the Moka Pot, especially in Italy, where coffee culture flourishes. It offers an approachable way to savor espresso without the burden of costly machines or intricate techniques.
How Does a Moka Pot Work?
The Moka Pot functions on a straightforward yet highly effective principle of pressurized brewing, utilizing steam pressure to draw out the coffee s rich flavors from the grounds. As the water heats in the bottom chamber, it produces steam that propels the hot water upward through a filter screen packed with coffee grounds.
This process not only yields a robust flavor profile but also delivers an aromatic experience that is hard to resist. It s no wonder that the Moka Pot has become a beloved choice for coffee aficionados who value the harmony of uncomplicated mechanics and exquisite flavor results.
What Type of Coffee is Best for a Moka Pot?
Selecting the perfect coffee for your Moka Pot is a crucial step in crafting that rich, espresso-like flavor that true coffee lovers seek. To achieve this, you should opt for high-quality coffee beans, with specialty blends especially Italian roasts being particularly recommended. Whether you prefer decaf coffee or regular, the roast and grind size will greatly affect the outcome.
These selections often provide the intense and complex flavor profiles that beautifully align with the Moka Pot’s unique brewing method. The beans you choose will have a profound effect on the overall taste, aroma, and crema of your brew, transforming your morning ritual into an elevated experience.
What Grind Size Should You Use for a Moka Pot?
The grind size of the coffee you use in a Moka Pot plays a pivotal role in achieving the ideal brew, profoundly influencing both flavor and extraction. A medium-fine grind is typically recommended, as it facilitates optimal coffee extraction while warding off the unwanted bitterness that can result from over-extraction.
To master Moka Pot brewing, you need to find the right coffee-to-water ratio. Adjust your grind size accordingly for the best results.
How to Brew Coffee with a Moka Pot
Brewing coffee with a Moka Pot is a truly delightful experience that, when done right, results in a rich and flavorful cup echoing the essence of traditional espresso.
Start by filling the bottom chamber with cold water. Make sure it reaches just below the safety release valve to avoid overflow.
This crucial step sets the brewing temperature necessary for the best flavor. By using cold water, you moderate the heating process, allowing the coffee grounds to interact properly with the water. If the water starts off too hot, you risk over-extraction, leading to a bitter taste instead of the rich, balanced flavors you’re aiming for.
Keeping the water chamber at the right level not only prevents spills but also plays a vital role in achieving a consistently delightful brew that highlights the best characteristics of your chosen coffee.
Step 1: Fill the Bottom Chamber with Water
The first step is to fill the bottom chamber with cold water. Make sure it reaches just below the safety release valve to avoid overflow.
This step is essential for setting the brewing temperature needed for the best flavor. By using cold water, you give the coffee grounds the time they need to properly interact with the water. If the water is too hot, you risk over-extraction, which can result in a bitter taste instead of the rich, balanced flavors you desire.
Therefore, keeping the water chamber at the right level not only prevents spills but also enhances your coffee experience.
Step 2: Add Ground Coffee to the Filter Basket
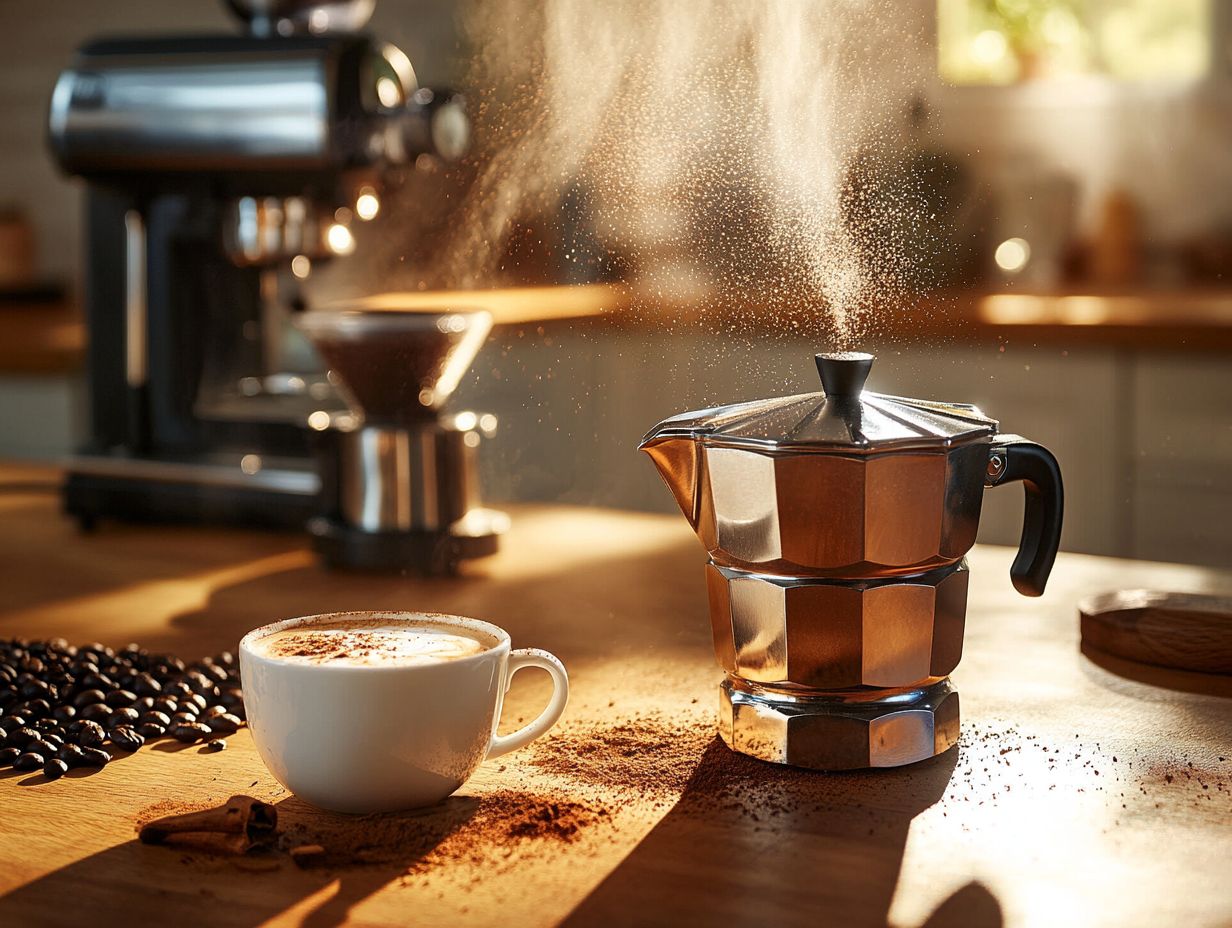
In this step, add finely ground coffee to the filter basket, ensuring it’s evenly distributed without packing it too tightly. Overdoing it can interfere with the brewing process and ruin your coffee experience.
Pay attention to the grind size, as it plays a crucial role in flavor extraction. If your grind is too fine, you risk over-extraction, leading to a bitter brew. Conversely, a coarser grind may result in under-extraction, leaving your coffee weak and lacking depth.
Aim for a coffee-to-water ratio of 1:16. This means for every gram of coffee, you should use 16 grams of water. Striking this balance is key to achieving the perfect harmony of flavors, ensuring each cup is rich, aromatic, and utterly satisfying. A coffee scale can help you measure precisely to maintain this balance.
Step 3: Assemble the Moka Pot
Once you ve added the coffee to the filter basket, carefully assemble the Moka Pot by screwing the top chamber onto the bottom chamber. Ensure the safety release valve remains clear and unobstructed.
It s essential that the two chambers are tightly sealed to prevent any steam from escaping during brewing. This is vital for achieving the optimal brewing pressure needed for that rich, flavorful coffee you crave. Pay close attention to the threading as you connect the two parts, and consider giving them a gentle twist to secure the seal.
Always handle the Moka Pot with care during assembly. Avoid over-tightening, as this could lead to potential damage. For your safety, always allow the Moka Pot to cool down before unscrewing any parts.
Step 4: Place the Moka Pot on the Stove
Now, place the assembled Moka Pot on the stovetop over medium heat, allowing the water to boil gently and create the necessary steam pressure for brewing.
Heat control is crucial, as it influences both the brewing time and the overall quality of your coffee. A flame that s too high can lead to rapid boiling, resulting in a bitter taste, while a flame that s too low may prevent the brew from reaching its optimal strength.
When choosing between gas and electric stoves, you ll notice significant differences. Gas stoves offer instant heat adjustments, giving you precise temperature control. In contrast, electric stoves provide a steadier heat source but may be slower in adjusting temperatures. For those who enjoy experimenting, an Aeropress can also enhance your coffee-making ritual. Understanding these dynamics is essential for anyone looking to refine their coffee-making skills.
Step 5: Watch and Listen for the Coffee to Brew
As your Moka Pot brews, take a moment to watch and listen for the distinct bubbling sound that signals your coffee is nearing completion. It’s at this point that the rich aroma begins to fill the air, enticing your senses. This sensory experience feels like walking past a bustling coffee shop in Italy, with the unmistakable scent of fresh espresso filling the air.
Pay close attention to the gentle hiss and sputter. These sounds indicate that the coffee is just about to reach its peak flavor. Staying vigilant during this phase is essential; leaving it on the heat for too long can lead to a bitter taste with a burnt undertone, spoiling your perfect cup.
To avoid bitterness, remove the pot from heat as soon as you notice the bubbling sounds begin to fade and the aroma shifts slightly. By doing so, you ensure that only the robust and vibrant flavors are captured, resulting in a truly delightful coffee experience.
Top Tips for Brewing Coffee with a Moka Pot
To brew the perfect cup of coffee with a Moka Pot, you can follow several tips that will elevate your experience and ensure a truly delightful outcome. Begin by selecting freshly roasted coffee beans, as they will unlock the most exquisite flavor profile.
By mastering the delicate balance of grinding, heating, and brewing techniques, you can transform your coffee preparation into an art form. Savor the nuanced flavors that only a Moka Pot can provide. Whether you’re enjoying your coffee with homemade pasta or a Peroni, this method brings out the best in your beans.
1. Use Freshly Roasted Coffee Beans
Using freshly roasted coffee beans is essential for enhancing flavor when brewing with a Moka Pot. The coffee oils and complex flavors are most vibrant shortly after roasting. Brands like Keurig Green Mountain, Inc. and Soci t des Produits Nestl S.A. offer a range of freshly roasted options to suit any preference.
Recognize that coffee freshness is crucial for enhancing both flavor and aroma, significantly elevating your overall coffee experience. The freshness of the beans typically starts to wane within weeks of roasting, so it s wise to purchase smaller quantities you can enjoy promptly.
Aim for whole beans from a reputable source that clearly marks the roast date, such as Starbucks or Nestl . Proper storage is just as important. Keep your beans in an airtight container stored in a cool, dark place to shield them from light, air, and moisture.
Consider how the roast profile light, medium, or dark affects your brew. Lighter roasts often highlight bright, fruity notes, while darker roasts deliver rich, bold flavors. Choosing the right roast of specialty coffee can enhance your coffee experience significantly.
2. Preheat the Water
Preheating the water before you add it to the Moka Pot can significantly enhance your brewing efficiency and improve the extraction process, resulting in a smoother, less bitter cup of coffee.
This simple practice not only reduces the overall brewing time but also optimizes the flavor profile of your coffee. Preheating the water allows the grounds to release their essential oils and aromas more effectively, leading to a richer, more balanced taste.
To preheat water effectively, consider using a kettle set just below boiling point or an electric kettle with a temperature control feature. Alternatively, heat the water on the stove and pour it into the Moka Pot once it reaches the perfect temperature, ensuring your coffee is extracted at its finest, much like the process used in stovetop espresso.
3. Don’t Pack the Coffee Too Tightly
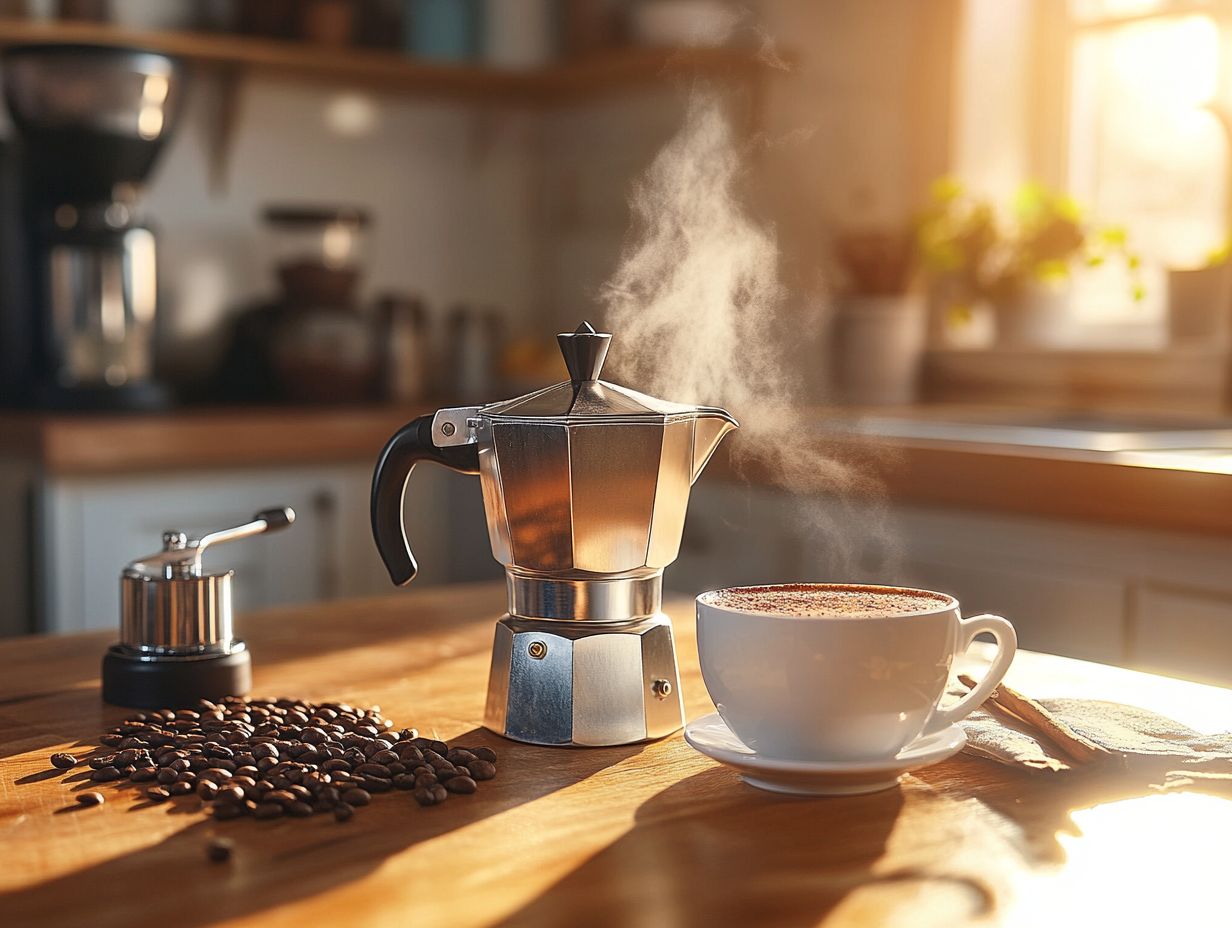
Achieving the perfect balance is key for a delightful coffee experience! It’s crucial to avoid packing the coffee too tightly in the Moka Pot’s filter basket. Doing so can restrict water flow and lead to uneven extraction, ultimately resulting in a bitter cup of espresso-like coffee.
Gently level the coffee grounds with your fingertip or a flat edge instead of pressing them down firmly. This approach creates enough space within the basket for the coffee to expand during brewing, which is essential for achieving a well-rounded flavor and a rich, intense brew.
Opting for freshly ground coffee can elevate your experience significantly, as it typically boasts a more vibrant aroma and richer taste profile. Grind sizes refer to how coarse or fine the coffee beans are ground, affecting flavor and brewing time. Don’t hesitate to experiment with different grind sizes using tools like the Oxo Conical Burr Grinder; this can greatly impact your extraction while preventing any buildup or blockage. Extraction is the process of dissolving flavors from the coffee grounds into the water.
4. Use Medium Heat
Using medium heat while brewing in a Moka Pot is crucial for achieving optimal brewing conditions. It allows the water to heat evenly, preventing bitterness that can arise from overheating and preserving the coffee extraction process.
This balanced temperature encourages a smoother extraction of flavors, highlighting the coffee’s inherent qualities rather than introducing unpleasant harsh notes from excessive heat.
If you’re using gas or electric burners, the intensity of the flame or coil can significantly influence your brewing experience. Keep a close eye on the brew, as different stovetops may require slight adjustments in heat.
In colder environments, you might need to increase the heat a bit, while in warmer settings, maintaining it at medium could do the trick. Embracing some experimentation can refine your brewing technique, ultimately guiding you to that perfect, personalized cup of coffee that highlights the flavor profile you desire.
5. Remove from Heat Before the Coffee Starts to Bubble
Remove the Moka Pot from heat immediately before the coffee bubbles! This simple action prevents a burnt or overly bitter flavor, preserving its espresso-like qualities.
Mastering this delicate timing can have a profound impact on the quality of your coffee. To achieve the best results, keep a close eye on the brewing process and look for specific signals. As the water heats, listen for that gentle gurgling sound and watch for steam starting to escape from the spout. Pay attention to the aroma as well; when the rich scent of fresh coffee begins to intensify, it s your cue to spring into action, just like in traditional Italian coffee preparation methods.
A subtle shift in the pot’s overall sound often indicates that your coffee is nearing the end of its brewing journey, marking the ideal moment to lift it away from the heat. Watch closely for the gurgling sound this is your cue to lift it off the heat!
6. Clean and Maintain Your Moka Pot Regularly
Regular cleaning and maintenance of your Moka Pot are vital for preserving its brewing quality and ensuring the longevity of the device, safeguarding against old coffee oils that could compromise flavor.
Overlooking this essential task risks the buildup of residue and stale flavors that can diminish the rich, aromatic experience you seek from fresh coffee. To maintain your Moka Pot s performance, establish a cleaning routine after each use.
Start by disassembling the pot and rinsing all parts with warm water to eliminate any coffee grounds. For a more thorough clean, apply mild dish soap to a soft cloth or sponge and gently scrub the components. If stubborn stains or mineral deposits linger, a mixture of equal parts water and vinegar will do the trick. Pay special attention to areas like the filter screen and safety release valve to ensure they are free from any build-up.
Rinse everything thoroughly and ensure the pot is completely dry before reassembling. This regular upkeep enhances the flavor of each cup you brew and extends the lifespan of your Moka Pot, solidifying its place as a cherished staple in your coffee-making arsenal.
Common Mistakes to Avoid When Using a Moka Pot
Moka Pots, made famous by Bialetti, are essential tools for coffee lovers who appreciate traditional brewing methods.
When using a Moka Pot, steering clear of common mistakes can significantly elevate your brewing experience. This ensures a delightful cup of coffee that is free from bitterness or flaws. Many coffee enthusiasts often overlook essential steps in both preparation and brewing. This oversight can result in less-than-ideal outcomes.
By recognizing and addressing these pitfalls, you can master the art of Moka Pot brewing and consistently achieve rich, flavorful results comparable to those found in popular coffee shop beverages like cappuccino and latte.
1. Using the Wrong Grind Size
Using the wrong grind size for your Moka Pot can ruin your coffee. You might end up with a weak cup from under-extraction or a bitter brew from over-extraction, neither of which is ideal.
Tools like a coffee scale and Oxo Conical Burr Grinder can help you find the perfect grind size. Striking the perfect balance is essential. It determines not only the strength of your coffee but also the richness of its flavor profile.
A grind that is too fine can clog the filter. This causes excessive pressure, forcing hot water through the coffee grounds too quickly. The result is often unpleasant flavors. On the flip side, if your grind is too coarse, the water may flow too freely, leading to insufficient extraction and a flat flavor experience.
Using a coffee scale to measure the coffee-to-water ratio can help achieve the desired result. For the best possible outcomes, experiment with different grind sizes while keeping in mind the Moka Pot s brewing temperature and pressure conditions.
This approach will help you create a coffee experience that satisfies your palate. Consider using fresh coffee beans for the best flavor.
2. Overheating the Moka Pot
Overheating the Moka Pot is a frequent misstep that can significantly compromise your coffee’s flavor. It can result in unwelcome bitterness and a burnt taste that overshadows the intrinsic qualities of espresso.
This problem occurs when the water gets too hot, leading to over-extraction of the coffee grounds. The result is an unpleasantly strong and astringent brew that no one wants in their cup. To prevent this from happening, always keep a close eye on the heat while brewing. Make sure you’re using the correct coffee-to-water ratio.
A practical approach is to start with low to medium heat. Closely observe the brewing process. Pay attention to the distinctive hissing sound that indicates your coffee is almost ready. Once this sound starts to fade, it’s time to reduce the heat.
By maintaining optimal temperatures, you can preserve the desirable aromatic compounds. This ultimately crafts a more balanced and enjoyable cup. For even more control, use a coffee scale to measure your ingredients precisely.
3. Not Cleaning the Moka Pot Properly
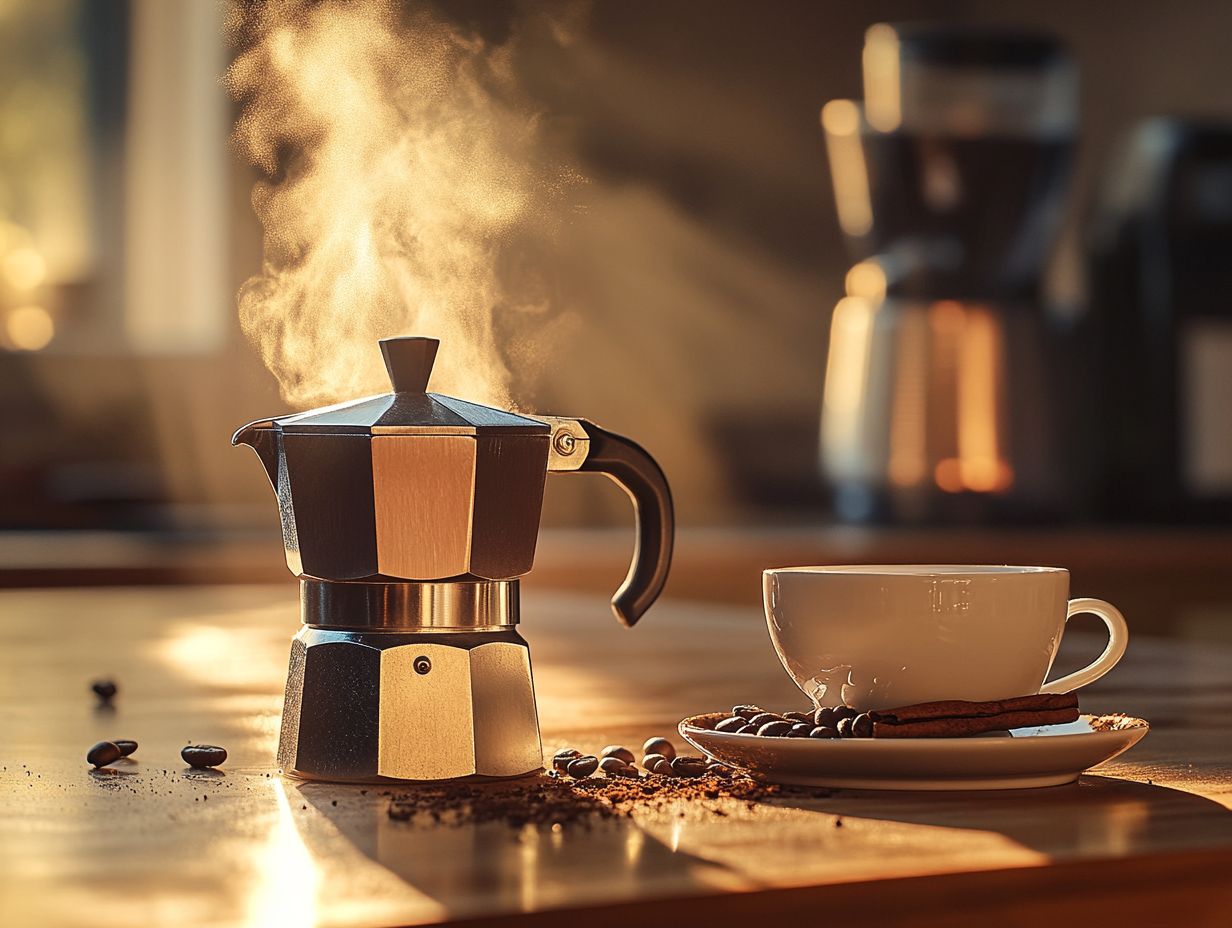
Neglecting to clean your Moka Pot meticulously after each use can lead to a concerning buildup of old coffee oils and residue. This buildup can significantly compromise the flavor of your future brews, especially if you use the pot for decaf coffee as well as regular coffee.
This accumulation can introduce a rancid taste that overpowers the rich, aromatic qualities you crave in a freshly brewed cup. To prevent this scenario, always dismantle the pot after each use and rinse all components thoroughly with warm water.
A soft brush or sponge can help remove stubborn oils. However, avoid harsh detergents that could leave unwanted flavors or damage the aluminum. Alternatively, using a stainless steel Moka Pot can mitigate some of these concerns.
Regular maintenance not only elevates your coffee’s flavor profile but also extends the life of your Moka Pot. This ensures that every brewing session preserves the purity and integrity of your coffee experience.
Frequently Asked Questions
Moka Pots are a staple in traditional coffee culture, especially in Italy. Here are some common questions:
- How do I choose the right grind size for my Moka Pot? Select a medium grind, similar to table salt, for optimal extraction.
- Can I use my Moka Pot for decaf coffee? Yes, but ensure it’s cleaned thoroughly to prevent flavor contamination.
- How often should I clean my Moka Pot? Clean it after each use to maintain the best flavor.
Now that you know these common mistakes, it s time to put these tips into practice. Grab your Moka Pot and start brewing delicious coffee today!
What is a Moka Pot and how does it work?
A Moka Pot is a stovetop espresso maker that uses steam pressure to brew coffee, famously invented by Alfonso Bialetti and designed by Luigi De Ponti. It consists of three chambers – a bottom chamber for water, a middle chamber for ground coffee, and a top chamber for the finished coffee. When heated, the water in the bottom chamber turns into steam, which then pushes the water through the ground coffee and up into the top chamber, creating a strong and flavorful cup of coffee.
What type of coffee should I use for my Moka Pot?
For the best results, use specialty coffee or espresso blends. Adjusting the grind size and coffee to water ratio can help you achieve the desired strength and flavor profile.
Ask coffee experts for recommendations like those from Giorgio Milos at Illy.
A fine to medium grind size works best for a Moka Pot, a brewing method popularized by Bialetti. Avoid using too coarse of a grind, as it can result in a weak and watery cup of coffee. Also, make sure to use freshly ground coffee beans for the most flavorful brew.
How much coffee and water should I use in my Moka Pot?
The general rule of thumb is to use one tablespoon of ground coffee for every 4 ounces of water. So for a 6-cup Moka Pot, you would use 6 tablespoons of ground coffee and 24 ounces of water.
A coffee scale helps you get the perfect coffee-to-water ratio. However, you can adjust the ratio according to your personal taste preference.
How do I clean my Moka Pot?
To clean your Moka Pot, disassemble all the parts and wash them with warm soapy water. Make sure to scrub the inside of the top chamber to remove any coffee oils that may have built up.
Do not use any harsh chemicals or abrasive materials, as they can damage the pot. Don’t forget to dry all the parts thoroughly before putting everything back together for the best results!
For best results, consider using a coffee preparation brush to clean the filter screen and safety release valve.
Can I use my Moka Pot on an induction stovetop?
No, traditional Moka Pots are not compatible with induction stovetops. They are designed to be used on gas or electric stovetops only.
However, there are some stainless steel Moka Pots with a magnetic bottom that can be used on induction stovetops, so make sure to check for that before purchasing. Brands like Bialetti offer such options.
How can I make my Moka Pot coffee taste even better?
One tip to enhance the flavor profile of your Moka Pot coffee is to preheat the water in the bottom water chamber before adding the ground coffee. This will help prevent any metallic taste and ensure a more consistent brewing temperature.
You can also add a pinch of salt to the coffee grounds before brewing to reduce any bitterness. For an intense, espresso-like flavor, experiment with different brewing techniques and ratios to find the perfect cup for your taste buds.
Using fresh coffee beans and grinding them with an Oxo Conical Burr Grinder can also enhance the quality of your brew.

