Best Cooling Methods for Home Brewing
Cooling your brew is an essential step in the home brewing process, significantly influencing both the safety and quality of your beer. Proper temperature control during this phase is crucial for maintaining the integrity of your end product.
As soon as your wort completes its boil, prompt cooling is vital to fend off unwanted bacteria and maintain the flavors you ve carefully crafted. Utilizing a reliable cooling system ensures that your wort reaches the desired fermentation temperature swiftly.
There are several cooling methods at your disposal, ranging from traditional ice baths to sophisticated glycol chillers, each with its own set of advantages and disadvantages. Whether you use an Anvil Cooling System or a simple DIY setup, the key is effective temperature management.
Whether you re just starting out or have been brewing for years, grasping these techniques can truly elevate your brewing skills and enhance the quality of your final product. Investing in high-quality cooling equipment can transform your brewing experience!
Contents
- Key Takeaways:
- 1. Ice Bath Cooling Method
- 2. Immersion Chiller Cooling Method
- 3. Counterflow Chiller
- 4. Plate Chiller
- 5. No-Chill Method
- 6. Pre-Chiller
- 9. Fermentation Chamber
- 10. Combination Methods
- What Is the Importance of Cooling in Home Brewing?
- How Can One Optimize Their Cooling Method for Better Results?
- What Are Some Alternative Cooling Methods for Home Brewing?
- Frequently Asked Questions
- What are the best cooling methods for home brewing?
- Which cooling method is the most effective for home brewing?
- Are there any budget-friendly cooling methods for home brewing?
- What are the benefits of using a plate chiller for home brewing?
- Are there any alternative cooling methods for home brewing?
- Is it important to cool the wort quickly when home brewing?
Key Takeaways:
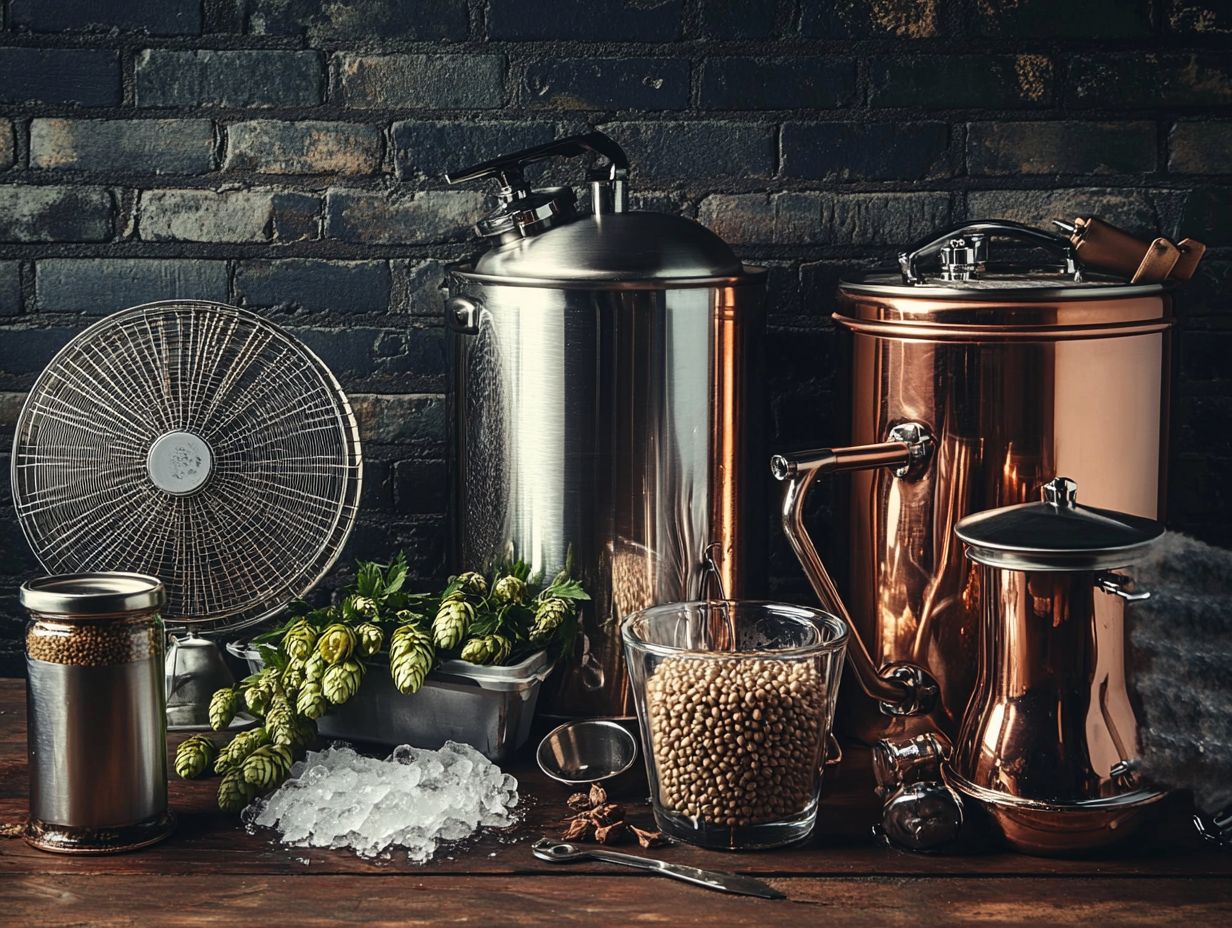
- Invest in an immersion chiller for quick and efficient cooling, especially for larger batches. Consider pairing it with an Inkbird temperature controller for precise management.
- Avoid common mistakes like using tap water or not sanitizing your cooling equipment.
- Use a combination of methods, such as a pre-chiller and whirlpooling, to optimize your cooling and improve the quality of your beer.
1. Ice Bath Cooling Method
An ice bath serves as an exceptionally effective cooling method for homebrewers, aiming to maintain optimal fermentation temperatures. By using the way water and ice hold heat, you can achieve rapid cooling of your beer post-boiling. This method is particularly beneficial, as it grants you precise temperature control crucial for avoiding unwanted esters, which can give fruity flavors, and off-flavors in your final brew.
By immersing your fermenter in a bath of ice and water, you can drop temperatures to ideal ranges in mere minutes. This approach blows traditional cooling systems, like immersion chillers or plate chillers, out of the water, particularly when water conservation is a priority. Enhancing your setup with a submersible pump can significantly improve circulation, ensuring even cooling throughout the vessel.
For a practical DIY solution, consider creating a simple ice bath with an inexpensive plastic tub. Just remember to replenish the ice regularly to maintain those low temperatures. This will optimize your brewing process and ultimately result in a superior batch. Using a t-shirt or swamp cooler can also provide additional insulation to your setup.
2. Immersion Chiller Cooling Method
An immersion chiller offers you an efficient and straightforward way to cool your wort rapidly after boiling, drastically cutting down the time it takes to reach fermentation temperature a critical step in producing high-quality beer. Typically made from stainless steel or copper, this cooling system facilitates quick heat transfer away from the wort, preserving those delicate, temperature-sensitive flavors while minimizing any off-flavors as it cools down to around room temperature.
To use an immersion chiller effectively, start by immersing the chiller in the kettle before you begin boiling. This sanitization step is crucial; it safeguards your brew from contamination. Once boiling is complete, connect the chiller to a cold water source and submerge it in the hot wort for about 20 to 30 minutes, aiming for temperatures around 50 F for lagers and roughly 70 F for ales. This can be monitored using a reliable digital thermometer.
Throughout this cooling process, keeping an eye on the temperature with a reliable thermometer is vital to ensure your wort reaches the desired level efficiently. Adhering to proper sanitation practices like sanitizing all connections will significantly contribute to a successful fermentation and ultimately yield a crisp, clean final product. An Inkbird digital thermometer can be particularly useful for this purpose.
3. Counterflow Chiller
A counterflow chiller is your ticket to efficient cooling in the brewing process. It allows you to rapidly cool your wort while maintaining precise temperature control. This minimizes the risk of contamination and off-flavors, ensuring that your craft beer is nothing short of exceptional. Utilizing this method can truly boost the stability and quality of your beer.
The magic lies in its dual-tube design. Hot wort flows through a coil while cold water circulates in the opposite direction. This clever setup allows heat to be swiftly transferred away from the wort, enabling it to reach the optimal fermentation temperature in no time. This is perfect for producing high-quality beer.
This innovative method outshines traditional immersion chillers, which can be painfully slow in achieving the same cooling effects, especially when you’re dealing with larger volumes of liquid.
Follow these steps to set up your counterflow chiller for maximum efficiency: connect it to a sanitized wort outlet and ensure all components are pre-heated to avoid thermal shock, which refers to the sudden temperature change that can damage equipment. Whether you choose chilled water or a cooling solution that contains glycol, you re setting yourself up for maximum cooling efficiency. The glycol option is particularly advantageous because it provides even better performance, allowing for precise temperature management while keeping your energy costs in check. Using an Anvil Bucket or a conical fermenter can further enhance this setup.
By understanding the mechanics behind this system, you can harness its full potential and elevate your brewing experience to new heights.
4. Plate Chiller
A plate chiller is a compact and efficient cooling system that allows you to chill your wort rapidly. This ensures it reaches fermentation temperature in no time while preserving the desired flavors and characteristics of your beer. By utilizing a series of plates for heat exchange, this method minimizes the amount of water needed, making it perfect for optimizing your brewing setup, especially for high-quality, temperature-sensitive processes. Investing in quality equipment like the BrewJacket system can help achieve this efficiently.
By promoting a swift cooling process, the plate chiller also reduces the risk of unwanted microbial growth. This helps you maintain the purity of your brew. Unlike traditional immersion chillers that guzzle large amounts of water, plate chillers are designed to be space-saving and environmentally friendly. They are an excellent choice for the energy-conscious brewer. Using a submersible pump can enhance the efficiency of this system.
To set up your plate chiller effectively, ensure that both the wort and the cooling water flow in opposite directions, maximizing the efficiency of heat exchange. Regular maintenance is crucial; remember to clean the plates after each brew day to prevent clogs and maintain optimal performance. This simple step not only extends the life of your equipment, but also enhances your overall brewing experience.
5. No-Chill Method
The no-chill method presents an innovative approach to homebrewing that allows you to skip the traditional cooling process entirely. Instead, it utilizes the ambient temperature for fermentation, enhancing your brewing experience. By simply transferring the hot wort into a sanitized fermentation vessel often an insulated carboy or bucket and allowing it to cool naturally, you can unlock unique flavor profiles as the wort undergoes fermentation. This makes it an appealing choice for those eager to experiment with their beer recipes. A residential fridge or proper storage solutions can further refine this process.
While the no-chill method offers distinct advantages, such as reducing the risk of oxidation and saving precious time, it does come with its own set of challenges. These challenges particularly concern the flavor outcomes influenced by varying ambient temperatures. You ll often find that higher fermentation temperatures can lead to unwanted esters or off-flavors, so maintaining a consistent environment is crucial. Using a temperature controller or Inkbird can aid in achieving this consistency.
Homebrew forums recommend optimal storage solutions, including temperature-controlled spaces or cooling wraps to effectively manage heat during the fermentation phase. You might even come across anecdotes from fellow brewers who share their experiences with the unexpected flavors they ve achieved through this method. This illustrates the delicate balance between experimenting with environmental factors and ensuring a quality final product.
In summary, understanding the various cooling methods counterflow chillers, plate chillers, and no-chill methods can significantly enhance your brewing experience. Each method offers unique advantages and requires specific setups, so choose the one that fits your brewing style and goals.
6. Pre-Chiller
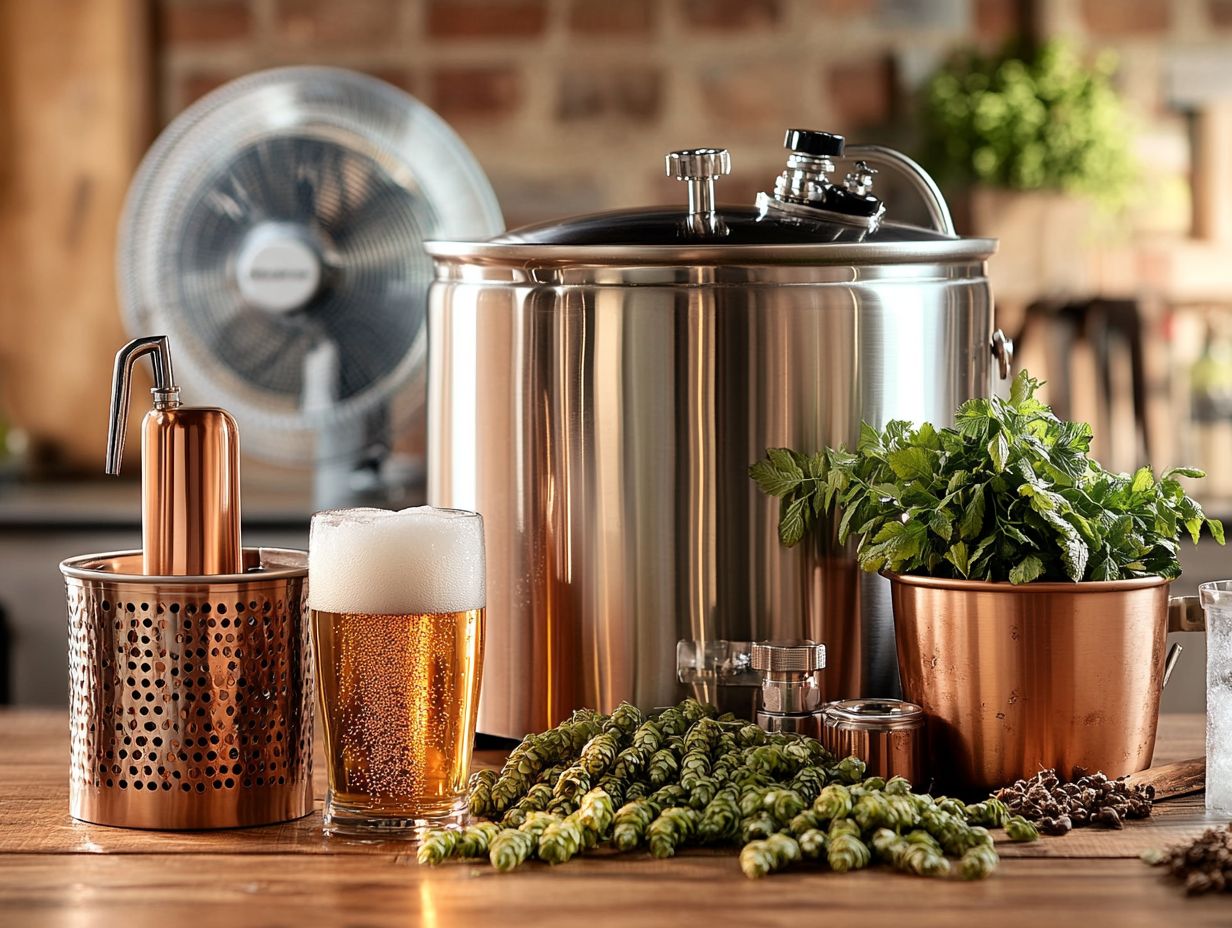
A pre-chiller is an invaluable addition to your homebrewing setup, especially if you’re using immersion or counterflow chillers. It allows you to achieve even faster cooling by utilizing ice water to lower the temperature of your incoming water supply.
This technique boosts the efficiency of your brewing process and ensures that your wort reaches the ideal fermentation temperature swiftly. Rapid cooling is crucial for preventing off-flavors and preserving the integrity of your beer’s intended flavor profile. Utilizing Brewpi for temperature control can further enhance this setup.
To set up an effective pre-chiller, you ll need a few key materials: a reservoir for ice water, a suitable pump to circulate the liquid, and tubing to connect the entire system. Integrating a pre-chiller with your existing cooling methods can significantly reduce cooling times.
This becomes particularly advantageous during those warmer months. Using a digital thermometer can help monitor temperatures accurately. This enhancement in cooling speed elevates the overall quality of your final product and optimizes your workflow.
By ensuring that your wort cools rapidly and efficiently, you set yourself up to consistently produce high-quality brews. Utilizing proper insulation methods, like a cooling towel or cooling wrap, can further aid in this process.
7. Whirlpooling
Whirlpooling is a technique you can employ during the brewing process that aids in cooling your wort. It also promotes the separation of hop debris and trub, resulting in a cleaner final product.
By creating a vortex with the help of a pump, you can efficiently circulate the wort. This not only cools the liquid but also clarifies the beer before fermentation, enhancing the quality of your finished brew.
Timing and temperature management are key for this method. The ideal temperature for whirlpooling typically falls between 180 F and 200 F. At this temperature, protein and hop particles begin to clump together and settle at the bottom of the kettle more effectively.
To achieve optimal results, whirlpool for about 10 to 20 minutes. This allows sufficient time for the solids to form a compact cone and keeps unwanted particles out of the fermenter.
This step is crucial not just for clarity but also for the overall flavor profile. It can significantly influence how bitterness and aroma from the hops are extracted during the brewing process.
8. Glycol Chiller
A glycol chiller is a game-changer for serious homebrewers who value precision in temperature control during fermentation. This sophisticated cooling system employs glycol as a coolant, ensuring that your fermentation chambers maintain stable temperatures.
This level of control allows you to craft consistent and high-quality beers, regardless of external conditions or temperature fluctuations. Unlike simpler methods, such as ice baths or basic refrigeration units, which can introduce temperature variations, the steady cooling provided by a glycol chiller creates an ideal environment for fermentation.
By maintaining optimal temperatures, you can achieve greater consistency in your brews and minimize discrepancies from batch to batch. With the ability to finely adjust and monitor temperatures, whether you’re fermenting lagers, ales, or specialty brews, you wield powerful control over the fermentation process.
This control can lead to innovative creations and an enhanced overall quality in your beer. Don t miss out on this chance to elevate your brewing game!
9. Fermentation Chamber
A fermentation chamber is a vital tool for homebrewers, enabling optimal temperature control during fermentation. This is essential for producing high-quality beer. This insulated environment creates a stable atmosphere, minimizing temperature fluctuations and ensuring that the yeast performs effectively.
The result? An enhanced flavor profile and consistency in your beer that you can be proud of.
Building such a chamber is straightforward and budget-friendly. You can often use simple materials like an old refrigerator or a cooler, paired with a temperature controller. The insulation keeps temperatures steady while boosting energy efficiency, making your brewing process more sustainable.
For different beer styles, like lagers that thrive in cooler conditions or ales that prefer warmer environments, precise temperature management can significantly influence your final product. By investing in a fermentation chamber, you ll likely discover that your efforts result in richer, more complex brews that truly showcase your skills and creativity.
10. Combination Methods
Combination methods for cooling beer present an innovative approach. This technique integrates multiple cooling methods to achieve optimal temperature control. It enhances the efficiency of your brewing process and elevates overall effectiveness.
You can optimize cooling times by utilizing a blend of systems like immersion chillers, plate chillers, and pre-chillers. This reduces energy consumption and improves the quality of your final product, ensuring fermentation takes place under ideal conditions.
As a practical example, you can use an immersion chiller as your primary cooling method while complementing it with a pre-chiller filled with ice water. This clever combination can significantly expedite the cooling process during the boiling of your wort.
However, be mindful of potential challenges, such as water pressure issues or inadequate chilling if one method gets overwhelmed. To overcome these hurdles, consider investing in high-capacity pumps or ensuring that your incoming water supply remains consistent.
The beauty of mixing and matching these systems lies in the customization they offer. You can adjust them based on your batch size and specific brewing needs, granting you the flexibility to fine-tune your temperature management strategies like a true brewing artisan.
What Is the Importance of Cooling in Home Brewing?
Cooling is integral to home brewing, profoundly influencing fermentation temperature and shaping the flavor, aroma, and overall quality of your beer. By employing the right cooling techniques, you can prevent unwanted esters and off-flavors during fermentation, ensuring a more efficient brewing process.
With effective cooling, your yeast can work its magic, turning sugars into delicious alcohol effortlessly while preserving the intended character of your brew.
Don t let temperature fluctuations ruin your brew! Maintaining an optimal fermentation temperature is crucial. Even a minor fluctuation can stress the yeast, resulting in undesirable byproducts that compromise the beer’s profile.
Techniques like immersion cooling or utilizing temperature-controlled fermentation chambers create a consistent environment. This encourages yeast to thrive within its preferred activity range.
By mastering the cooling process, you can experiment with various yeast strains, each imparting unique flavors and aromas to your final product. Recognizing the importance of this step empowers you to refine your brewing technique, ultimately enhancing the complexity and enjoyment of your creations.
What Are the Factors to Consider When Choosing a Cooling Method?
When selecting a cooling method for home brewing, consider key factors such as efficiency and cost. It is also important to be aware of the specific temperature requirements of the yeast during fermentation.
As a homebrewer, it s essential to weigh your options carefully, keeping in mind both the quality of your beer and your budget. This balancing act will help you find a solution that meets your needs without jeopardizing the brewing process.
Your choice of cooling method might differ significantly based on the size of your brewing batch. If you’re working with smaller setups, simple immersion coolers could be the perfect fit. Meanwhile, larger operations might benefit from more sophisticated counterflow systems.
The type of beer you re brewing is also a critical consideration. For example, lager fermentation typically requires precise temperature control, which may lead you to opt for a more robust cooling system. The equipment you have can limit or enhance your cooling choices, prompting many in the home brewing community to favor specific techniques that align with their gear and desired brewing outcomes.
How Can Different Cooling Methods Affect the Quality of Beer?
Different cooling methods can have a big effect on the quality of your beer, influencing fermentation temperature and determining the production of esters and off-flavors during the brewing process. By selecting the right cooling system, you gain control over these crucial variables, resulting in a cleaner, more flavorful beer that reflects your desired style and characteristics.
For instance, if you opt for a quick chill after boiling the wort, you can effectively preserve the fresh hop aroma in your IPA, ensuring those volatile oils remain intact and don t dissipate too soon. On the other hand, traditional lagers thrive with slower cooling methods, allowing the yeast to craft a nuanced flavor profile while closely managing fermentation temperature.
Finding this balance is essential. If the cooling happens too rapidly especially for temperature-sensitive styles the yeast might go dormant, which can negatively affect the esters that contribute to your beer’s character. Therefore, it’s critical to thoughtfully consider how your chosen cooling method influences not only the fermentation speed but also the intricate interplay of flavors that define each unique brew.
What Are Some Common Mistakes to Avoid When Cooling Beer?
As a homebrewer, you may find yourself stumbling into common mistakes when it comes to cooling your beer. This includes not properly monitoring temperatures, relying on inadequate equipment, or overlooking sanitation. Each of these mistakes can lead to disappointing results in your final brew. Recognizing these errors is essential for refining your brewing process and ensuring that the beer you produce meets your quality expectations.
One of the most prevalent mistakes is failing to chill the wort quickly enough after boiling. If you allow it to cool too slowly, you risk developing off-flavors and inviting unwanted wild yeast or bacteria into your batch. To tackle this issue, invest in a high-quality immersion chiller or counterflow chiller to cool your wort quickly!
Sanitizing your equipment is non-negotiable; even the slightest contamination can ruin an entire batch. It s crucial to ensure that every tool and vessel is thoroughly sanitized before you dive in.
By implementing best practices like conducting temperature checks at regular intervals and cleaning up immediately after brewing you can significantly elevate your overall results! This approach not only streamlines the process but also enhances the enjoyment of your final product.
How Can One Optimize Their Cooling Method for Better Results?
Optimizing your cooling method can significantly enhance your homebrewing experience, boosting both the efficiency of the process and the quality of the final beer. By taking a closer look at your current setup and making thoughtful adjustments such as improving insulation, incorporating additional cooling equipment, or experimenting with various techniques you can achieve optimal fermentation temperatures and unique flavors that set your brews apart.
This not only creates a more controlled environment for fermentation but also minimizes the risk of off-flavors caused by temperature fluctuations. Don t miss out on upgrading to a super-efficient chiller, like a counterflow or immersion system, which can dramatically accelerate the cooling process, allowing for swift transitions from boiling to fermentation.
Engaging with fellow homebrewers can also provide invaluable insights and fresh ideas, igniting innovative modifications to your personal setup. The diverse feedback you receive can inspire adjustments that elevate not only your brewing efficiency but also the entire brewing experience.
What Are Some Alternative Cooling Methods for Home Brewing?
Alternative cooling methods for home brewing present unique solutions to help you maintain optimal fermentation temperatures, particularly if traditional cooling systems are out of reach. Techniques such as using ice packs, creating a swamp cooler, or utilizing a submersible pump in an ice water bath offer affordable options to cool your beer quickly and efficiently, all without requiring extensive equipment.
While each of these DIY approaches can be quite beneficial, they come with their own set of advantages and disadvantages that warrant careful consideration:
- Ice packs: A straightforward solution, but you ll find yourself replacing them frequently as they melt.
- Swamp cooler: Requires more space and diligent monitoring of humidity levels, yet it can work wonders in stabilizing temperatures.
- Submersible pump: Provides rapid cooling but demands caution to prevent contamination.
By creatively blending these methods, you can tailor your cooling strategy to suit your specific brewing needs while maintaining flexibility in controlling fermentation conditions.
Frequently Asked Questions
What are the best cooling methods for home brewing?
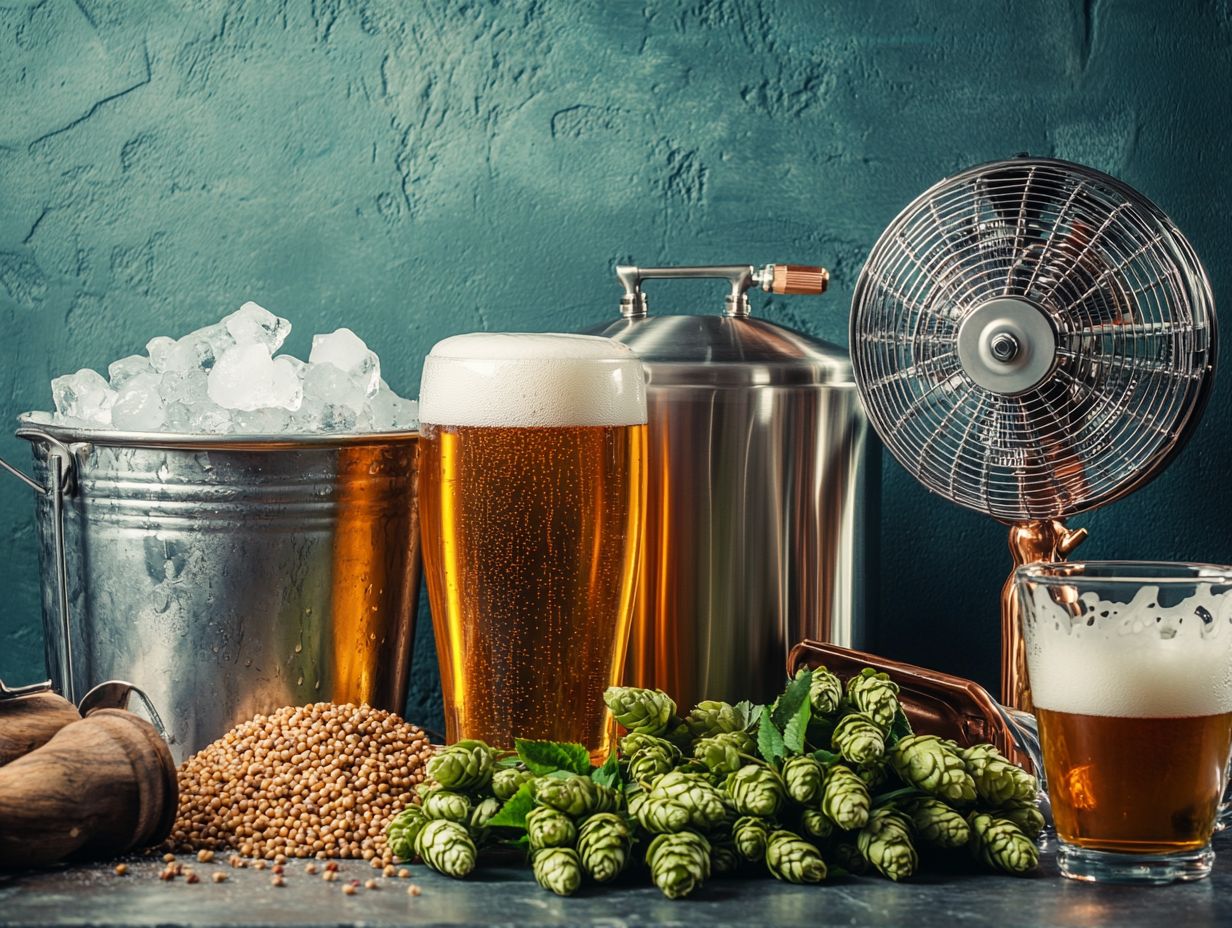
The best cooling methods for home brewing include immersion chillers, counterflow chillers, and plate chillers. These methods use cold water to cool the hot wort quickly and efficiently.
Which cooling method is the most effective for home brewing?
The most effective cooling method for home brewing is a counterflow chiller. This type of chiller allows the wort to flow through a tube while cold water flows in the opposite direction, resulting in faster and more efficient cooling.
Are there any budget-friendly cooling methods for home brewing?
Yes, immersion chillers are a cost-effective option for home brewing. They consist of a coiled copper or stainless steel tube that is placed directly into the hot wort and connected to a water source.
What are the benefits of using a plate chiller for home brewing?
Plate chillers are compact and highly efficient, making them a popular choice among home brewers. They use a series of plates to cool the hot wort, allowing for faster cooling times and less water usage.
Are there any alternative cooling methods for home brewing?
Some alternative cooling methods for home brewing include:
- Using a pond pump to circulate ice water.
- Using a frozen water bottle to swirl in the wort.
- Placing the hot wort in a sink filled with cold water.
Is it important to cool the wort quickly when home brewing?
Yes, it is crucial to cool the wort quickly when home brewing. Allowing the wort to cool too slowly can lead to off-flavors and potential contamination, affecting the overall taste and quality of the final product.

