How to Brew Beer at Home: Equipment Needed
Are you prepared to embark on an extraordinary journey into the art of home brewing? Crafting your own beer at home not only opens the door to a world of flavor experimentation but also offers a rewarding sense of accomplishment when you finally savor the fruits of your labor. Whether you use beer kits or create your own recipes, home-brewing offers endless possibilities.
This guide will equip you with all the essential tools needed to kick off your brewing adventure, ranging from brewing kettles to sanitizers. This guide provides a clear, step-by-step process to transform simple ingredients like malt extract into your very own brew.
Get ready for an exciting brewing adventure that will satisfy your creativity and taste buds!
Contents
- Step-by-Step Guide to Home Brewing
- 6. Adding Yeast
- 7. Fermentation Process
- 8. Bottling the Beer
- 10. Enjoying Your Homemade Beer
- Frequently Asked Questions
- What are the essential equipment needed to brew beer at home?
- Do I need a specific type of kettle to brew beer at home?
- What is the purpose of an airlock when brewing beer at home?
- Why is a hydrometer important for brewing beer at home?
- Can I use regular bottles to store my homemade beer?
- Do I need to invest in expensive equipment to start brewing beer at home?
Key Takeaways:
- Invest in essential equipment such as a brewing kettle, fermentation vessel, and thermometer to ensure a successful homebrewing process.
- Proper sanitation is crucial for clean brewing equipment, so make sure to sanitize all utensils and tools before use.
- Always follow a step-by-step guide and carefully add ingredients, cool the wort, and transfer to a fermentation vessel to produce high-quality homemade beer.
Equipment Needed for Home Brewing
Home brewing is an art form that demands specific equipment to guarantee a successful fermentation process and the creation of exceptional beverages like beer, ciders, and wines.
From essential brewing gear such as the brew kettle and fermentation bucket to important tools like a hydrometer and bottle capper, having the right brewing supplies is absolutely crucial.
The appropriate home brewing equipment not only elevates the quality of your brew but also simplifies the entire beer-making journey. This makes it a more enjoyable endeavor for you as an enthusiast.
Each piece of equipment plays a distinct role, contributing to the overall success of your home brewing adventures.
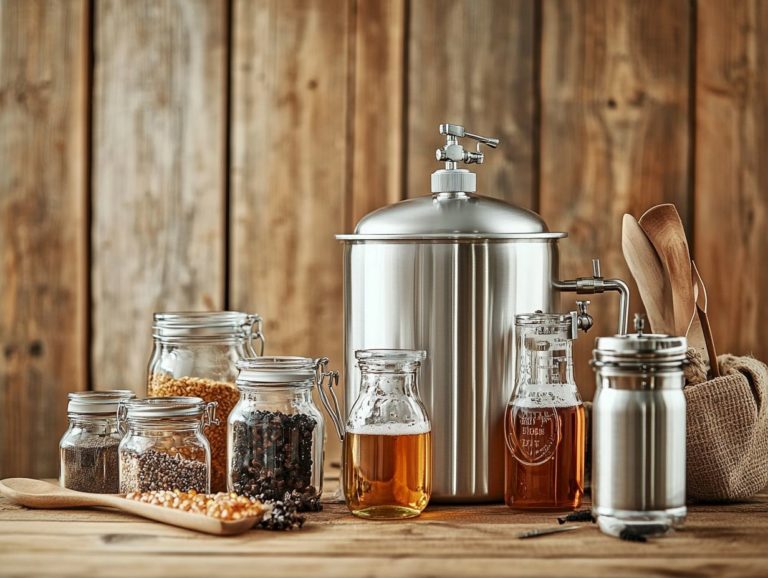
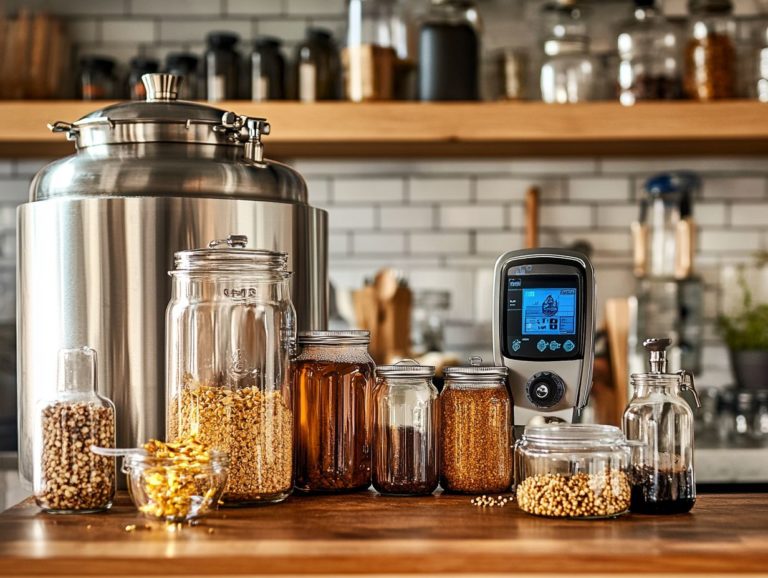
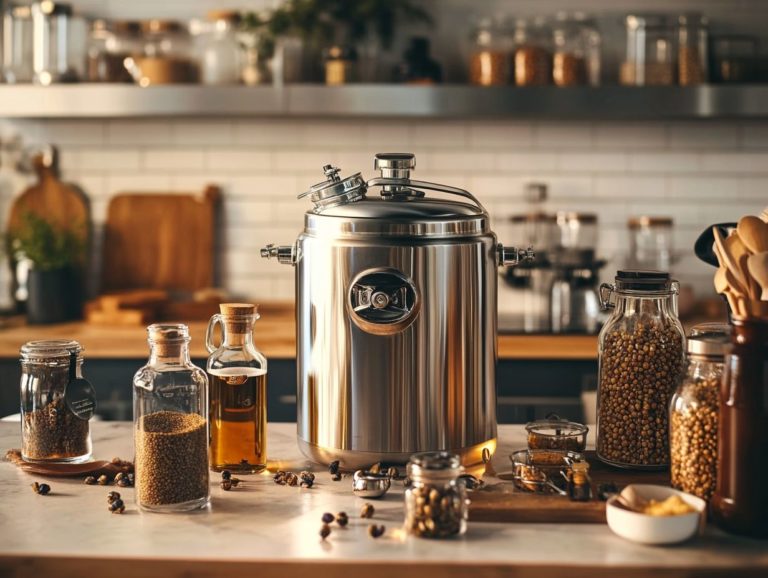
1. Brewing Kettle
The brewing kettle is an essential part of your home brewing setup, crucial for heating water and extracting wort from malt during the mashing process and wort extraction, especially in all-grain brewing.
This crucial tool not only influences how effectively you extract sugars from grains but also plays a pivotal role in shaping the final flavor profile of your beer. With a variety of kettle options available stainless steel, aluminum, or electric each type brings its unique heat retention and conductivity characteristics that can impact your brewing times and temperatures.
For example, while stainless steel is known for its durability and heat efficiency, electric kettles provide unmatched convenience and precise temperature control, which can be particularly advantageous for those just starting their DIY brewing setup.
The kettle you choose can significantly affect the extraction rate of the wort, ultimately determining the character and quality of your finished brew.
2. Fermentation Vessel
A fermentation vessel, often referred to as a fermentation bucket, is essential for facilitating the primary fermentation of your beers, ciders, or wines within a controlled environment. Proper fermentation management is key to achieving the best results.
These vessels come in various forms, including glass carboys, plastic fermenters, and stainless steel tanks, each offering its own distinct advantages. For instance, glass carboys allow you to easily monitor the fermentation process thanks to their clarity, while plastic buckets are lighter and simpler to handle.
When using a fermentation vessel, it s vital to seal it properly to prevent any contamination while still allowing gases to escape. Equally important is maintaining the right fermentation temperature, as this can significantly impact the flavor profile and clarity of your final product.
If the temperature strays too high or too low, you may encounter off-flavors or even stalled fermentation, making temperature control a critical aspect of the brewing process.
3. Airlock and Bung
An airlock and bung are essential elements in the fermentation process, allowing carbon dioxide to escape from your fermentation vessel while keeping contaminants at bay.
These components work in harmony to create a seal that preserves the ideal environment for yeast activity, ensuring your brew develops its distinct flavors without the threat of spoilage. Proper installation is vital; ensure the bung fits snugly to eliminate any gaps where unwanted microorganisms could intrude.
Selecting the right type of airlock be it an S-shaped or three-piece design can significantly impact your fermentation efficiency. It s also wise to regularly inspect the airlock for blockages and replenish it with sanitized water to maintain optimal performance. Efficient fermentation management is key to a successful brew.
By taking these precautions, you can greatly enhance the safety and quality of your final product. Following brewing safety tips can also help ensure that your brewing process is both enjoyable and hazard-free.
4. Hydrometer
The hydrometer serves as an critical tool in your home brewing kit, allowing you to perform hydrometer measurements of the wort’s sugar density and determine the potential alcohol content of your beer.
By immersing the hydrometer in the liquid, you can accurately read the specific gravity, which reveals how much sugar is dissolved in the wort. This measurement is crucial; it not only influences the fermentation process but also directly affects the final alcohol percentage of your brew. Understanding both the initial and final specific gravity enables you to calculate the alcohol by volume (ABV) once fermentation wraps up, ensuring you achieve the desired strength and flavor profile.
To maximize the effectiveness of your hydrometer and improve your brewing results, handle it with care. Avoid excessive bubbles and ensure you take accurate temperature readings for the best outcome.
5. Thermometer
A thermometer is an critical tool for your home brewing setup, allowing you to achieve precise temperature control during those critical stages of the brewing process, like mashing and fermentation. Proper temperature control can significantly impact the quality and consistency of your brews.
By accurately measuring temperatures, you can ensure that the yeast remains active and healthy, which is vital for fermenting various beverages. Different styles, such as ales and lagers, thrive within specific temperature ranges, and even the slightest deviation can result in off-flavors or halted fermentation. Proper yeast pitching is also crucial for successful fermentation. Therefore, maintaining optimal fermentation temperatures not only enhances the flavor profile but also elevates the overall quality and consistency of your brews.
For home brewers like yourself, grasping the significance of this tool can greatly enhance your brewing journey, making it simpler to replicate successful batches with each brew.
6. Bottling Bucket
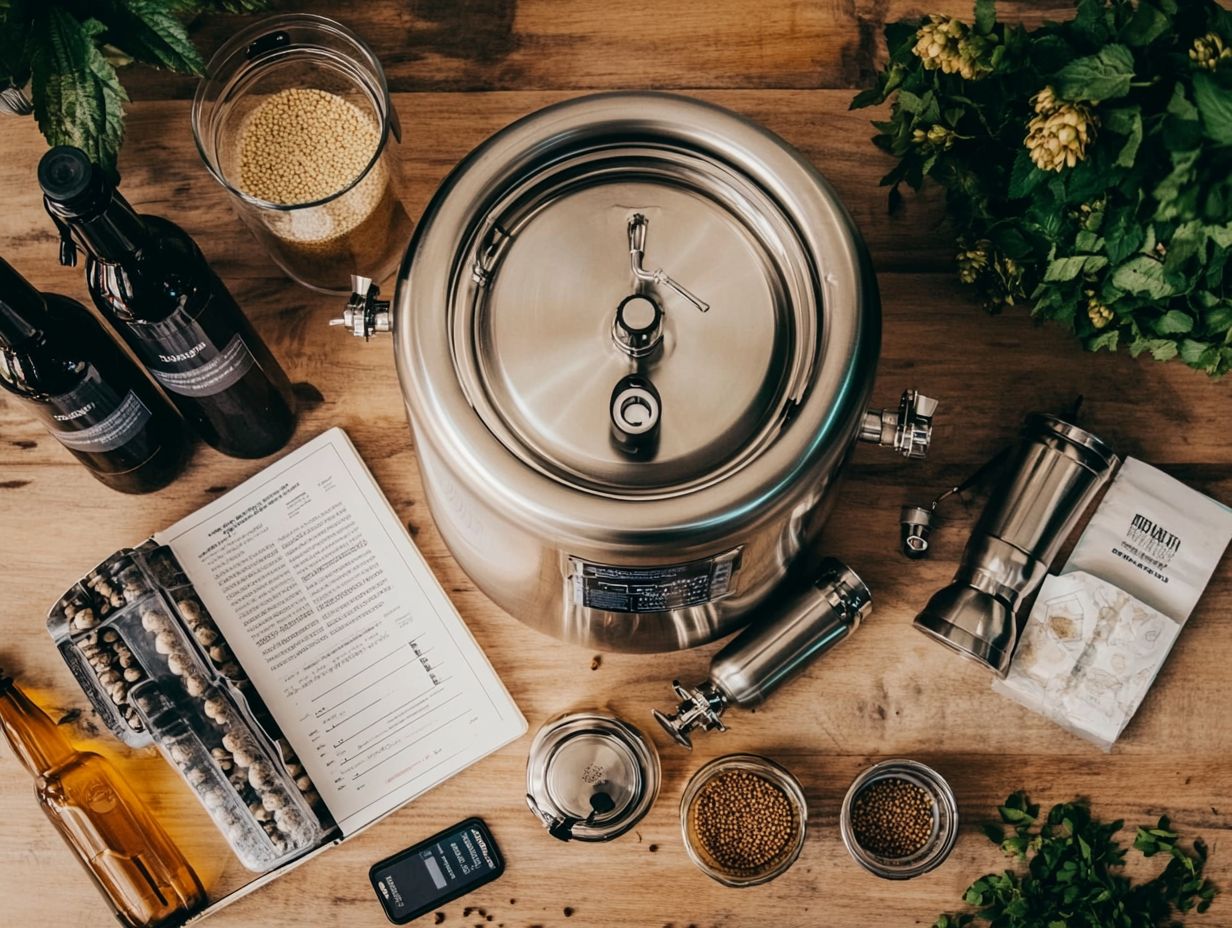
The bottling bucket stands as a crucial piece of equipment in your beer bottling journey, enabling you to siphon your brew into pressure-safe bottles while seamlessly incorporating sugar priming for that perfect carbonation during the carbonation process.
This device usually boasts a spigot at the bottom, ensuring a smooth flow of beer into your bottles without disturbing the sediment that has settled at the bottom of the fermenter. Once fermentation wraps up, you ll need to mix in a carefully measured amount of priming sugar within the bottling bucket, allowing each bottle to reach the carbonation level you desire. By controlling the sugar added, you can fine-tune the carbonation, enhancing the beer’s final mouthfeel and flavor profile.
Mastering the use of the bottling bucket not only streamlines your bottling process but also minimizes oxygen exposure, preserving the freshness of your beloved brew.
7. Bottles and Bottle Caps
Choosing the right bottles and bottle caps is absolutely crucial for your home brewing endeavors. They need to be pressure-safe to handle carbonation and keep your beer or cider fresh. Various brewing options are available to suit different needs and preferences.
You have several options at your disposal. Glass bottles provide superior strength and excellent flavor preservation, while plastic bottles are lighter and less prone to breaking, though they might struggle a bit under pressure. In terms of caps, you can choose between pry-off and twist-off styles; each has its unique advantages and drawbacks that depend on your specific brewing techniques.
Ensuring a proper seal is vital. Inadequate seals can lead to contamination, spoilage, or even potentially hazardous explosions. By understanding the specific requirements for each type of bottle and cap, you will enhance your brewing experience and safeguard the quality and safety of your final product.
8. Bottle Capper
A bottle capper is a critical tool that seals your bottles during the beer bottling process, ensuring your homemade brew stays fresh and protected from contaminants. Employing proper brewing techniques can also enhance the longevity and flavor of your brew.
In terms of selecting the perfect bottle capper, you have a variety of options at your fingertips handheld cappers, bench cappers, and electric cappers all catering to different production volumes and personal preferences. Handheld cappers are fantastic for small batches, while bench cappers provide more leverage, making them ideal for larger quantities.
Understanding how to use each type properly is crucial; for instance, aligning the cap correctly and applying consistent pressure can help you avoid leaks.
Never underestimate the importance of sanitised utensils. Using clean tools is vital to safeguard the brewing process from unwelcome bacteria, ensuring that every sip of your brew is a truly enjoyable experience.
9. Sanitizer
Sanitizer plays an essential role in home brewing, ensuring that every piece of your brewing equipment remains spotless and devoid of harmful bacteria or wild yeasts that could ruin your beer. Using sanitised utensils is crucial for maintaining a clean brewing environment.
Grasping the different types of sanitizers available can profoundly impact the quality of your final product. For example, iodine-based, chlorine-based, and peracetic acid sanitizers each have their unique application methods and required contact times. Selecting the right sanitizer depends on your personal preference and the specific equipment you re working with. Whether you’re soaking, spraying, or rinsing, understanding when and how to use these products is essential for creating the ideal brewing environment.
Adhering to best practices will fend off contamination and ensure your brewing process runs smoothly. This leaves you with consistently exceptional tasting beer. Regular use of sanitizers and properly following brewing instructions are key to achieving the best results.
10. Ingredients
The quality of your beer is deeply influenced by the ingredients you choose, including malt extract, hops, yeast, and any additional flavorings or adjuncts in your brewing recipes. Each of these components plays a crucial role in the brewing process, significantly contributing to the overall character of the final product. When used in conjunction with beer kits, you can simplify the process while still producing high-quality beer.
For example, the malt extract provides the essential sugars for fermentation while also influencing the beer’s color and body. Hops, celebrated for their bitterness and aromatic qualities, balance the sweetness of the malt and introduce complex flavors that range from floral to citrusy. Then there s yeast, the often-overlooked hero that transforms sugars into alcohol and carbonation, shaping the beer’s profile in remarkable ways.
When you experiment with various combinations of these ingredients, you have the opportunity to create a diverse spectrum of flavors and aromas, ensuring that each batch of beer becomes a unique experience for enthusiasts like yourself.
Step-by-Step Guide to Home Brewing
Step-by-Step Guide to Home Brewing
Embarking on your home brewing journey demands a clear understanding of the meticulous processes involved, ensuring you adhere to the best brewing instructions for a triumphant batch. This guide will escort you through every stage of the home brewing endeavor, from the crucial act of sanitizing your equipment to savoring the fruits of your labor in the form of your very own homemade beer. Whether using beer-making kits or opting for a DIY brewing setup, the choices are vast.
By mastering these techniques, you will unlock the ability to craft exquisite beverages. Whether you’re brewing beers, fermenting ciders, or vinifying wines, each step plays a vital role in achieving the flavor profile and alcohol content that will delight your palate. Remember, temperature control during fermentation is crucial for achieving the desired results.
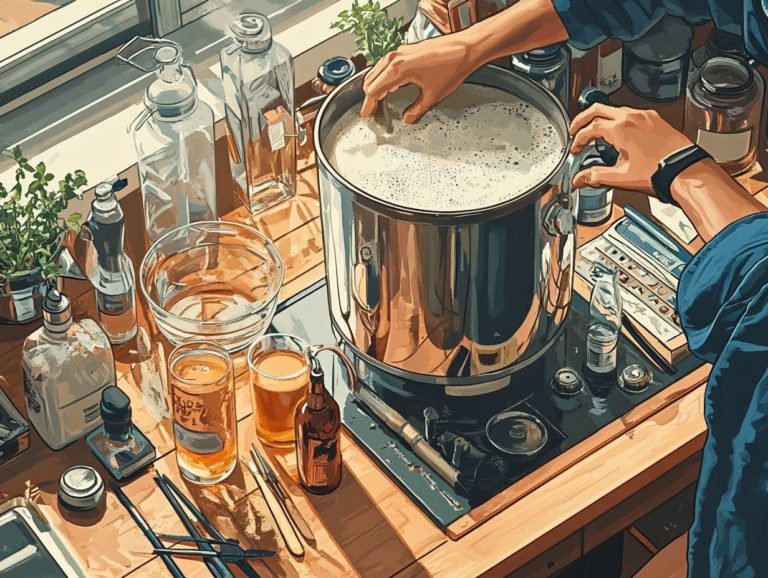
1. Sanitizing Equipment
Sanitizing your equipment is the first and most critical step in home brewing, ensuring that all your brewing utensils are pristine and free from any contaminants that could spoil your beer. Consistently using clean brewing equipment is vital for a smooth brewing process.
Use proper sanitization techniques to prevent off-flavors, undesirable aromas, and infections that can dramatically impact your final product. Explore different sanitizers that will elevate your brewing game! You ll find options such as:
- No-rinse solutions
- Iodine-based options
- Bleach mixtures
Each type has its own unique properties and usage instructions. Having a comprehensive equipment list is also important for staying organized and efficient in your brewing activities. Embracing best practices for sanitizing such as thoroughly cleaning your equipment before sanitizing, maintaining a tidy workspace, and ensuring that your sanitizer solution is at the right concentration will greatly enhance your brewing experience. By staying vigilant about cleanliness, you can produce consistently high-quality beer bursting with delightful flavors and aromas.
2. Heating the Brewing Kettle
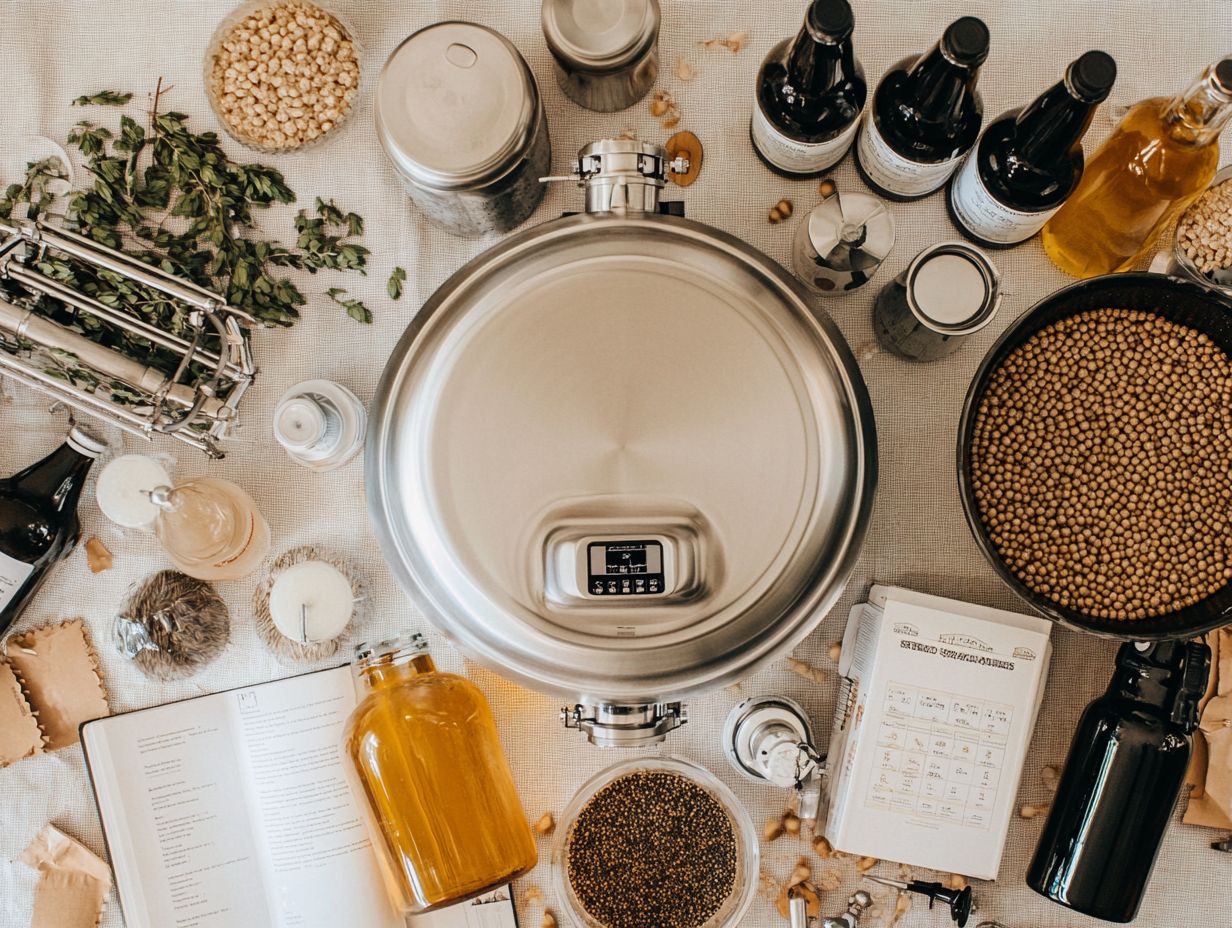
Heating the brewing kettle is an essential step in your home brewing adventure, as it kickstarts the mashing process and sets the stage for effective wort extraction from the malt. Wort is the liquid extracted from the mashing process that contains fermentable sugars. Proper mashing involves mixing malted grains with hot water to extract those sugars, which is fundamental for all-grain brewing enthusiasts.
To achieve the perfect heat, aim to bring your water to a temperature between 150 F and 160 F (65 C to 71 C), which is ideal for mashing. This temperature range activates the enzymes required to convert starches into fermentable sugars, impacting the flavor and body of your beer. If the water gets too hot, you risk denaturing those precious enzymes, leading to subpar sugar extraction. Conversely, water that s too cool may hinder the efficiency of mashing altogether. Utilizing brewing literature can be incredibly helpful for understanding these nuances.
Precision is key here; hitting that sweet spot in water temperature not only lays the groundwork for your brewing journey but also influences the final product that you and everyone else will enjoy.
Now that you have a grasp on heating the brewing kettle, it’s time to proceed to the next step in your brewing journey!
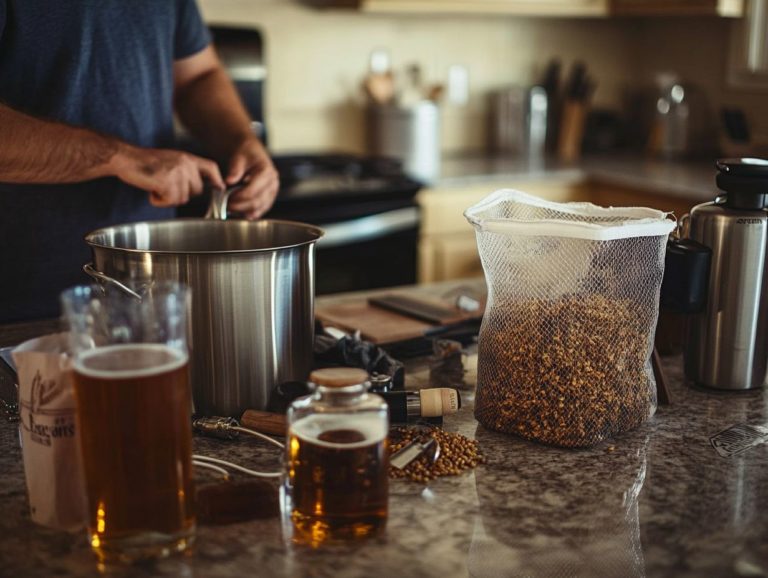
3. Adding Ingredients
Adding ingredients is one of the most exhilarating aspects of the home brewing process. It gives you the power to tailor your beer with an array of malt extracts, hops, and other flavorings that align perfectly with your brewing recipes. Whether you’re using beer ingredients from a homebrew shop or experimenting with new combinations, the options are endless.
Timing plays an essential role in this creative endeavor. Each component brings its own unique characteristics to the final product. Typically, you’ll introduce sugars from the extract at the outset to achieve optimal fermentation. Hops, however, require a more nuanced approach; bittering hops are best added early, while flavor and aroma hops shine when added later in the boil.
This staggered method creates a balanced profile, allowing delicate aromas to flourish while enhancing the bitterness. In terms of adjuncts like spices or fruit, these can introduce fascinating layers of flavor, but be mindful of when you add them to ensure they don t overshadow the overall brew. Understanding brewing techniques can help you make the most out of these additions.
By mastering these elements, you will significantly influence your final creation, resulting in a beer that is distinctly your own. Using a hydrometer for sugar density readings provides valuable insights into your brewing progress.
4. Cooling the Wort
Cooling the wort is a crucial step in your home brewing adventure. It allows you to quickly lower the temperature of the mixture to the optimal fermentation range. This swift cooling not only prevents contamination but also sets the stage for a healthy fermentation process. Using brewing methods like immersion chillers can help you achieve efficient cooling.
You have several methods at your disposal to achieve effective cooling, each with unique advantages and drawbacks. For example, immersion chillers provide a simple yet efficient solution by submerging a coiled tube into the hot wort, allowing cold water to flow through and absorb heat. Alternatively, if you’re working with smaller batches, ice baths can be particularly effective. This method involves placing your brew kettle in an ice-filled sink or container, fostering rapid temperature reduction. Investing in a fermentation chamber an environment that helps maintain optimal conditions for your brew can also help.
The cooling method you choose will not only determine how quickly you can cool your wort but also significantly impact the overall quality of the beer you produce. A well-cooled wort ensures that the yeast can thrive during fermentation, ultimately leading to a more flavorful and successful brew.
5. Transferring to Fermentation Vessel
Transferring the cooled wort to the fermentation vessel is a pivotal step in your home brewing journey. It signals the transition from brewing to the all-important fermentation phase. This stage is crucial, as it establishes the foundation for the entire fermentation process that follows. Employing proper techniques during this transfer ensures that your wort remains as pure as possible. Using a fermentation bucket ensures easy handling and monitoring of the fermentation process.
Using a siphon can facilitate the movement of the wort without introducing excess oxygen, which is critical; too much oxygen can lead to undesirable flavors and spoilage. It s essential to ensure that all your equipment is sanitized before use, minimizing the risk of contamination from unwanted bacteria or wild yeasts. Also, having a fermentation bucket with an airlock helps maintain the right conditions for fermentation.
By keeping the transfer both swift and careful, you ll maintain the quality of your wort while supporting the yeast’s vital activity in the fermentation vessel.
Get ready to unleash your creativity and craft a beer that’s uniquely yours! Experiment with your own ingredient combinations and share your results!
6. Adding Yeast
Adding yeast, also known as yeast pitching, is an essential step that initiates the fermentation management process. This process allows the conversion of sugars into alcohol and carbonation in your beer. Proper yeast pitching is vital for the success of fermentation.
Choosing the right yeast strain is critical, as various types can significantly impact the flavor profile, aroma, and overall character of your finished brew. When it’s time to pitch the yeast, remember to rehydrate it in warm water first; this means soaking it in warm water to activate it and prepare it for fermentation. Monitoring fermentation temperature is equally important for a healthy fermentation.
Managing fermentation conditions, such as temperature and oxygen levels, is crucial for yeast effectiveness. By maintaining an optimal temperature range, you create an environment where the yeast can flourish while minimizing the risk of off-flavors. Utilizing a hydrometer measurement will help you track the progress and density of the sugar during fermentation.
Regularly monitoring the fermentation process allows you to catch any issues early and make adjustments that promote a healthier fermentation and lead to a successful batch. Practicing good home brewing tips can significantly improve your brewing results.
7. Fermentation Process
The fermentation process is where the real transformation occurs. Yeast eagerly consumes sugars and converts the wort into alcohol, enriching the beer’s flavor and aroma profile. Ensuring proper fermentation management is key to achieving desired results.
For any brewer striving for exceptional results, understanding the various stages of fermentation is essential. It all begins with primary fermentation, where yeast rapidly multiplies, turning sugars into alcohol and carbon dioxide. As this initial phase unfolds, the process transitions into secondary fermentation. This stage allows flavors to mature and develop complexity while sediment settles at the bottom. Using a fermenter with an airlock can help maintain optimal conditions throughout these stages.
Keeping a close eye on fermentation temperature is vital during these stages. Any fluctuations can lead to unwanted off-flavors and disrupt yeast activity. By using proper brewing equipment and maintaining an optimal temperature range, you can foster a healthier fermentation. This ensures the final product showcases a well-rounded flavor and aroma that will impress.
8. Bottling the Beer
Bottling your beer is an exhilarating milestone in the home brewing journey, whether you’re using beer kits or brewing from scratch. Transitioning your fermented creation into bottles sets the stage for carbonation and aging. This moment marks the exciting culmination of your brewing efforts!
To kick off this process, a bottling bucket or fermenting bucket is critical. This specially designed container facilitates a smooth transfer while minimizing disturbance to the sediment. As you gear up for bottling, remember to prime your brew with sugar. This crucial step ensures proper carbonation during the aging process. Dissolve a measured amount of sugar in boiling water and incorporate it into the beer before filling the bottles.
Maintaining a pristine environment and using sanitized utensils is equally vital. Be sure to sanitize all your equipment and bottles to prevent unwanted contamination that could compromise your hard work. By adhering to these best practices, you can significantly elevate the overall quality of your finished product, ensuring that each sip is as rewarding as your efforts.
9. Carbonation and Conditioning
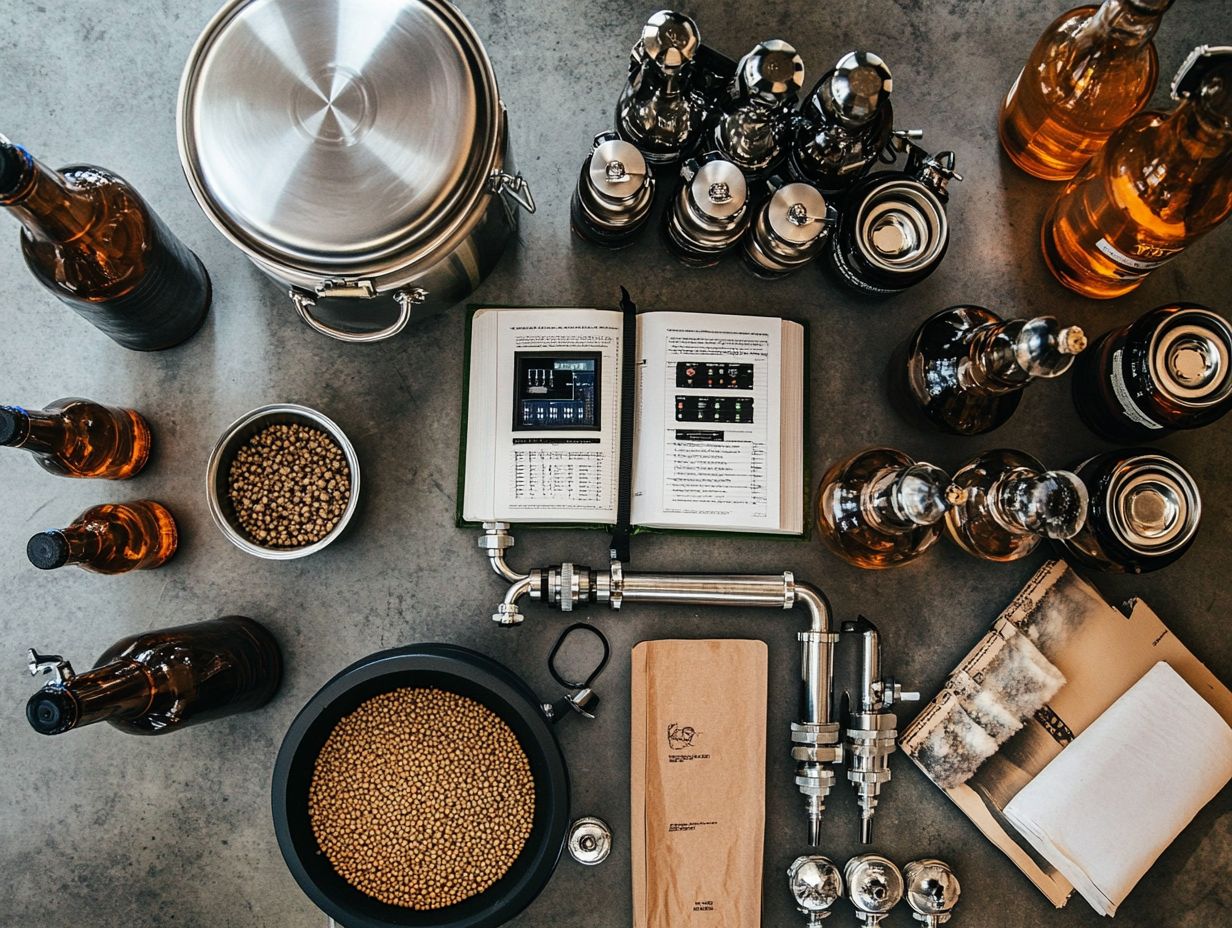
Carbonation and conditioning are vital steps that elevate the flavor, aroma, and mouthfeel of your homebrewed beer. These processes transform your brew into a delightful experience ready for enjoyment. This is a crucial part of the overall fermentation process.
In the carbonation process, you ll add small amounts of sugar, usually through sugar priming, which activates the remaining yeast. This fermentation generates carbon dioxide gas, creating delightful bubbles that enhance every sip.
Meanwhile, during conditioning, your beer takes a moment to rest. This allows the flavors to meld and mature, promoting a smoother finish. This phase makes your beer feel fuller and softens any harsh tastes left from fermentation.
As a result, the overall quality of your finished beer is significantly enhanced. You ll achieve a flavor profile that every homebrewer aspires to attain. Whether you’re using all-grain brewing techniques or other brewing methods, these steps contribute to the excellence of your brew.
10. Enjoying Your Homemade Beer
Savoring your homemade beer is the ultimate reward of the home brewing process. It allows you to relish the fruits of your labor while sharing your craft with friends and family.
As you gather with loved ones, venture into the delightful realm of food and beer pairings to elevate those cherished moments. Consider featuring ciders and wines as well. A hoppy IPA, for instance, pairs beautifully with spicy dishes, while a rich stout can be the perfect companion to decadent desserts.
Don t hesitate to present your creations in unique and creative ways. Craft a themed tasting experience to enhance the atmosphere. Explore various serving techniques, such as chilling your glasses or garnishing with fresh herbs, to amplify both flavor and visual appeal.
Whether you’re an experienced brewer or just starting out, get ready for an exciting journey in the world of home brewing. For those starting, consider using beer-making kits for an easier introduction. Experiment with your brews and share your experiences!
Frequently Asked Questions
What are the essential equipment needed to brew beer at home?
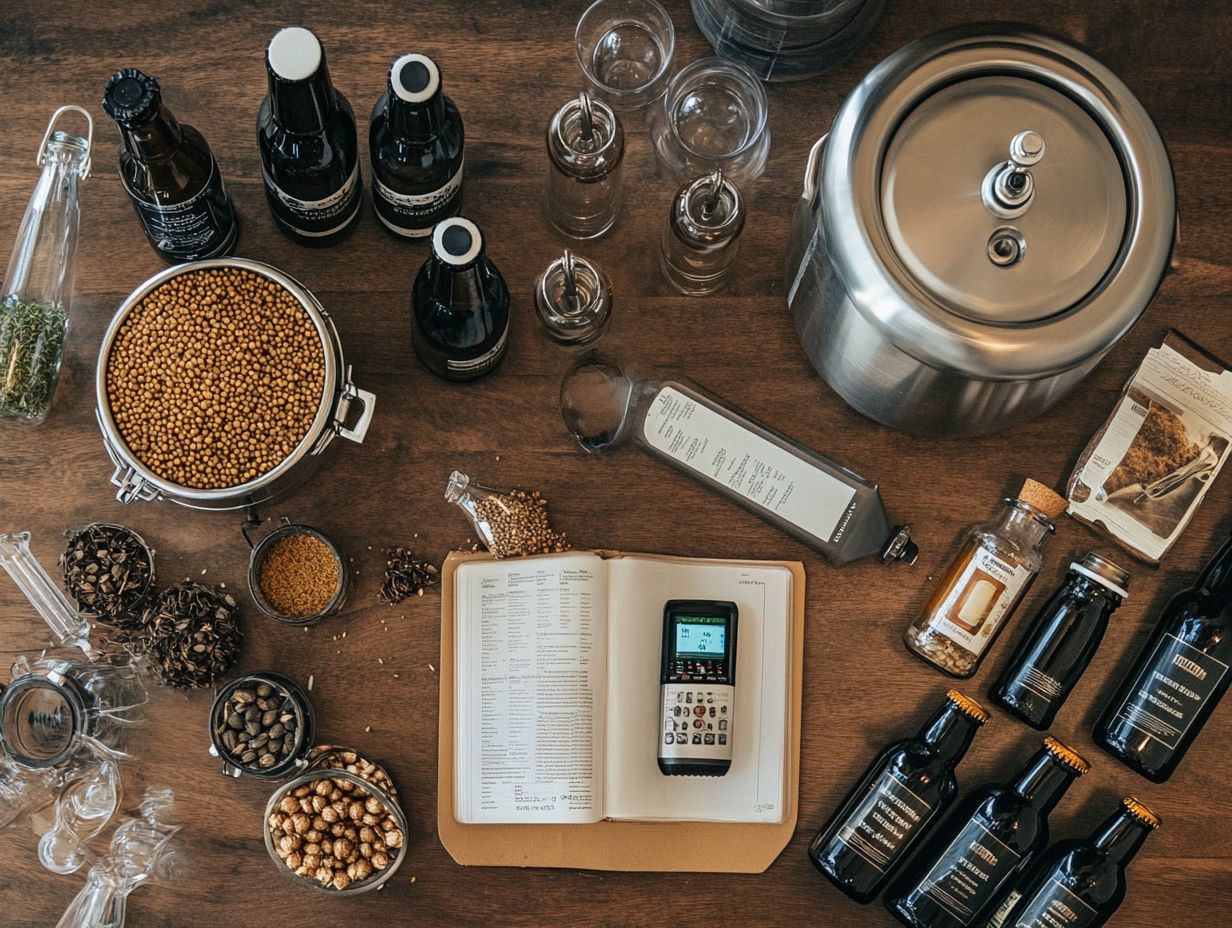
The essential equipment needed to brew beer at home includes a brewing kettle, fermenter, airlock, thermometer, hydrometer, tubing, siphon, bottle capper, bottling bucket, and bottles or keg.
Do I need a specific type of kettle to brew beer at home?
While there are kettles specifically designed for brewing beer, any large pot or stainless steel kettle, often referred to as a brew kettle, will work just fine.
What is the purpose of an airlock when brewing beer at home?
An airlock allows carbon dioxide to escape during fermentation while preventing outside air or bacteria from entering the fermenter.
Why is a hydrometer important for brewing beer at home?
A hydrometer, which measures the density of your beer, is important for brewing. It helps determine sugar density, alcohol content, and whether fermentation is complete.
Can I use regular bottles to store my homemade beer?
Yes, you can use regular glass bottles as long as they are sanitized and have a tight seal. Alternatively, you can also use a keg to store and dispense your beer.
Do I need to invest in expensive equipment to start brewing beer at home?
No, you can start with basic equipment, such as a DIY brewing setup, and upgrade as you gain more experience. Many homebrew supply stores also offer equipment rental options for beginners.

