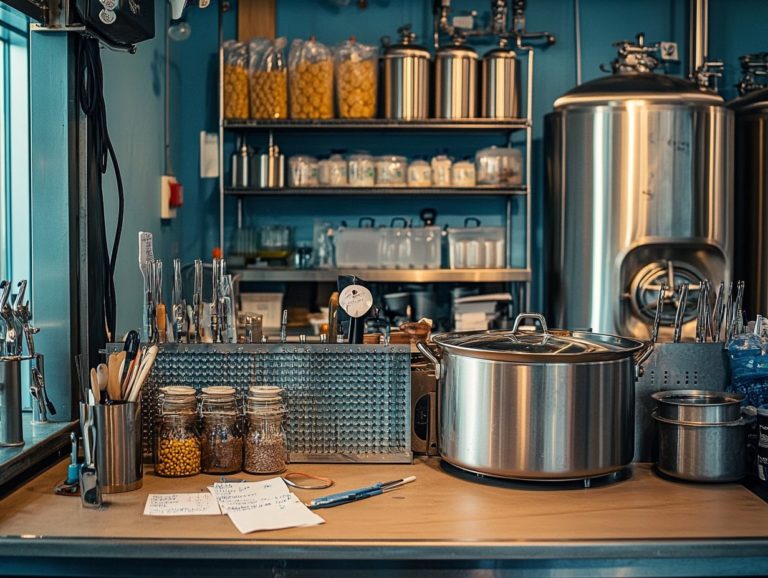
How Do I Keep My Brewing Area Clean?
A clean brewing area is paramount for crafting high-quality beverages while safeguarding the health and safety of everyone engaged in the process, whether in home brewing or professional brewing setups.
Cleanliness serves as your first line of defense against contamination; it also fosters efficiency and elevates the entire brewing experience by reducing bacteria and molds that can affect your beer.
This article delves into the essential supplies required for maintaining an immaculate brewing environment, outlines step-by-step cleaning procedures, and offers practical tips and techniques to keep your space organized and tidy, including proper storage and drainage solutions.
Whether you re just starting out or you ve honed your skills over the years, committing to cleanliness is crucial for perfecting your craft, especially in brewery sanitation.
Contents
- Key Takeaways:
- Why is Keeping a Clean Brewing Area Important?
- What Supplies Do I Need to Keep My Brewing Area Clean?
- What Are the Steps to Cleaning My Brewing Area?
- How Often Should I Clean My Brewing Area?
- What Are Some Tips for Maintaining a Clean Brewing Area?
- Brewing Tips for Homebrewers
- Frequently Asked Questions
Key Takeaways:
Why is Keeping a Clean Brewing Area Important?
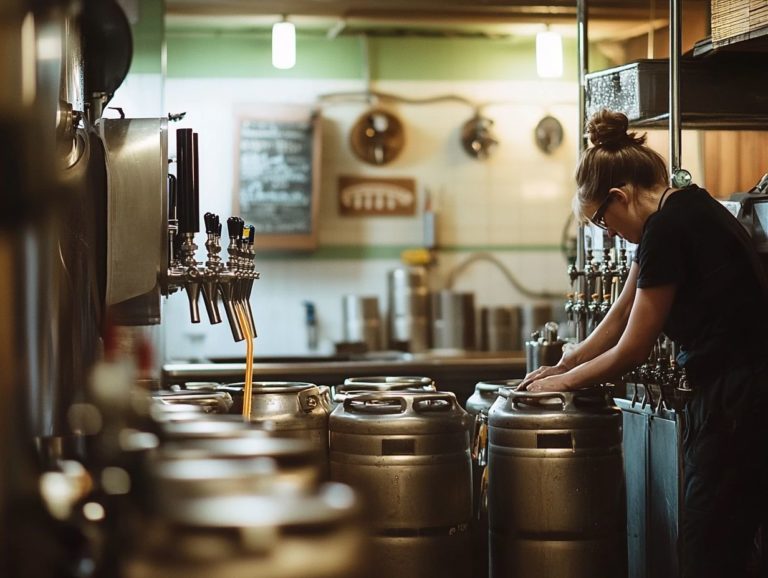
Maintaining a pristine brewing area is essential, not just for the exceptional quality of the beer you produce but also for the well-being of everyone involved in the brewing process.
A sanitized environment is your best defense against harmful bacteria and molds that could jeopardize fermentation, leading to undesirable off-flavors or even spoilage during the beer brewing process.
Moreover, prioritizing cleanliness minimizes health risks associated with brewing, allowing both homebrewers and brewery staff to work in a safe environment.
By implementing regular cleaning and sanitation practices, you safeguard your equipment and workspace, creating a more efficient brewing experience that ultimately yields high-quality craft beer and fosters a safe workspace.
What Supplies Do I Need to Keep My Brewing Area Clean?
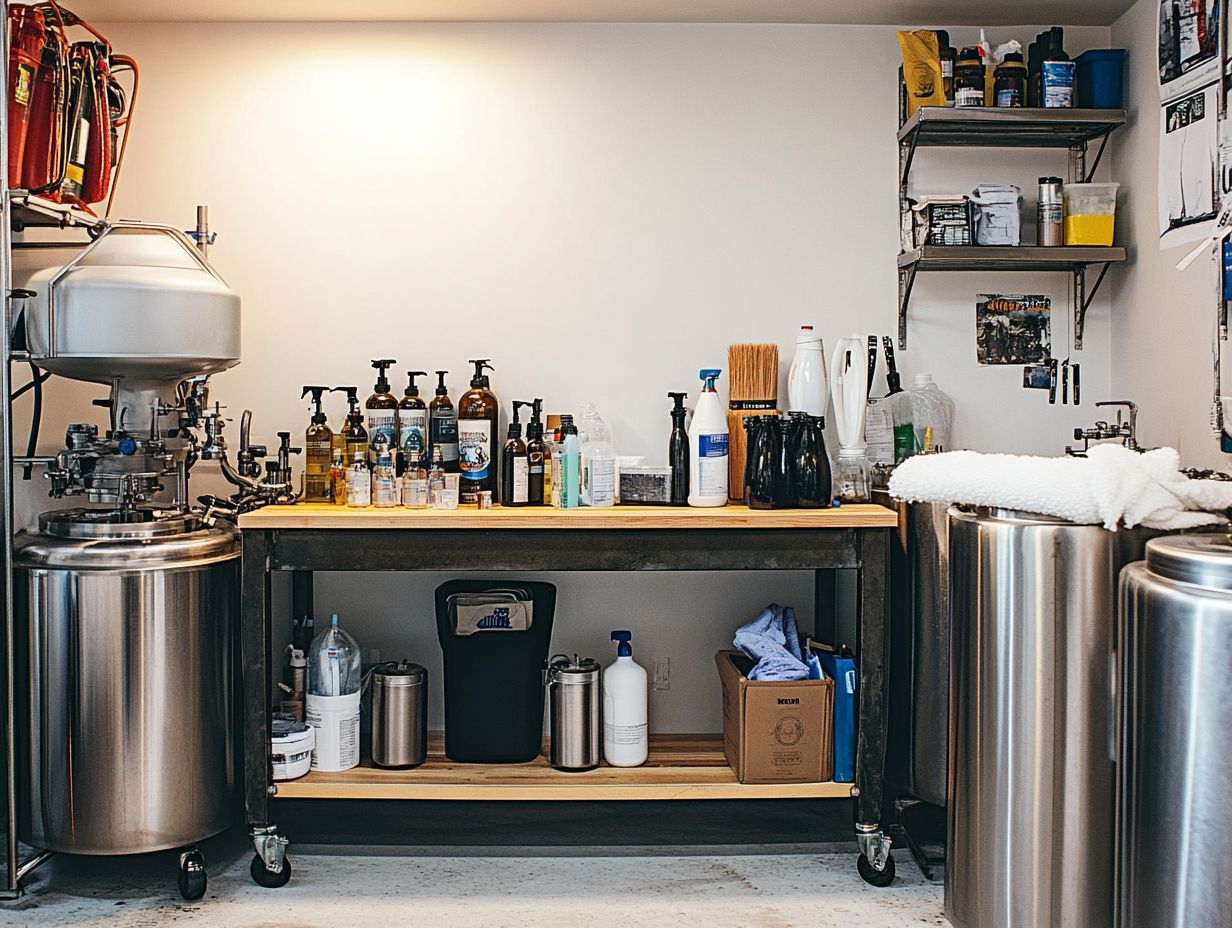
To uphold a pristine brewing environment, it is vital for you to have the right supplies and equipment readily available. A well-curated inventory of cleaning supplies, including potent cleaning solutions like Oxyclean or PBW, gives you the power to address any sanitation challenge that may arise during your brewing process, whether using plastic, glass, copper, aluminum, or stainless steel containers.
Furthermore, investing in high-quality cleaning tools and protective gear is essential for maintaining hygiene while reducing health risks. By systematically organizing these supplies within your brewery, including proper storage and floor sealants, you enhance both the efficiency and effectiveness of your cleaning practices.
1. Cleaning Solutions
Cleaning solutions are essential for maintaining a brewing area that is free from harmful organisms and residues that could compromise the quality of your beer. Consider using products like Oxyclean and PBW, which are specifically formulated for breweries. They effectively eliminate debris and sanitize your equipment, such as fermentation buckets and boil kettles. Other options, including Starsan and Iodaphor, provide effective sanitizing properties that are crucial during the final cleaning steps before brewing. Following the best practices suggested by experts like John Palmer in “How to Brew” can also enhance your cleaning methods.
To achieve optimal brewery sanitation, it s important to use these diverse cleaning solutions effectively, as each one is tailored for different stages of the brewing process. For example, alkaline cleaners are particularly adept at breaking down stubborn organic materials, while acid-based cleaners shine when it comes to removing mineral deposits from stainless steel or copper equipment.
When applying these products, always adhere to the manufacturer’s instructions. Using the correct concentrations and exposure times is key to maximizing their effectiveness. Additionally, understanding and implementing strong safety protocols when handling cleaning chemicals is vital; improper usage can pose health risks or jeopardize the brewing environment, potentially causing health hazards.
Ultimately, maintaining rigorous cleaning and sanitizing practices not only ensures a high-quality final product but also safeguards the integrity of the entire brewing process.
What Are the Steps to Cleaning My Brewing Area?
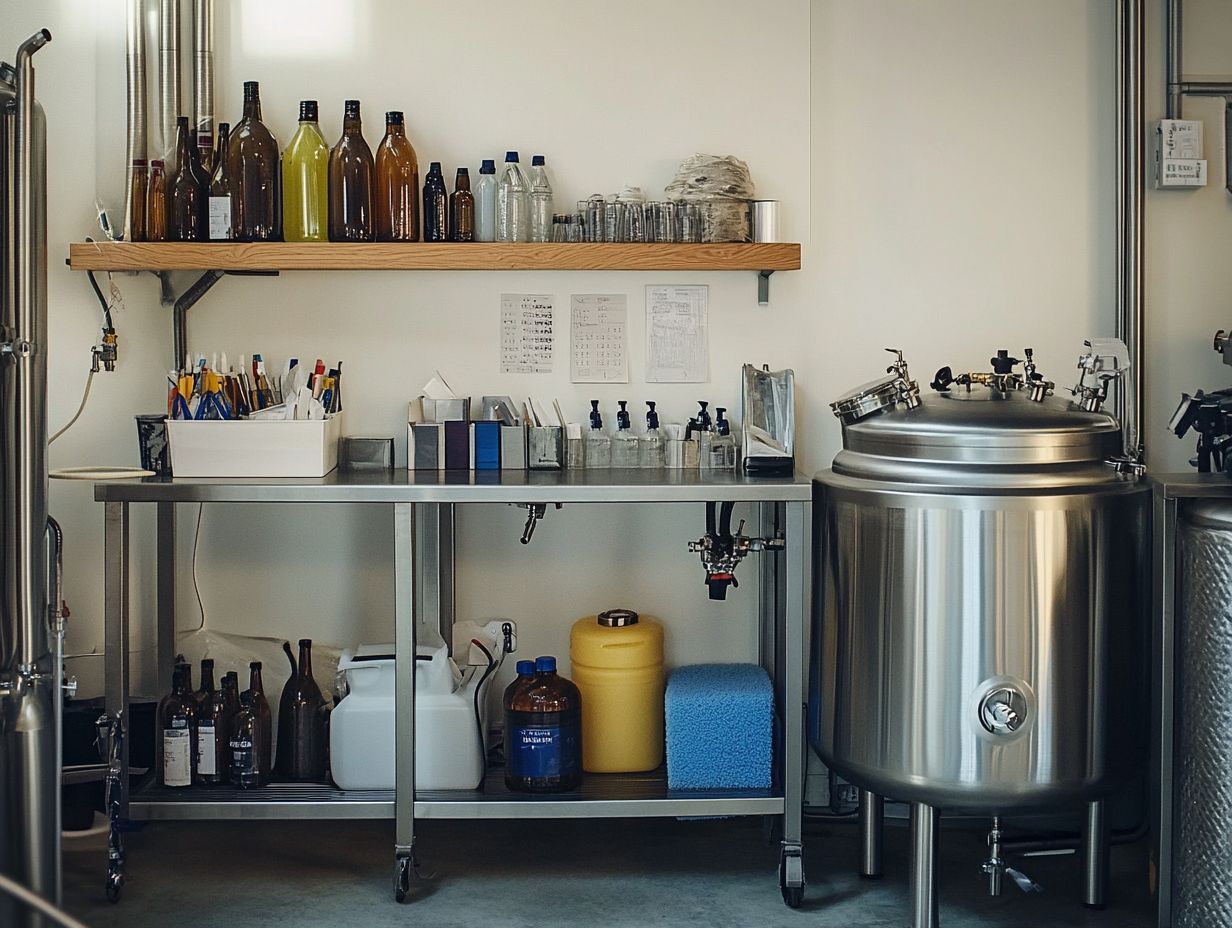
Cleaning your brewing area requires a meticulous approach to guarantee that every inch of your equipment and workspace is sanitized and free from contaminants.
Begin the process by preparing the area remove any unnecessary items and debris that could hinder your efforts. Next, turn your attention to each piece of equipment, including the boil kettle and fermentation bucket. Ensure they are thoroughly cleaned and sanitized with the appropriate solutions, such as those specified by Slot Drain systems for optimal drainage.
Once you’ve completed the cleaning, don’t overlook the importance of drying and storing your equipment correctly. This step is key in preventing any contamination or the growth of harmful bacteria, ensuring your brewing environment remains pristine.
2. Cleaning Tools
Having the right cleaning tools is crucial for effective brewery sanitation and maintaining a pristine brewing environment. Brushes, sponges, and scrubbing pads are essential for tackling stubborn debris on equipment. Specialized tools like bottle wands which help fill bottles while minimizing contact with air, introducing contaminants are invaluable for the sanitization process.
When you organize these cleaning tools properly, you’ll ensure they’re conveniently accessible when you need them. This makes your cleaning routine not just efficient but thorough!
In addition to these essentials, consider incorporating items like a fermentation carboy cleaner and a no-rinse sanitizer into your toolkit. These can significantly elevate your sanitation practices by reaching those tricky spots in your brewing containers. Using a hose sprayer can also expedite the rinsing process, ensuring that no residues linger after cleaning. Immerse your brushes and sponges in the right cleaning solutions before scrubbing, and always apply sanitizers according to the manufacturer s instructions for optimal effectiveness. For added durability, consider using equipment made from stainless steel, copper, or aluminum.
Storing these tools in a designated cleaning caddy will streamline your workflow and prevent contamination that can arise from improper placement. This straightforward step boosts your brewing success, allowing you to focus on what you do best crafting exceptional brews. Many brewery experts recommend maintaining an organized workspace for optimal results.
Take the time to invest in these tools to elevate your brewing experience!
3. Protective Gear
Using protective gear while cleaning is essential for your safety and maintaining proper hygiene during the brewing process. Donning items like gloves, goggles, and masks shields you from the chemicals in cleaning solutions and protects against potential health hazards associated with brewing. By wearing the right protective gear, you can keep your environment clean without compromising your personal safety or hygiene, reducing health risks.
Each type of protective gear helps create a safe workspace. For instance, gloves not only prevent skin irritation from strong detergents but also help avoid cross-contamination, ensuring your brewing ingredients stay pure. Using protective gear effectively can be one of the most practical cleaning practices you can adopt in your home brewery.
Goggles are crucial for protecting your eyes from splashes that could irritate or injure, while masks filter out harmful fumes that might arise during cleaning. And don t forget about your footwear; ensuring you have adequate shoes can prevent slips and falls in potentially wet areas.
Together, these elements of protective gear create a safer environment, allowing you to focus on the brewing process without worrying about health risks. Incorporating these practices can improve your overall workspace hygiene and safety.
Your brewing safety depends on it!
1. Preparing the Area
Before you begin, it’s important to understand the significance of the cleaning and sanitizing process. This will ensure a smooth brewing experience from start to finish.
Preparing your brewing area is the first and most crucial step in the cleaning process. It sets the stage for effective sanitation and organization. Begin by clearing out any equipment, ingredients, or debris that might clutter your workspace. Ensure it s clear and accessible. This preparation makes cleaning easier. It also allows you to assess which equipment and surfaces need specific attention during the process. Utilizing effective cleaning techniques can greatly aid in this preparatory phase.
Taking the time to organize your tools and materials can greatly enhance your workflow. Categorizing items and placing frequently used equipment within easy reach allows for swift cleaning without interruptions. Proper organization also helps in maintaining hygiene and minimizing contamination risks.
Before diving in, it s wise to inspect the condition of your cleaning supplies. Ensuring they re all in good shape can prevent unnecessary delays and improve overall cleanliness. For instance, having the right cleaning agents readily available and knowing how to apply them correctly can significantly impact your ability to maintain hygiene. Experts from the Institute of Brewing and Distilling recommend regular inspections for optimal results.
This preparatory step underscores the importance of not just cleanliness, but also a streamlined approach to completing the task at hand.
2. Cleaning the Equipment
Cleaning your equipment is a vital step in the brewery sanitation process. This ensures that every tool and vessel is spotless and free from residual debris and bacteria. Start by soaking items like your boil kettle and fermentation bucket in warm water to help loosen any stubborn residues. Once they ve had a good soak, give them a thorough rinse with hot water to wash away any lingering cleaning solution and debris. This sets the stage for effective sanitization. Adding insulation to your equipment can also aid in maintaining optimal temperatures during the cleaning process.
For larger items, such as mash tuns and bottling lines, a high-pressure hose can work wonders, effectively dislodging any residues. It’s wise to use non-abrasive scrubbers to avoid scratching surfaces, as those scratches can become breeding grounds for bacteria over time. Incorporating expert advice from John Palmer s “How to Brew” can greatly enhance your cleaning techniques.
Always make sure that your cleaning solution is food-safe and compatible with your equipment materials. Regularly inspecting your tools for wear and tear is equally important, as keeping your equipment in tip-top shape prevents contamination and maintains quality. Products like those recommended by David Ackley from Local Beer Blog can be especially useful.
By adopting a detailed and methodical cleaning routine, you ensure a consistently high standard of hygiene that is critical for successful home brewing and beer brewing.
3. Sanitizing the Area
Get ready to elevate your brewing game! Sanitizing your area is crucial, as it eliminates any lingering bacteria and creates a safe brewing space. Utilize effective cleaning solutions like Starsan or Iodaphor to thoroughly sanitize all surfaces and equipment in your brewing space. Pay special attention to high-touch items that are more susceptible to contamination. Don’t skip this step! It’s essential for maintaining proper sanitation in your brewing process.
A detailed approach to sanitization involves several key steps that you should not overlook:
- First, gather all necessary cleaning supplies, including your chosen sanitizing solution, spray bottles, clean rags, and other cleaning tools.
- Before applying the sanitizing solution, meticulously clean the surfaces to remove any visible dirt or debris, as these can harbor bacteria.
- Once clean, dilute the sanitizer according to the manufacturer’s instructions, ensuring you achieve the right concentration for effectiveness. This is especially important when using strong cleaning chemicals and cleaning systems.
- Apply the solution generously, particularly on equipment like fermentation tanks, kegging lines, bottling buckets, boil kettles, and any utensils that come into contact with the product.
- Allow the sanitizer to sit for the recommended contact time to ensure maximum efficacy and proper sanitation. Wipe off any excess if required.
- Finally, perform a visual inspection to confirm that all areas are covered and properly sanitized. This reinforces the overall integrity of your brewing process.
Now that you ve learned these essential steps, don t hesitate to implement them in your brewing routine. Ensuring proper cleaning and sanitizing will lead to the best results in your home brewing endeavors!
4. Drying and Storing the Equipment
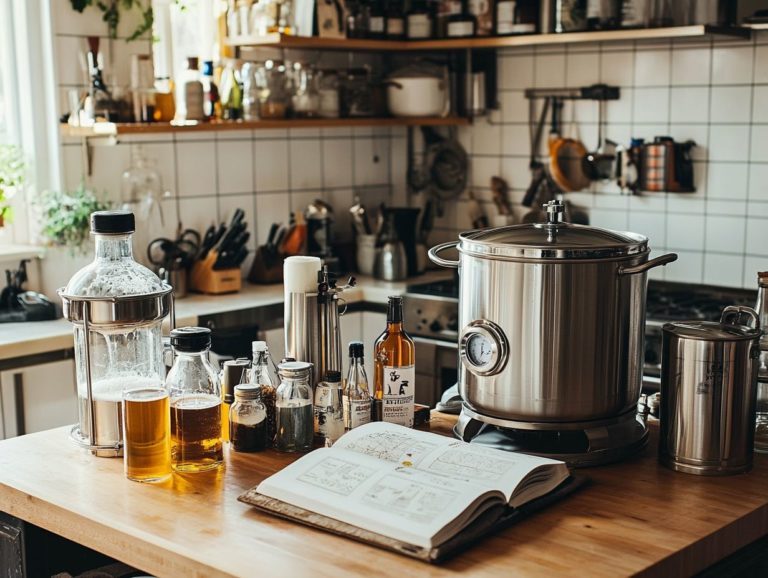
Properly drying and storing your equipment is essential for maintaining a clean brewing area and preventing contamination. After sanitization, allow the equipment to air dry completely; any lingering moisture can become a breeding ground for bacteria and molds. Once dry, take the time to organize and store the equipment whether it’s stainless steel, plastic, glass, copper, or aluminum in designated areas. This not only keeps your brewing space tidy but also ensures that all items remain clean for your next batch.
Using drying racks or well-arranged shelving can enhance airflow around your equipment, further discouraging microbial growth. Implementing specific storage solutions, like labeled containers and bins, makes it easier for you to locate necessary tools and cultivates a more efficient workflow in your home brewery.
Maintaining organization is crucial, not just for aesthetics but also for hygiene. A clutter-free environment significantly reduces the risk of contamination by preventing cross-contact between clean and dirty items. Utilizing proper floor sealants and drainage can further enhance the cleanliness of your workspace. Taking time to dry and store your equipment properly pays off with a safer and more enjoyable brewing experience.
How Often Should I Clean My Brewing Area?
Establishing a consistent cleaning schedule for your brewing area is crucial for maintaining optimal hygiene and preventing potential health hazards. While the frequency of your cleaning regimen may vary based on your specific brewing practices, it is generally advisable to clean after each use. Conduct a thorough deep clean weekly and perform comprehensive maintenance checks monthly. Consulting resources like John Palmer’s “How to Brew” and the Institute of Brewing and Distilling guidelines can provide additional insights into effective cleaning schedules and techniques.
By committing to these cleaning practices, you will ensure that your workspace remains safe, organized, and perfectly suited for producing exceptional craft beer. Implementing tips from renowned experts like David Ackley and insights from the Local Beer Blog can further enhance your cleaning regimen.
1. After Every Use
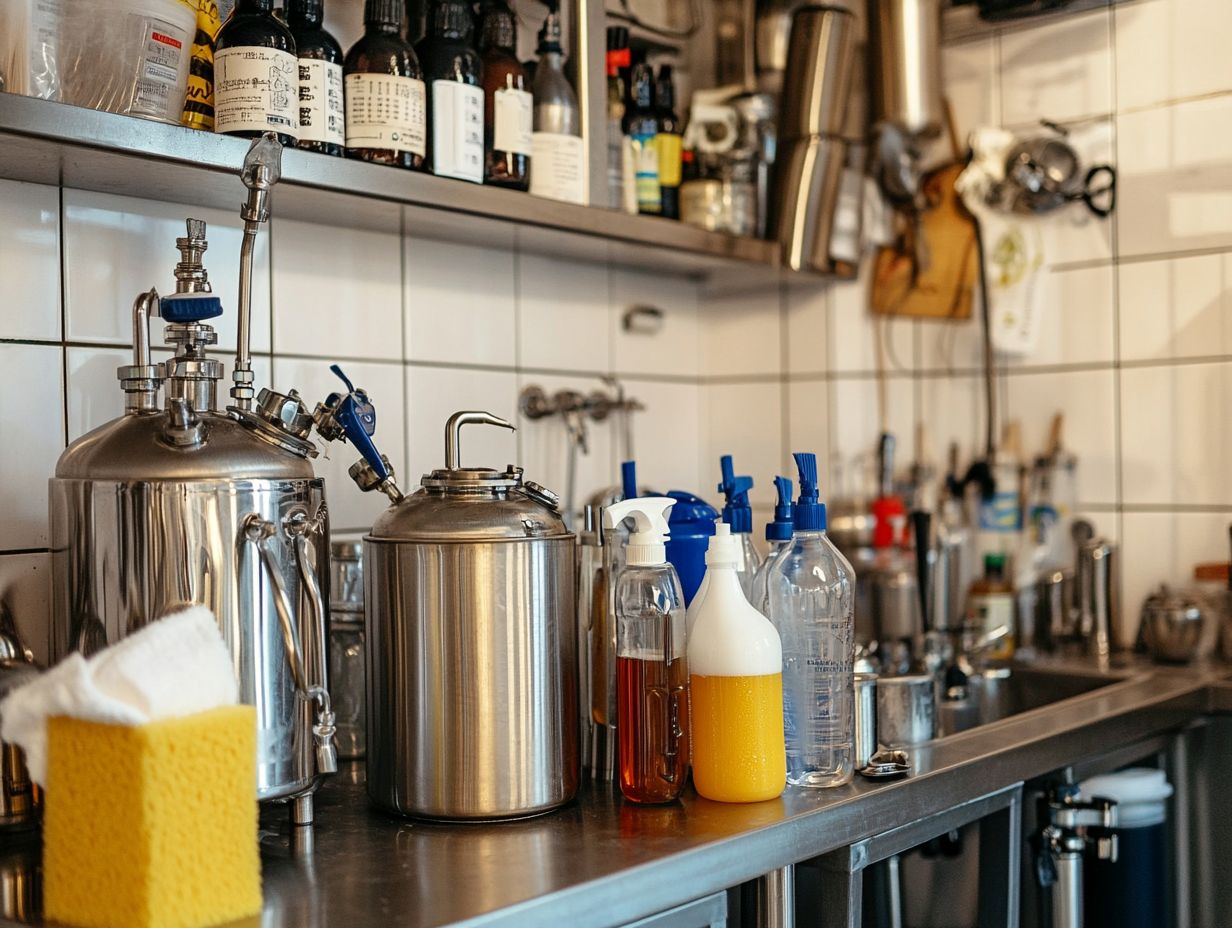
Cleaning after every use is essential to ensure your brewing equipment remains sanitized and free from contamination. Immediately after brewing, take a moment to rinse all your equipment kettles and fermentation buckets included to remove residues and prevent pesky debris from accumulating. Using hot water during this rinse can be particularly effective in breaking down stubborn residues.
A thorough cleaning with designated cleaning solutions follows, effectively eliminating any lingering bacteria and upholding the highest hygiene standards. Cleaning products recommended by brewing experts, like those mentioned by John Palmer, are highly recommended.
This proactive approach not only preserves the quality of your precious ingredients but also enhances the flavors in your future batches. Make it a habit to scrub surfaces with a soft brush, paying special attention to those nooks and crannies where residue and molds tend to hide.
After scrubbing, a hot water rinse followed by air drying will significantly reduce the risk of cross-contamination, which is the unwanted transfer of harmful substances. For best results, consider soaking utensils in cleaning solutions like PBW (Powdered Brewery Wash) or Oxyclean before the final rinse.
Storing your equipment in a clean, dry environment is crucial in preventing mold and bacteria from thriving. This ensures that each new brewing session is a delightful experience instead of a battle against unwanted flavors. Proper labeling and organization of your storage space can also streamline your process and improve safety and hygiene.
2. Weekly Deep Cleaning
Conducting a weekly deep cleaning of your brewing area is vital for maintaining cleanliness and preventing contaminants from accumulating over time. This thorough cleaning should encompass a comprehensive scrub-down of all surfaces, equipment, and storage spaces, using the right cleaning products and tools.
Techniques from experts like David Ackley can be very useful in this process. By committing to a weekly cleaning routine, you reinforce your dedication to brewery sanitation and create a safe environment for brewing.
Here are key tasks for your cleaning routine:
- Sanitizing brewing vessels with appropriate cleaning chemicals
- Cleaning work tables
- Sanitizing hoses
- Cleaning up spilled grains or residue that could attract pests or become breeding grounds for bacteria
Don t forget to check those hidden spots, such as underneath equipment and between shelving units, where dust and microorganisms like to lurk. Regularly addressing these details not only enhances the hygiene of your brewing space but also significantly lowers the risk of off-flavors in your beer while maintaining a safe working environment for your staff.
Use cleaning tools like soft brushes or designated cleaning systems to reach these areas. This diligence fosters a more resilient and productive brewing operation, ensuring consistent quality and providing you with total peace of mind knowing your brewing space is spotless!
Using tools like the Slot Drain system, which helps efficiently manage drainage, can also improve your cleaning efforts and overall brewery sanitation.
3. Monthly Maintenance
Monthly maintenance is an essential part of your comprehensive cleaning strategy. It emphasizes thorough inspections and the upkeep of all brewing equipment and surfaces. During these monthly checks, take the time to check your tools condition, ensuring everything is functioning properly and replacing any items that are worn or damaged.
Assess the condition of your copper, aluminum, or stainless steel equipment as part of this process. This proactive approach not only enhances brewery sanitation but also helps you sidestep future cleaning challenges.
Consistent upkeep allows you to identify potential issues before they escalate into costly repairs, ultimately saving you both time and resources. A well-organized checklist can significantly streamline this process, including vital tasks such as:
- Checking the calibration and insulation of temperature control systems
- Inspecting hoses and connections for leaks
- Ensuring filtration systems are operating efficiently
Paying attention to proactive sanitation measures, like deep-cleaning fermentation vessels and routinely sanitizing work surfaces, is crucial for safeguarding the quality of your brew. By prioritizing these monthly maintenance tasks, you can keep your operations running smoothly, which leads to improved product consistency and heightened customer satisfaction.
Consulting resources like “How to Brew” by John Palmer can provide additional valuable insights into effective monthly maintenance routines. Regular maintenance is key to brewing excellence!
What Are Some Tips for Maintaining a Clean Brewing Area?
Maintaining a pristine brewing area demands your consistent effort and the implementation of effective practices to ensure both sanitation and organization throughout the brewing process. Adopting cleaning techniques from resources like the Institute of Brewing and Distilling can further enhance your practices.
By embracing a few essential tips such as cleaning as you go, utilizing separate equipment for various types of brews, and properly storing your gear you can cultivate an efficient and hygienic brewing environment.
Implementing labels on storage containers can also help in maintaining better organization. These practices not only serve to prevent contamination but also elevate your overall brewing experience as a homebrewer, allowing you to focus on crafting your next masterpiece.
Brewing Tips for Homebrewers
1. Clean As You Go
The strategy of cleaning as you go is a powerful method for maintaining organization and cleanliness in your brewing area. By promptly addressing spills, rinsing equipment, and disposing of waste during brewing, you prevent the buildup of debris and lighten your load during the final cleanup.
This proactive approach not only enhances sanitation but also streamlines your efficiency as a homebrewer. David Ackley, a renowned brewing expert, highly recommends this approach.
Incorporating this philosophy can truly transform your brewing experience, making it more enjoyable and less stressful. To get started, establish a designated area for waste and ensure that cleaning supplies are readily accessible. Ensuring proper drainage in your workspace will also facilitate easier cleaning.
As you gather ingredients, take the time to clean measuring tools and work surfaces to prevent mixing ingredients. After each brewing step whether it’s boiling or fermentation pause for a moment to wipe down your equipment. This keeps your work area tidy and allows you to focus on the next phase of brewing without distractions.
Ultimately, adopting the ‘clean as you go’ method leads to a smoother brewing session, resulting in better quality beer and a significantly reduced risk of infections. Techniques from authoritative sources like the Institute of Brewing and Distilling can further enhance your cleaning methods.
2. Use Separate Equipment for Different Types of Brews
Using separate equipment for different types of brews is an effective strategy for you to prevent contamination and maintain sanitation in your brewing area. By designating specific tools and vessels for particular styles of beer, you minimize the risk of mixing ingredients, which can significantly impact the flavor profile and quality of your brews.
This practice becomes especially crucial when you’re working with different ingredients, techniques, or types of equipment such as stainless steel or plastic containers, ensuring a clean slate for each batch.
Recognize that ales and lagers have unique fermentation needs! This makes dedicated equipment, like a fermentation bucket or boil kettle, a must for achieving the best flavors possible.
To maintain optimal hygiene, consider adopting a systematic approach to labeling and organizing your equipment. You might find color-coding hoses and containers or using clear tags for kegs and fermenters to be particularly beneficial. This not only facilitates quick identification but also supports a streamlined brewing process, allowing for smoother transitions when switching between different beer styles.
Implementing cleaning practices, such as using proper cleaning chemicals and tools, significantly aids in brewery sanitation. By implementing such organizational methods, you can create a well-structured brewing setup that ultimately enhances the quality of your beers. Proper organization and storage are key to a successful home brewery.
3. Store Equipment Properly
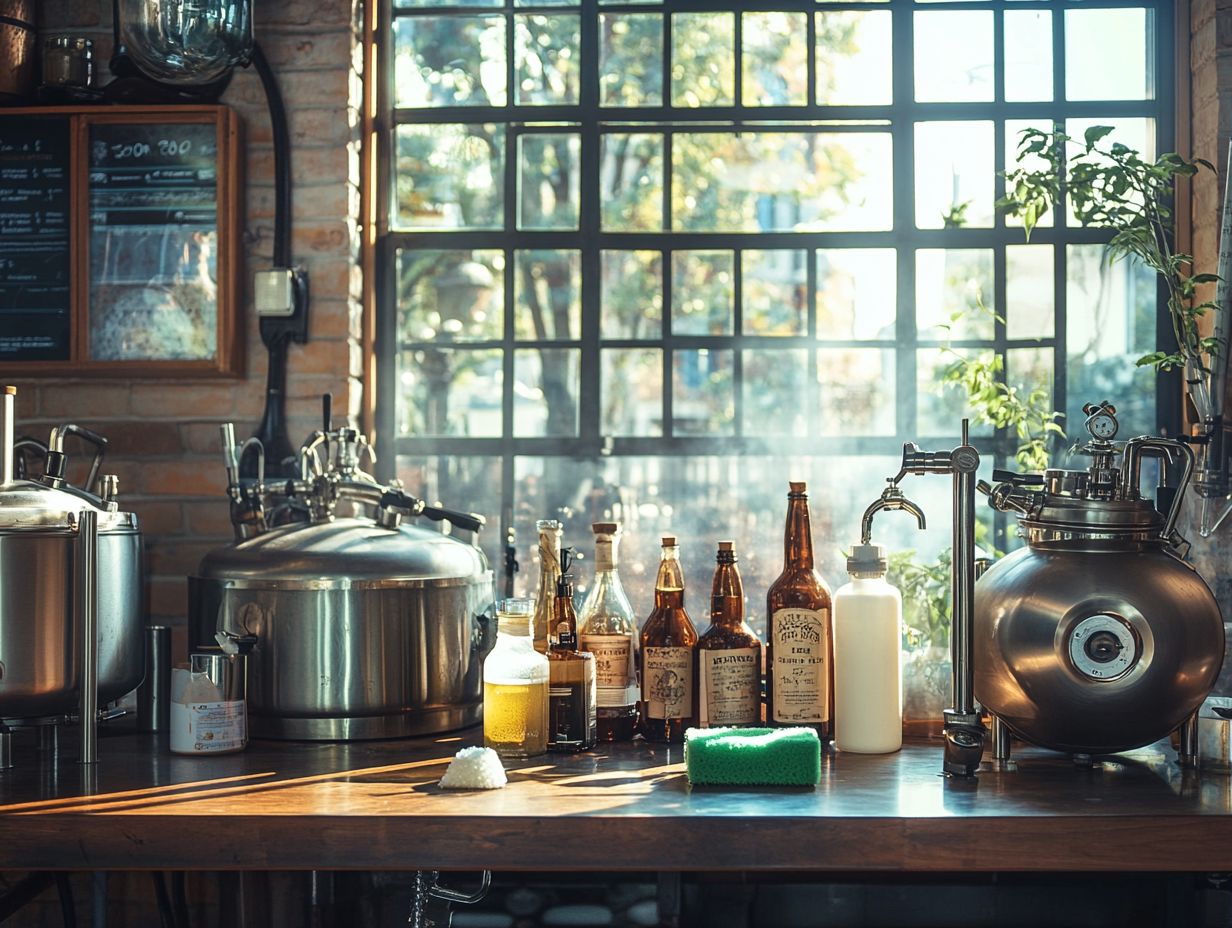
Properly storing your brewing equipment is crucial for maintaining cleanliness and ensuring that all your items remain in optimal condition for future use. By organizing your equipment in designated areas and making sure it’s clean and dry before storage, you significantly reduce the risk of contamination and promote a more efficient brewing process.
Using specialized drainage systems helps manage water runoff, thus aiding in maintaining a dry storage environment. This thoughtful organization also makes it easier for you to locate tools and supplies when needed, enhancing your overall brewing experience.
Using labels can help you quickly identify and retrieve items. For short-term storage, consider using sturdy bins or racks to keep your equipment off the ground, preventing any potential moisture damage.
In terms of long-term solutions, think about storage that keeps a steady temperature and humidity for sensitive items; this protects them from humidity and temperature fluctuations. Make sure to use proper floor sealants to prevent debris and bacteria from accumulating in the storage area.
Inspect and clean your equipment regularly to keep it in top shape. This not only prolongs its lifespan but also ensures that your brewing area remains inviting and efficient. Implementing a labeling system can greatly streamline your setup process, allowing you to quickly find what you need and maintain a clutter-free environment that fosters creativity and productivity.
For effective cleaning, consider using cleaning systems such as Oxyclean, PBW, Starsan, and Iodaphor.
Frequently Asked Questions
How Do I Keep My Brewing Area Clean?
Keeping your brewing area clean is essential for producing quality beer. Here are some tips to help you keep your space clean and organized:
- Use appropriate cleaning supplies and cleaning chemicals.
- Sanitize equipment before and after use.
- Utilize drainage solutions to avoid moisture build-up.
- Keep your workspace well-organized and clutter-free.
Why is it important to keep my brewing area clean?
A clean brewing area helps prevent contamination and ensures the quality of your beer. It also helps you maintain a sanitary environment for your brewing equipment. Proper cleaning can prevent the growth of molds and eliminate health hazards.
What supplies do I need to keep my brewing area clean?
You will need basic cleaning supplies such as a brush, sponge, cleaning solution, and towels. It’s also helpful to have a dedicated brewing area that is easy to clean and disinfect. Consider using materials like stainless steel, glass, copper, and aluminum for easy cleaning.
How often should I clean my brewing area?
Clean your brewing area before and after each use. This helps prevent bacteria and contaminants from affecting your beer. Make sure to soak and rinse all tools thoroughly.
What are some tips for organizing my brewing area?
Consider using storage containers or shelves to keep your equipment and supplies organized. Labeling containers and keeping a checklist can also help you stay organized and make cleaning easier. Effective organization can help prevent the buildup of debris.
Do I need to clean my equipment differently for different types of beer?
Yes, some beers may require specific cleaning and sanitizing methods. For example, sour beers may need extra cleaning to remove any lingering bacteria. Make sure to research the best cleaning practices for the specific beer you are brewing. Consult resources like John Palmer’s How to Brew and the Institute of Brewing and Distilling for expert advice.

