How Do I Know If My Beer Is Ready to Bottle?
Brewing beer is an enchanting journey that harmonizes art and science, transforming ordinary ingredients into a delightful beverage you can savor. As you delve into homebrew techniques, you ll appreciate the importance of both creativity and precision.
To truly master this craft, you must grasp the intricacies of the brewing and fermentation processes. You ll learn about the essential factors that influence fermentation, the duration of the fermentation period, and the telltale signs that your brew is primed and ready for bottling.
This guide will walk you through each step with clarity and precision. It will also delve into the proper techniques for bottling your beer, emphasizing the importance of patience and timing before you indulge in your creation. Get ready to take your homebrewing skills to the next level!
Contents
- Key Takeaways:
- What Is the Brewing Process?
- What Is the Fermentation Process?
- What Factors Affect Fermentation?
- How Do I Know When Fermentation Is Complete?
- What Are the Steps for Bottling Beer?
- How Long Should I Wait Before Bottling My Beer?
- 1. Primary Fermentation Time
- 2. Secondary Fermentation Time
- 3. Bottle Conditioning Time
- Frequently Asked Questions
- How Do I Know If My Beer Is Ready to Bottle?
- What is a hydrometer and how do I use it to check if my beer is ready to bottle?
- Can I rely on the airlock bubbles to tell me if my beer is ready to bottle?
- What happens if I bottle my beer too soon?
- Is there a specific temperature or time frame I should wait for before bottling my beer?
- What can I do to make sure my beer will carbonate properly in the bottle?
Key Takeaways:
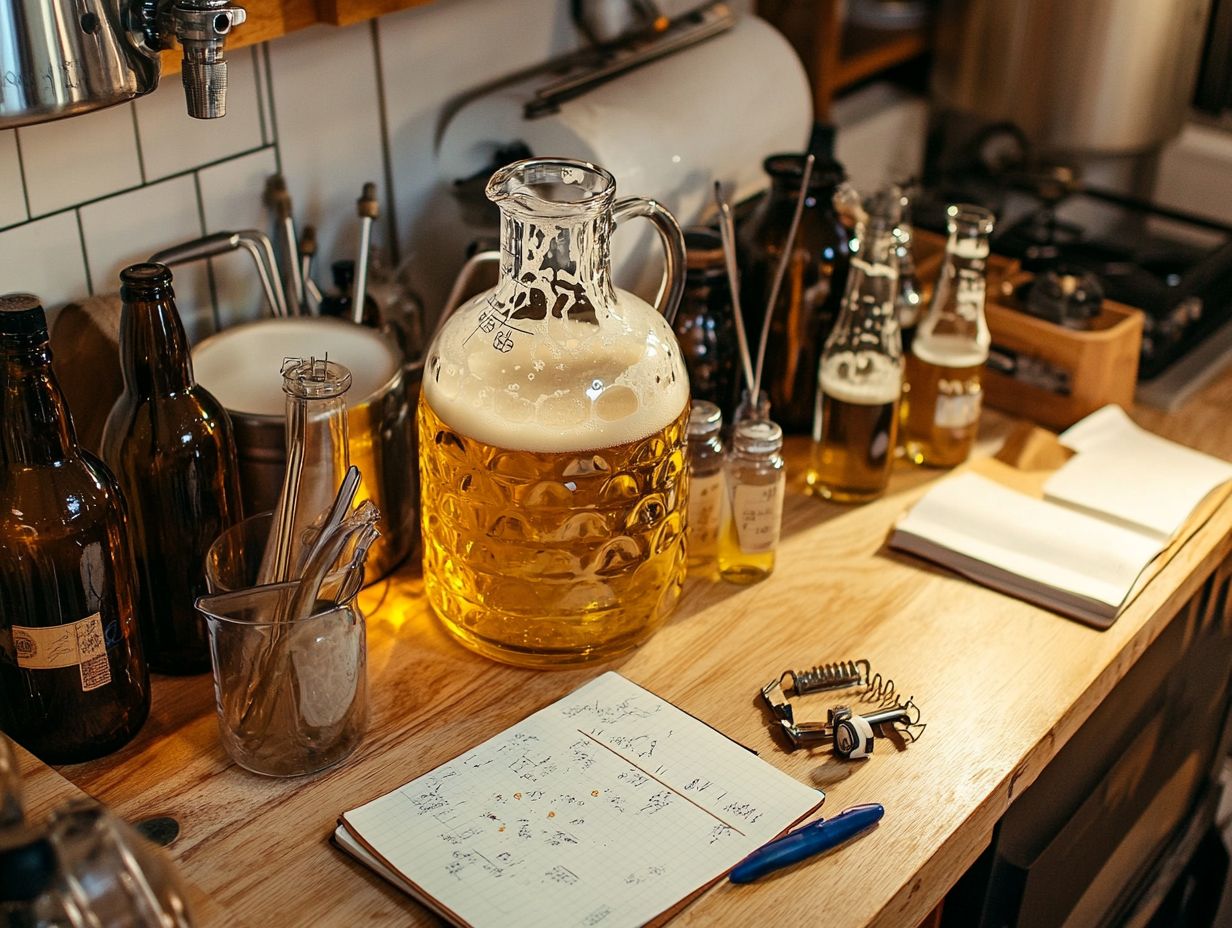
- Check specific gravity readings and look for visual cues like bubbling to determine when fermentation is complete.
- Sanitize bottles and equipment, prime the beer, transfer it to bottles, and cap and label them to prepare for bottling.
- The time needed for fermentation, conditioning, and bottling varies depending on factors like temperature, yeast type, and fermentation vessel, so it s important to account for these to ensure your beer is perfect.
What Is the Brewing Process?
The brewing process is a captivating journey that transforms simple ingredients into the rich and varied world of beer. It highlights the artistry inherent in homebrew production. It all begins with your selection of high-quality grains, hops, water, and yeast, each playing a crucial role in crafting both alcohol and flavor.
Whether you re brewing a Plinian Legacy IPA or experimenting with sour ales, understanding your ingredients is key. As you navigate the brewing stages, processes like mashing, boiling, and cooling prepare the way for fermentation. Here, the delicate balance of sugars and organic matter converges, giving rise to the unique beers you savor today, from robust stouts to tangy sour ales.
What Is the Fermentation Process?
The fermentation process is an important step in your homebrew production, where yeast works its magic, transforming sugars extracted from grains into alcohol and carbon dioxide. This intricate metabolic dance not only delivers the desired alcohol content but also enhances the aromatic profiles and mouthfeel of your final brew.
Understanding how yeast ferments and the nuances of yeast cleanup is essential for crafting exceptional beer. It’s also crucial for creating a variety of beer styles, from rich stouts to tangy sour ales.
What Factors Affect Fermentation?
Several critical factors influence the fermentation process, shaping both the efficiency of the yeast and the overall quality and character of the beer you craft.
Temperature stands out as a key element, dictating how active the yeast will be. The type of yeast you choose also plays a significant role; different strains bring distinct flavors and aromas to your final product.
The fermentation vessel you select can greatly affect your brewing experience, as it either allows or restricts the release of carbon dioxide and other gases during fermentation.
1. Temperature
Temperature is a key player in the fermentation process of your homebrew. It directly impacts yeast activity and the production of carbon dioxide and alcohol. Maintain an optimal fermentation temperature, as it dictates the speed of fermentation, the flavors that develop, and the overall health of your yeast.
If the temperature is too high, you may encounter bad flavors, while a temperature that is too low can stall the fermentation process entirely. Thus, it’s essential to monitor and control your fermentation environment.
Consider this: different yeast strains thrive within specific temperature ranges. Lager yeasts generally perform best in cooler conditions, around 45-55 F, while ale yeasts prefer slightly warmer temperatures, typically between 60-75 F. This temperature flexibility affects the efficiency of fermentation and shapes the overall profile of your final brew. Institutions like the Institute of Brewing and Distilling emphasize the importance of temperature control in brewing education.
At elevated temperatures, certain yeast types may produce esters and phenols, contributing delightful aromatic and flavor characteristics. However, if these compounds are left unchecked, they may lead to undesirable aromas.
Understanding the precise temperature requirements of the yeast you’ve chosen is crucial for achieving your desired flavor profile and ensuring a successful fermentation process.
2. Yeast Type
Choosing the right type of yeast is vital for your homebrew fermentation. Different strains impart unique flavors and aromas to your final product. Each yeast type influences the taste and mouthfeel of your beer and affects the fermentation period and alcohol content. Understanding the characteristics of various yeast strains is essential for achieving specific flavor profiles in your brews.
Take ale yeast, for example, Saccharomyces cerevisiae. It ferments at warmer temperatures, producing fruity esters that elevate beers like IPAs and stouts. On the flip side, lager yeast, such as Saccharomyces pastorianus, thrives in cooler conditions and contributes to the clean, crisp profiles you often find in lagers. Then there s Brettanomyces, the wild card of the yeast world, known for its funky, earthy notes. This makes it an intriguing choice for adventurous brews like farmhouse ales.
Yeast impacts not only flavor but also carbonation and final gravity. Some strains excel at controlling alcohol content and mouthfeel, ensuring that each batch you create is unique and a true reflection of your brewing intentions.
3. Fermentation Vessel
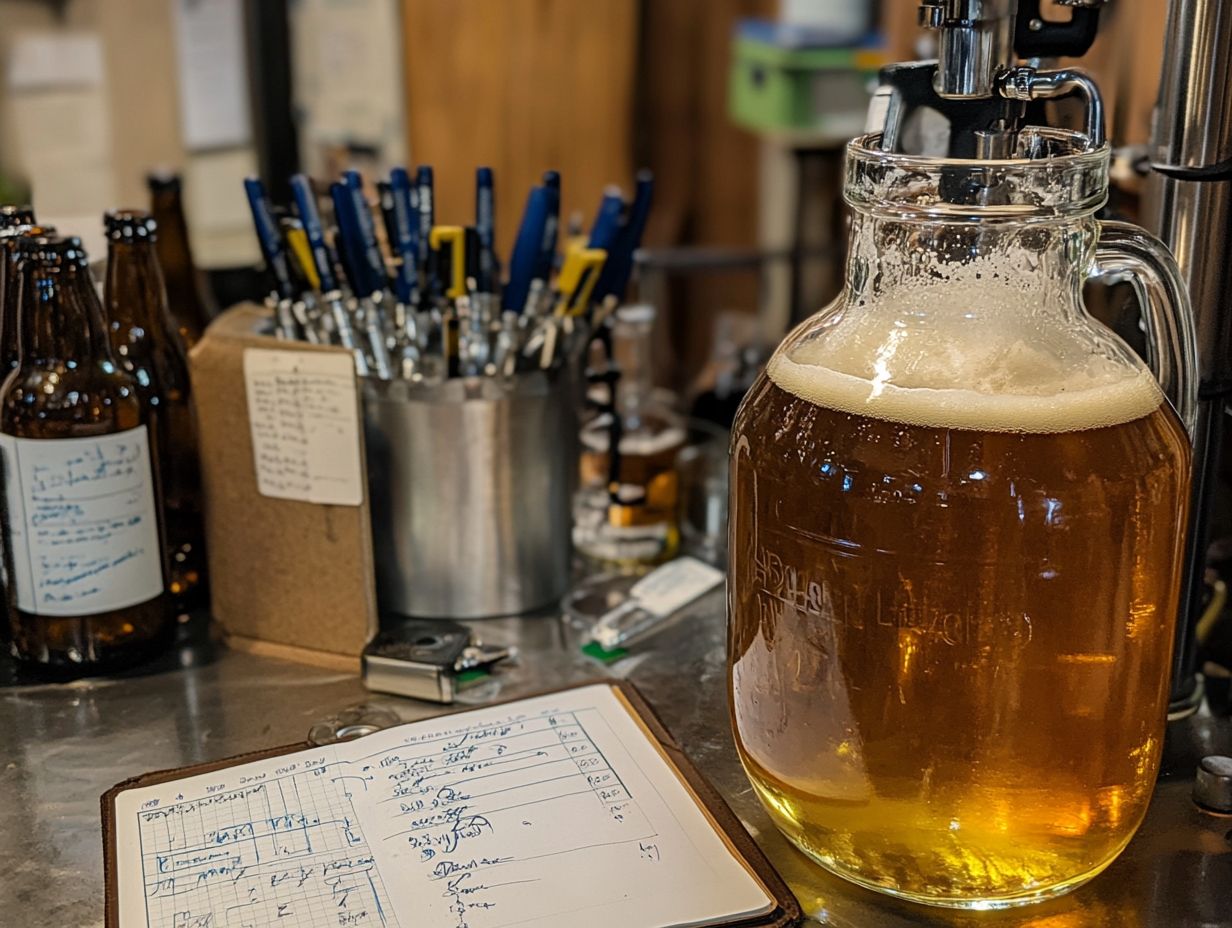
The choice of fermentation vessel is crucial in your brewing process. It influences the dynamics of fermentation, safety, and the quality of your homebrew. Make sure to sanitize your fermentation vessels! This step is crucial to prevent contamination and ensure your brew turns out great.
The vessel must also allow carbon dioxide to escape. Choose the right vessel! A wrong choice could lead to dangerous bottle bombs a serious safety concern for any brewer.
As a homebrewer, you have several fermentation vessel options to consider, including glass carboys, plastic fermenters, and stainless steel kegs. Glass carboys are airtight and allow you to visually monitor the fermentation process, but they can be heavy and fragile. In contrast, plastic fermenters are lighter and more budget-friendly, yet they may be more prone to scratches that can harbor bacteria. Stainless steel kegs are incredibly durable and offer excellent sanitation properties, though they often come with a higher price tag.
Each type of vessel has its benefits and drawbacks. Understanding these differences empowers you to make informed decisions that align with your specific brewing goals.
How Do I Know When Fermentation Is Complete?
Determining when fermentation is complete is a vital skill for any homebrewer. You have two primary methods at your disposal: hydrometer readings and visual cues. Proper measurement ensures that your beer is ready for bottling without risking bottle bombs, a significant safety hazard.
By taking specific gravity measurements with a hydrometer, you can monitor the fermentation process. Carefully track sugar conversion rates until you consistently see identical readings, signaling that fermentation has wrapped up. This method, along with a taste test, ensures your beer has the desired flavor before moving on to bottling.
Pay attention to visual cues such as bubbling activity and sediment formation as they provide valuable insights into the fermentation’s status. This guidance helps you confidently move on to the next step in your brewing journey.
1. Specific Gravity Reading
A specific gravity reading taken with a hydrometer is an invaluable tool for assessing the fermentation progress of your homebrew. By measuring the density of the liquid, you can determine the amount of fermentable sugars still lingering and calculate the potential alcohol content. This ultimately reflects the success of your fermentation efforts. Mastering the interpretation of these readings is essential to avoid any missteps in your brewing process.
To use a hydrometer effectively, start by obtaining a sample of your wort or beer using a sanitized measuring cup or sample thief. Make sure it s at the calibrated temperature for precise readings. Best practices dictate that you should sanitize both the hydrometer and the sample container to prevent any contamination.
Be mindful of common issues, such as bubbles clinging to the hydrometer, as they can skew your results. A gentle swirl of the sample can help eliminate those pesky bubbles.
Once you ve taken the specific gravity measurement, compare it to the original gravity reading you recorded before fermentation began. You can calculate the potential alcohol content using the formula: (OG – FG) x 131. This knowledge tells you whether fermentation is complete. It also aids in adjusting flavor profiles and sweetness, guiding you toward more well-considered choices in your brewing journey.
2. Visual Cues
Visual cues are essential in determining the fermentation status of your homebrew. They provide valuable insights into the yeast’s activity level and the overall health of your brew. By keenly observing these indicators, you can make informed decisions that optimize your brewing process.
For example, if you notice vigorous bubbling in the airlock, as David Ackley mentions in his Local Beer Blog, it usually signals that fermentation is in full swing. This indicates your yeast is efficiently metabolizing sugars. On the other hand, if you see a thick layer of sediment or trub accumulating at the bottom of your fermentation vessel, it likely means the yeast has wrapped up its primary fermentation phase and is starting to flocculate.
As fermentation continues, you ll often see the liquid becoming clearer. This means the yeast and other particles are settling out. Each of these visual cues offers crucial information that can help you achieve a consistent and delicious final product in your homebrewing endeavors, much like the renowned Plinian Legacy IPA.
What Are the Steps for Bottling Beer?
Bottling beer is an exciting final step in the homebrew process. It demands your careful attention to detail to guarantee a successful and enjoyable end product.
The journey begins by sanitizing your bottles and equipment. This crucial move prevents any unwanted contamination. Next, you’ll prime the beer with sugar to achieve that perfect carbonation, a technique often recommended by the Institute of Brewing and Distilling.
With precision, you will transfer the brew into bottles, ensuring every drop counts. The finishing touches come with capping and labeling your masterpieces, giving you the power to savor your creations with confidence and pride.
1. Sanitizing Bottles and Equipment
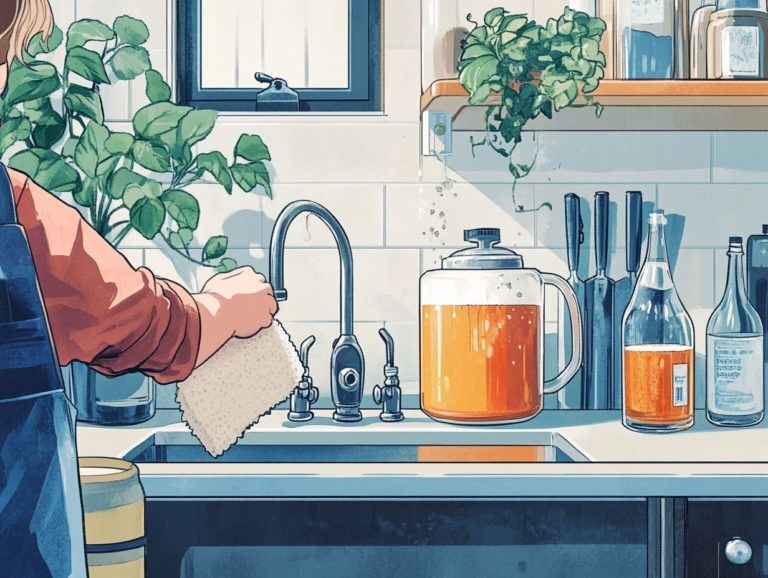
Sanitizing your bottles and equipment is an essential step in the homebrewing process. It prevents contamination and ensures that your final product is both safe and high-quality.
Effective sanitizers can eliminate unwanted microorganisms that could spoil your beer or create safety hazards like bottle bombs. Proper sanitation techniques establish a solid foundation for a successful bottling experience, which is also a key component in the curriculum for the General Certificate in Brewing.
You have a range of sanitizing methods at your disposal. For instance, using solutions like Star San is popular due to its no-rinse properties, while traditional bleach diluted in water is another option, though it requires careful rinsing afterward.
Heat sanitization methods, such as boiling or running your dishwasher on a sanitized cycle, can also be effective, but they might not always be the most practical choices for everyone.
Thorough sanitization goes beyond just the bottles; all your brewing equipment, including kegs and tubing, needs to be properly sanitized to avoid the risk of infection. Neglecting this vital process can cause off-flavors and potential health risks. Proper sanitation isn’t just a suggestion it’s a necessity for anyone serious about brewing high-quality beer.
2. Priming the Beer
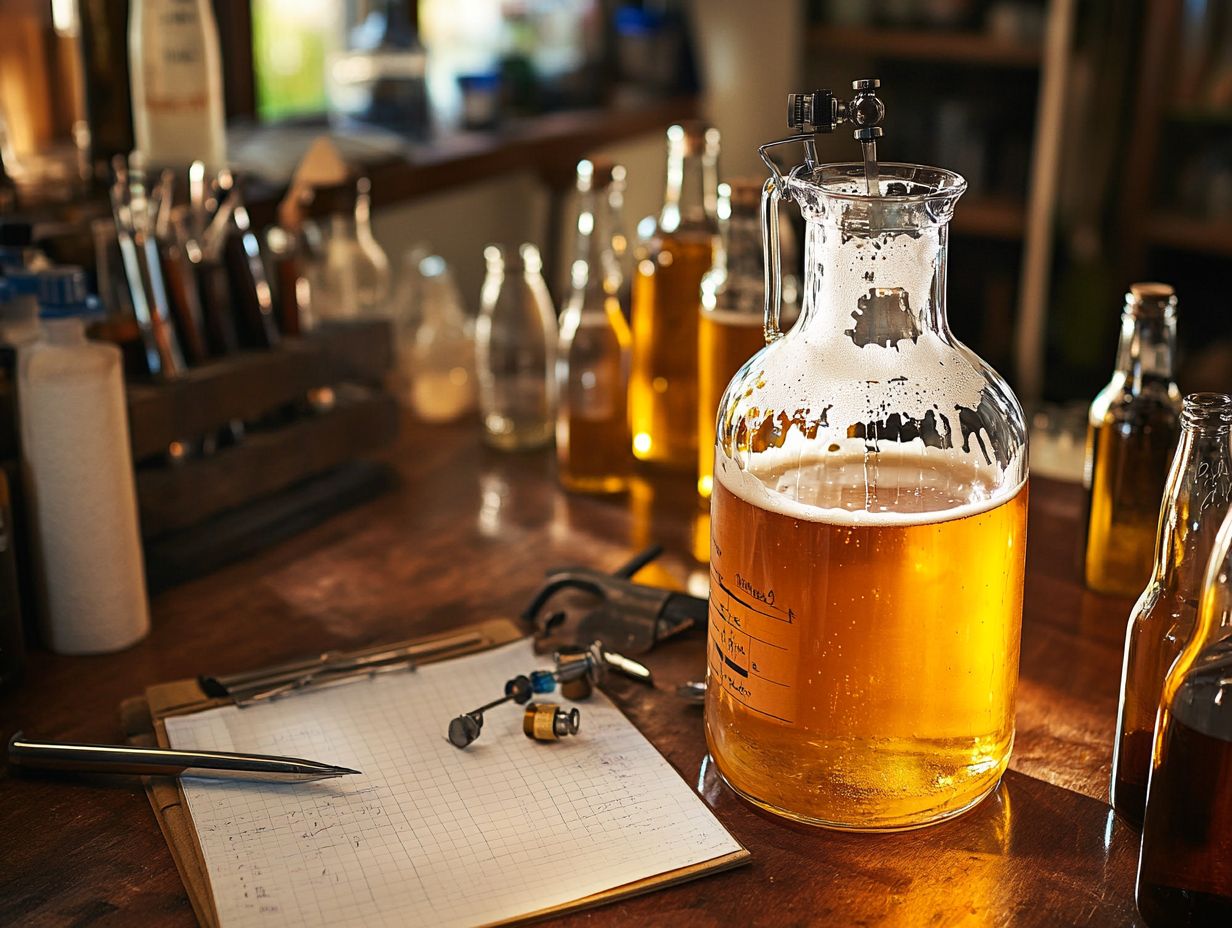
Priming the beer introduces sugar into your brew before bottling, setting the stage for carbonation. Meticulously calculating the right amount of sugar achieves the perfect carbonation level and enhances the drinking experience.
You have a variety of sugars at your disposal for this process, including corn sugar, table sugar, and even honey or malt extract. Each option imparts unique flavors and mouthfeel to your final product.
To determine the precise amount of sugar needed for different beer styles, brewers like you typically lean on priming calculators that consider factors such as the volume of beer and the desired carbonation level measured in volumes of CO2.
Proper carbonation does more than just enhance the aroma and texture of your beer; it also plays a significant role in how the taste is perceived. This makes it an essential consideration for any serious homebrewer looking to replicate the nuanced profiles of commercial brews.
3. Transferring Beer to Bottles
Transferring beer to bottles is a delicate endeavor that demands precision to prevent oxidation and maintain the brew’s quality. By utilizing tools such as a measuring cup or a sample thief, you can carefully siphon the beer from the fermentation vessel into clean, sanitized bottles while avoiding the introduction of contaminants.
This step is pivotal in ensuring that the rich flavors developed during fermentation are preserved in the final product. It’s crucial to employ equipment that has been meticulously sanitized, including tubing, bottling wands, and the bottles themselves.
This precaution helps fend off any unwanted bacteria or wild yeast that could compromise your beer, a practice known to many seasoned brewers. Minimizing exposure to oxygen is just as important; strive to transfer the beer gently and swiftly, utilizing closed transfer systems whenever possible.
In troubleshooting, you might encounter excessive foaming, which often signals that the beer is being transferred too aggressively or that the bottle temperature isn t quite right. By adhering to best practices like maintaining a consistent transfer flow and diligently checking for leaks you can significantly enhance the overall bottling process.
Start implementing these sanitization methods today to elevate your homebrew!
4. Capping and Labeling Bottles
Capping and labeling your bottles is the final flourish in the homebrew bottling process. It perfectly seals in the carbonation while providing key information about your beer. By ensuring that the caps are secured tightly, you create a sealed environment that supports the development of carbonation, enhancing both the flavor and overall experience of your brew.
When you label your bottles with key details such as the beer style and bottling date, you not only add a personal touch but also facilitate future reference. Employing proper capping techniques is crucial; it prevents leakage and maintains optimal pressure, allowing the flavors to mature beautifully.
The type of cap you choose be it standard or twist-off significantly influences carbonation retention. As for labeling, it s important to include vital details like alcohol content, ingredients, and tasting notes, providing consumers with clear insight into what they can expect.
Your label design can be a canvas for creativity, inspired by the beer’s flavor profile or regional culture. This transforms an ordinary bottle into a work of art that tells a story. With careful attention to capping and labeling, you truly elevate not just the quality of your homebrew but also its presentation, ensuring each bottle leaves a lasting impression.
How Long Should I Wait Before Bottling My Beer?
Understanding how long to wait before bottling your beer is essential for achieving the finest flavor and carbonation in your homebrew. This closely ties to the fermentation timeline.
Primary fermentation usually spans about one to two weeks, depending on the yeast strain and the style of beer you re crafting. After that, you might consider a secondary fermentation, which can add remarkable depth to your brew. Allowing proper bottle conditioning time after bottling is crucial, as this step is key to attaining the carbonation and flavor profile you desire in the final product.
1. Primary Fermentation Time
The primary fermentation time is a crucial phase in your homebrewing process, typically lasting one to two weeks. During this period, yeast diligently consumes sugars, producing alcohol and carbon dioxide. Monitoring this phase is essential; it lays the groundwork for your beer’s final flavor and character.
By understanding the specifics of yeast behavior during this time, as highlighted in the Institute of Brewing and Distilling’s guidelines, you can effectively prepare for the next steps in your brewing journey. Several factors can significantly influence the duration of primary fermentation, with the type of yeast and the ambient temperature being the most notable.
Different yeast strains exhibit varying fermentation profiles and temperature preferences some thrive in cooler conditions, while others require warmth to reach their peak activity. Regularly check the specific gravity which measures the density of liquid compared to water using a hydrometer, looking for stable readings over a few days as an indication that fermentation is complete.
Other signs to watch for include the cessation of bubbling in the airlock and a noticeable layer of sediment forming at the bottom of the fermenter, signaling that the yeast has settled. Staying attentive to these indicators will help ensure a successful brewing outcome, elevating your homebrew to new heights.
2. Secondary Fermentation Time
Secondary fermentation time is an optional yet highly beneficial phase in your homebrewing journey. During this stage, your beer undergoes further development, enriching its flavors and enhancing its clarity. This phase can span from just a few days to several weeks, depending on your chosen beer style and personal preferences.
By allowing your beer to condition further, you can achieve a more refined taste and improved stability in the final product. During this phase, the yeast gets the chance to consume any lingering sugars, leading to a more complex flavor profile as esters and phenols emerge.
Secondary fermentation also aids in clarifying your beer by allowing sediments to settle, thus elevating its visual appeal. If you aim to optimize this process, it s essential to monitor the specific gravity to determine when fermentation is complete, ensuring you transfer to a keg, bottle, or even a barrel at just the right moment.
Maintaining a stable environment for the fermenter is key to preventing temperature fluctuations that could negatively impact the flavor outcome.
3. Bottle Conditioning Time
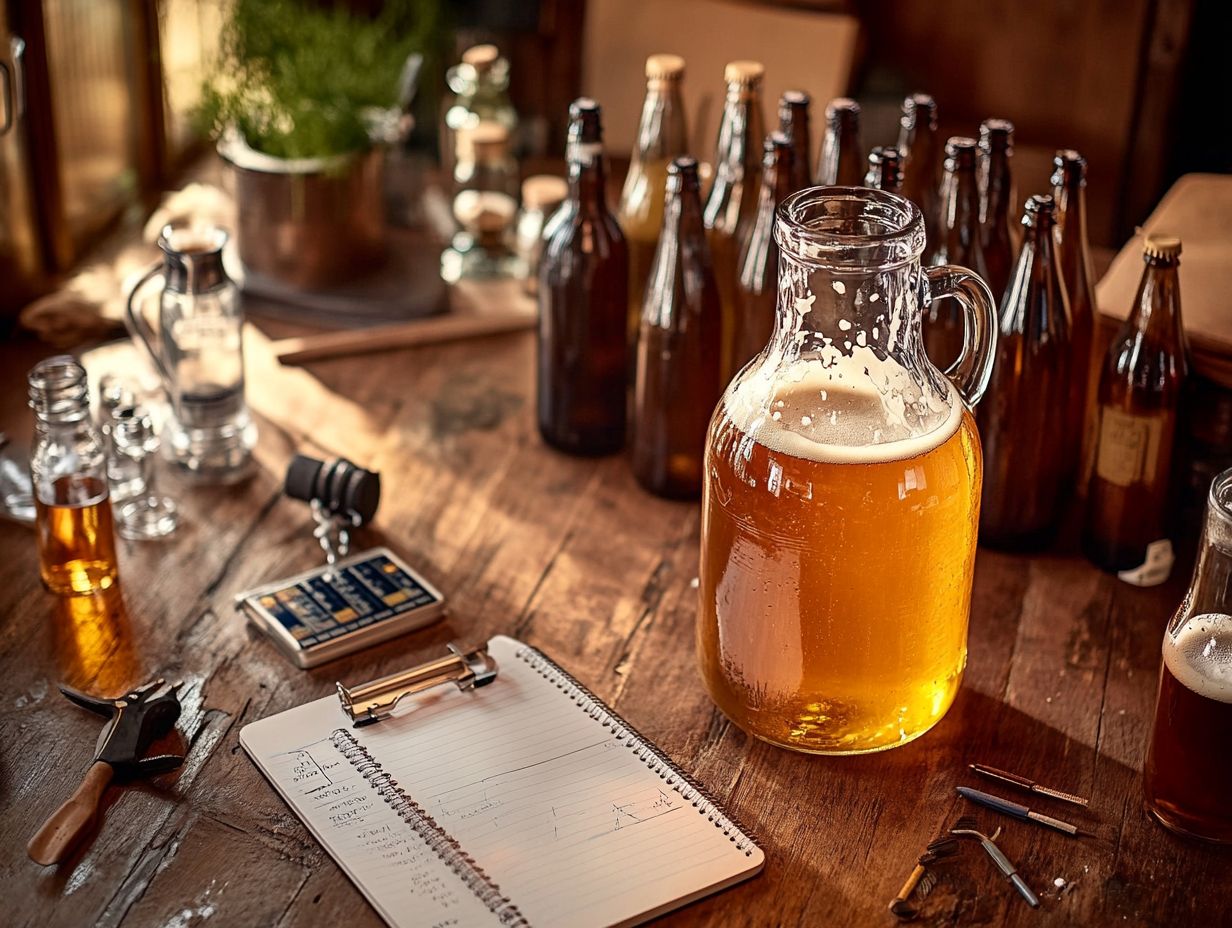
This process is well-documented on the Local Beer Blog, a valuable resource for homebrewers.
Bottle conditioning time is crucial for your homebrew, as it allows your beer to carbonate and develop its flavors after bottling. This phase usually lasts one to several weeks. It s where the residual sugars and priming come into play, creating natural carbonation that enhances your overall drinking experience.
Managing this time properly is vital. It helps you avoid safety hazards like bottle bombs while ensuring you achieve the carbonation levels you desire. For example, a popular beer like Plinian Legacy IPA benefits greatly from meticulous bottle conditioning.
During this important stage, the yeast ferments the priming sugar you’ve added before bottling, producing carbon dioxide that dissolves into your beer. Keep an eye on the temperature! A too-warm environment can speed up fermentation.
Choosing thick glass bottles reduces risks. However, it’s wise to check for signs of over-carbonation. If your beer is too fizzy when opened, take action! It might be an indication of excessive fermentation.
To troubleshoot, consider lowering the amount of sugar you use in future batches or adjusting your storage conditions. Engaging in this meticulous process ensures you enjoy a superior craft beer experience, brimming with the flavors you love and an appealing effervescence. Following advice from experts like David Ackley and institutions such as the Institute of Brewing and Distilling can also be invaluable.
Frequently Asked Questions
How Do I Know If My Beer Is Ready to Bottle?
Obtaining a General Certificate in Brewing can provide you with the skills and knowledge to perfect this process.
A consistent hydrometer reading over several days indicates your beer is ready. The best way to determine if your beer is ready to bottle is by taking a hydrometer reading. Once the reading has been consistent, it is usually safe to bottle the beer.
What is a hydrometer and how do I use it to check if my beer is ready to bottle?
A hydrometer is a tool used to measure the density of a liquid, helping you gauge both the alcohol content and fermentation progress of your beer. To check if your beer is ready to bottle, take a sample and place the hydrometer in it. Record the reading and compare it to the original gravity reading. If they are the same, your beer is ready to bottle.
Can I rely on the airlock bubbles to tell me if my beer is ready to bottle?
No, the airlock bubbles can be misleading and are not a reliable indicator of when your beer is ready to bottle. The airlock may continue to bubble even after fermentation is complete, so it’s best to use a hydrometer for an accurate reading.
What happens if I bottle my beer too soon?
If you bottle your beer before it is ready, it may result in under-carbonated beer or even worse, exploding bottles. This is because the yeast has not finished converting all the sugars into alcohol, which will create excess carbonation in the bottle.
Is there a specific temperature or time frame I should wait for before bottling my beer?
The recommended temperature for bottling is between 65-75 degrees Fahrenheit. As for the time frame, it depends on the type of beer and the specific recipe. Generally, ales take 2-3 weeks to ferment, while lagers take 4-6 weeks. Be sure to check the instructions for your specific beer kit.
What can I do to make sure my beer will carbonate properly in the bottle?
To ensure proper carbonation, make sure to add the correct amount of priming sugar to your beer before bottling. This will provide the yeast with a food source to create carbon dioxide, resulting in carbonated beer. Also, make sure to store the bottles in a warm, dark place for at least 2 weeks to allow for proper carbonation.
