How Long Does Home Brewing Take?
Contents
Your Guide to Home Brewing
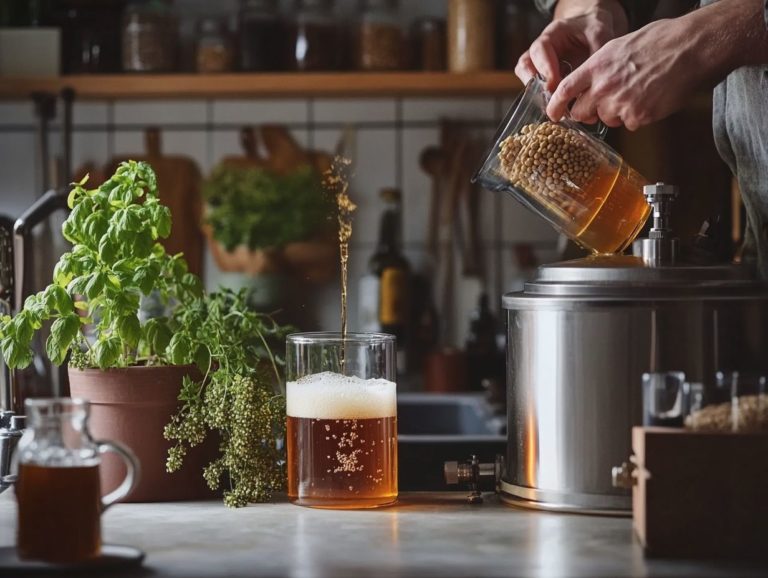
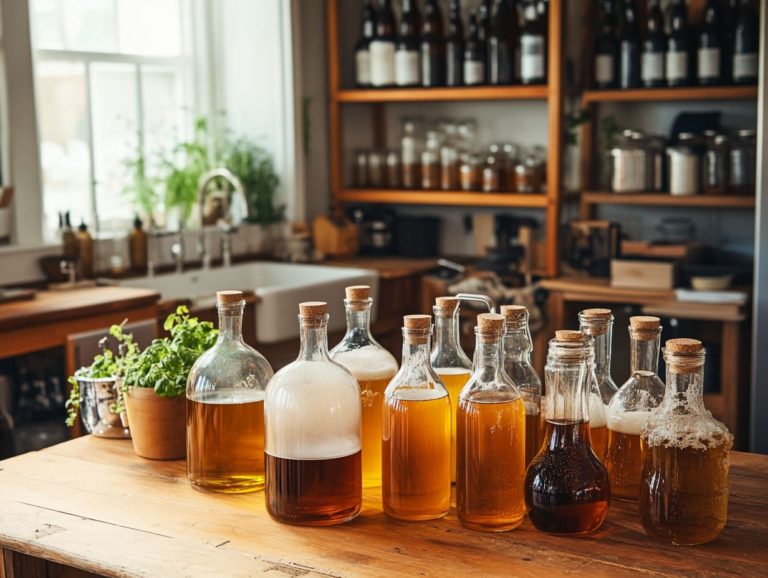
Home brewing is a fulfilling and delightful hobby that empowers you to craft personalized beer right in the comfort of your own kitchen. This beer brewing hobby allows you to explore various brewing techniques and customize your own unique beer recipes.
Whether you are just starting out or a seasoned brewer aiming to enhance your brewing techniques, grasping the essential brewing equipment, beer ingredients, and processes involved is vital.
This brewing guide will encompass everything from selecting the perfect fermentation vessel to mastering the bottling process, as well as the best practices for storing your creations and ensuring proper beer conditioning.
Immerse yourself in this journey and uncover the art of brewing at home! From understanding the brewing basics to experimenting with different beer styles, this brewing manual will help you every step of your brewing process. Let s get brewing!
Key Takeaways:
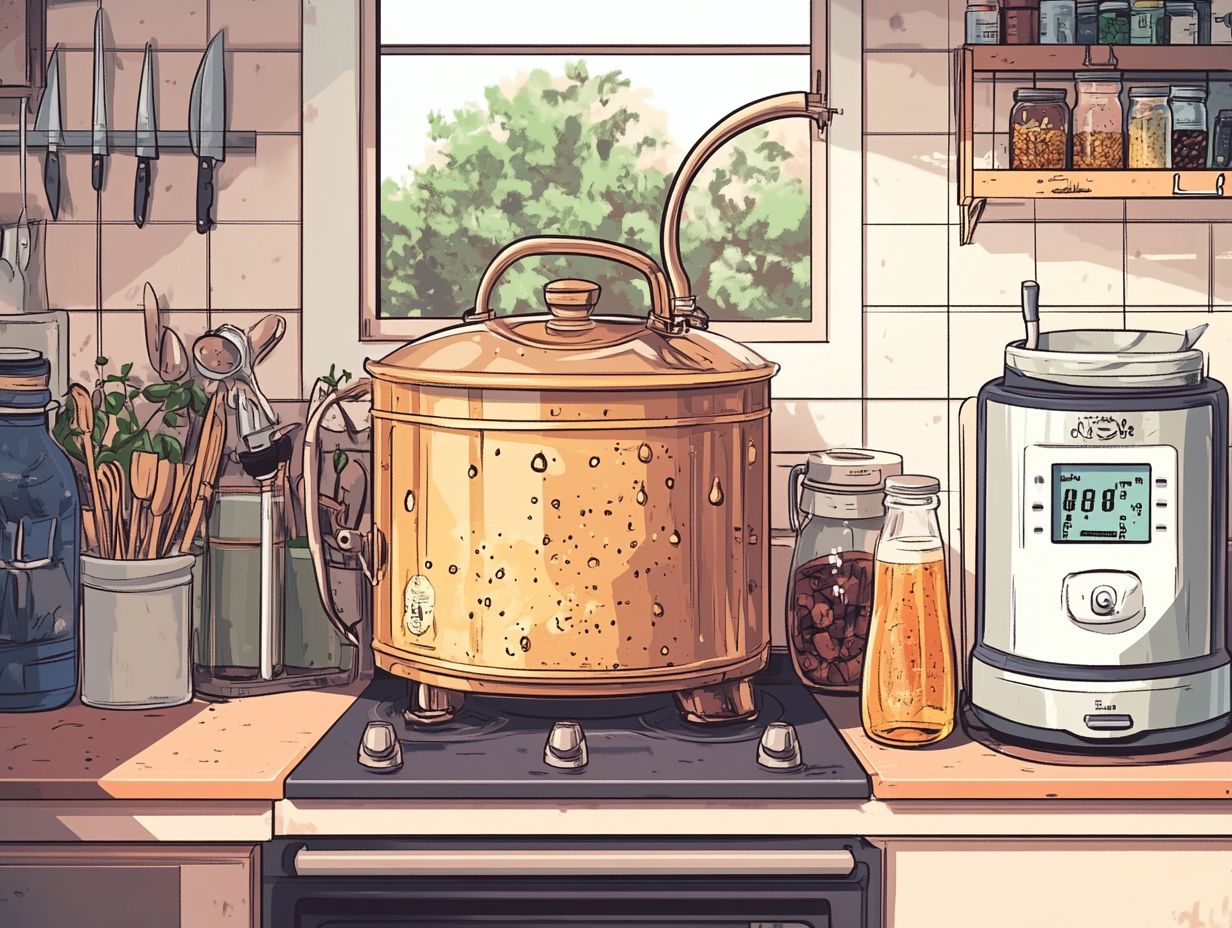
- Home brewing requires basic brewing equipment such as a fermentation vessel, airlock, bottles, fermenting bucket, and thermometer.
- Ingredients for home brewing include malt extract, hops, yeast, and water.
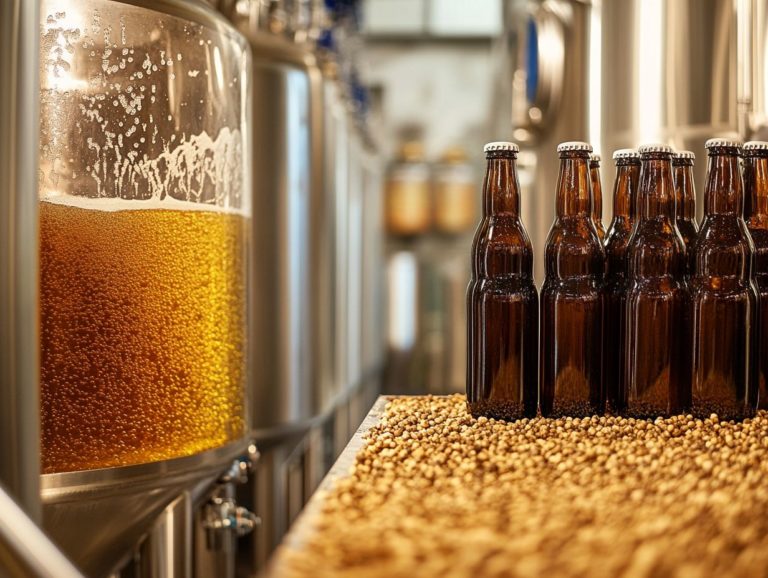
- The process of home brewing typically takes 3-4 weeks, with 1-2 weeks for yeast fermentation and 2-3 weeks for bottle conditioning, ensuring proper beer carbonation.
What Equipment Do You Need for Home Brewing?
Home brewing presents an exhilarating and fulfilling journey, enabling you to craft your own unique beers right in the comfort of your home. To embark on this brewing adventure, it s crucial to equip yourself with the right tools and brewing supplies to ensure a seamless and enjoyable experience.
You’ll need essential items such as:
- a fermentation vessel to facilitate the yeast fermentation process,
- an airlock that permits gases to escape while keeping contaminants at bay,
- bottles paired with a bottle capper for your finished brews,
- a reliable thermometer to monitor temperatures throughout the brewing stages, such as during the mashing process and wort cooling,
- a hydrometer to accurately measure alcohol content and the density of your brew.
With the right equipment in hand, you re well on your way to becoming a brewing connoisseur.
1. Fermentation Vessel
A fermentation vessel is essential in your home brewing journey, serving as the stage where the magic of the fermentation process occurs. During this process, yeast transforms sugars from the wort into delightful alcohol.
Selecting the right fermentation vessel is crucial for brewing success, as it can profoundly impact your brewing results. For instance, glass carboys are often preferred for their impermeability to oxygen and ease of cleaning, which helps you avoid contamination. Conversely, plastic fermenters are lightweight and less likely to break, making them a go-to choice for beginner brewers.
Each type offers distinct advantages. Glass vessels grant you a clear view of the fermentation action, while plastic ones frequently feature convenient spigots for seamless sampling and bottling. Pick the right vessel to transform your fermentation process and take your homebrew to the next level!
2. Airlock
An airlock may seem like a simple piece of brewing equipment, but it’s an essential tool in your brewing arsenal. It allows carbon dioxide produced during fermentation to escape while keeping outside air at bay, protecting your brew from potential contaminants.
By permitting gas to exit, airlocks help you maintain the ideal pressure within your fermentation vessels, ensuring you create the best brewing conditions possible. You ll find various types of airlocks out there, like the S-type and the triple-bubble airlock, each serving the same fundamental purpose with its unique design.
The S-type, characterized by its distinct shape, can be filled with water to form a protective barrier against unwanted pathogens. Meanwhile, the triple-bubble design offers an extra layer of security, facilitating more effective gas release.
Understanding how these airlocks function is vital for anyone passionate about home brewing, as their proper use has a direct impact on the quality and sanitation of your final product.
Conclusion
Embarking on the journey of home brewing is not only rewarding but also a wonderful way to express creativity and enjoy delicious beer tailored to your own tastes. With the right equipment and knowledge, you can create fantastic brews and share the joy of home brewing with friends and family. So gather your supplies and get started on your brewing adventure today!
3. Bottles and Bottle Capper
Bottles and a reliable bottle capper are essential tools for storing your home-brewed beer. They ensure proper conditioning and carbonation after fermentation wraps up.
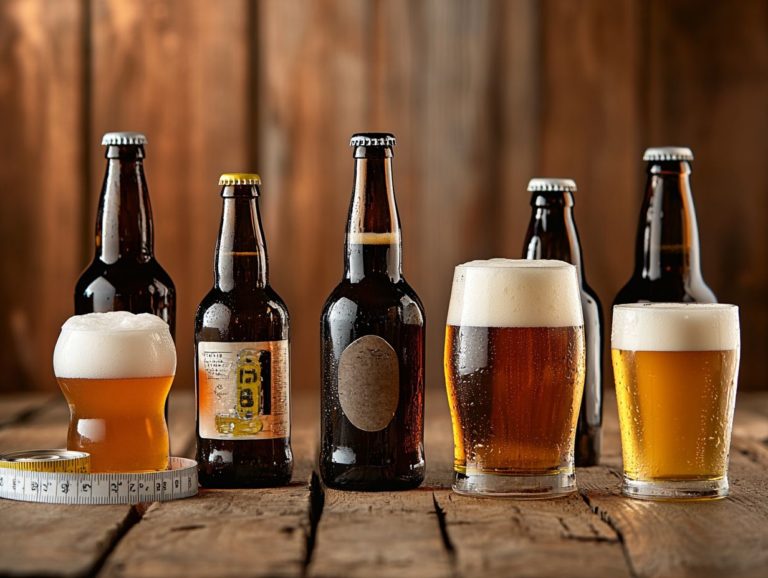
Selecting the right bottles is crucial. Various sizes and materials can significantly influence your beer’s flavor and longevity. Glass bottles are often the go-to choice due to their impermeability to oxygen, which helps preserve your beer s integrity over time.
Approach the bottling process with care. Cleanliness and thorough sanitization of each bottle are vital to prevent any contamination. Once you ve filled those bottles, use a bottle capper to secure a tight seal. This keeps oxidation at bay and maintains the carbonation levels just right.
With the right equipment in hand, you and your fellow beer enthusiasts can dive into the delicious rewards of your brewing efforts, elevating your overall brewing experience.
4. Thermometer
A thermometer is an essential companion for any home brewer. It enables you to monitor temperatures during critical stages like the mashing process and wort cooling, both of which significantly influence the quality of your brew.
Precise temperature control ensures that enzymes perform their magic during mashing. This optimizes sugar extraction and enhances delightful flavor profiles. You’ll find various types of thermometers at your disposal digital, dial, and infrared models offering unique advantages tailored to your brewing needs.
Using an accurate thermometer improves consistency in your brewing process. It also boosts your confidence to experiment with diverse styles and recipes. Maintaining ideal temperatures helps you achieve the desired aroma and taste, elevating your craft to professional heights. Ultimately, this transforms each brewing experience into a rewarding adventure.
5. Hydrometer
A hydrometer is a key tool in home brewing. It helps you measure how dense the liquid (wort) is compared to water. This measurement is crucial for calculating the potential alcohol content in your final beer.
This elegant instrument floats in your liquid sample, and by observing the scale on its stem, you can determine the density relative to water. Monitoring the specific gravity at various stages of fermentation offers you invaluable insights into the brewing process. As fermentation advances, yeast diligently converts sugars into alcohol, and the changes in specific gravity levels reveal how much sugar has been processed.
By comparing your initial and final specific gravity readings, you can accurately calculate the alcohol by volume (ABV). This ensures that each batch of beer is consistent and meets your exact specifications.
What Ingredients Are Required for Home Brewing?
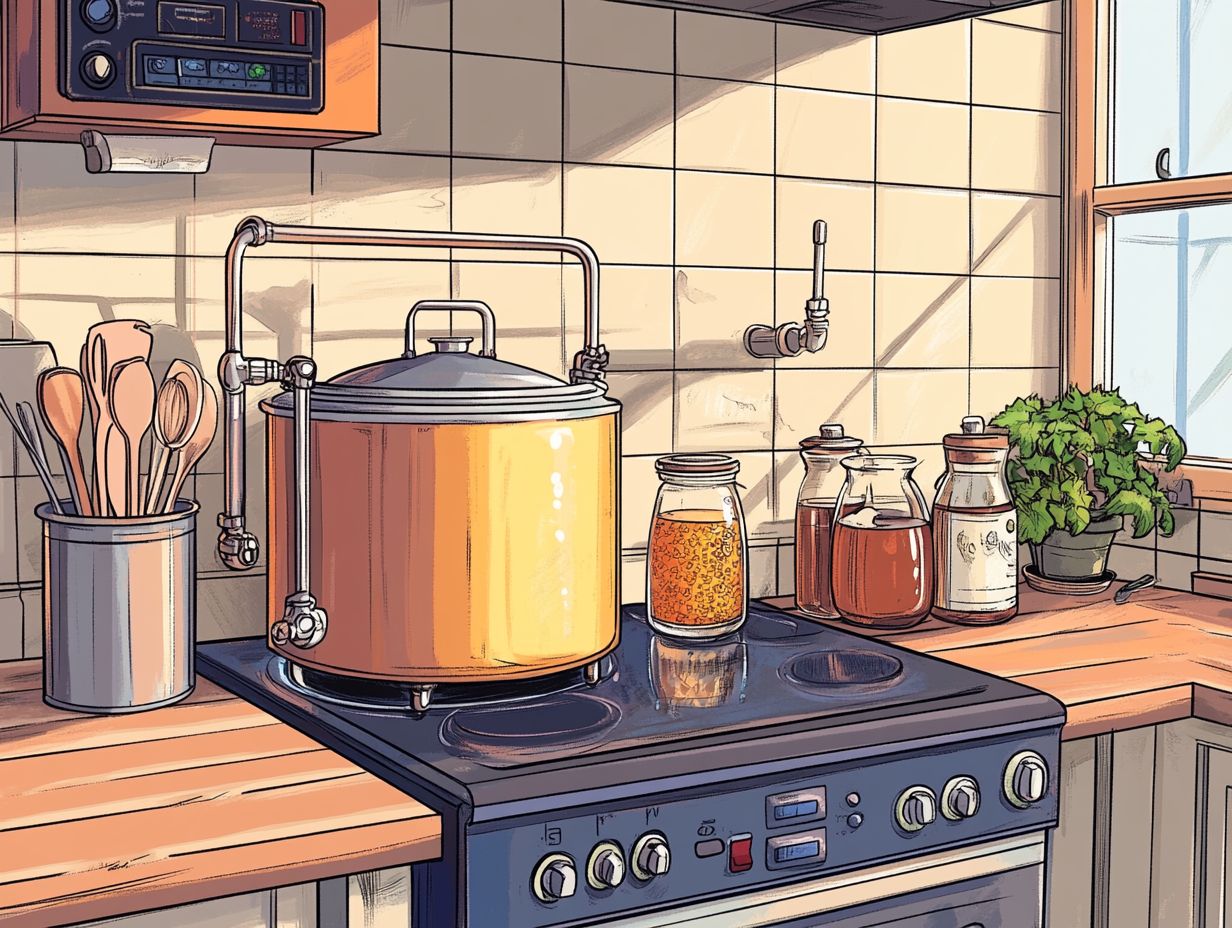
The foundation of exceptional home-brewed beer rests on its ingredients for brewing. Malt extract, hops, yeast, and water are the essential components of the brewing process. Each plays a vital role in imparting unique flavors and characteristics to your beer recipes.
Selecting high-quality ingredients elevates your brewing experience and the final product, making it a rewarding adventure.
1. Malt Extract
Malt extract stands as the cornerstone of home brewing. It serves as the primary sugar source, providing essential fermentable sugars for yeast fermentation while also influencing the beer’s color and flavor.
You ll encounter two main types of malt extract: liquid and dry. Each brings its unique advantages, depending on your brewing method and the outcome you seek. Liquid malt extract, with its higher moisture content, mixes effortlessly into your brew. Dry malt extract offers a longer shelf life and can amplify the flavor concentration.
When selecting the right malt extract for your desired beer style, consider the intended sweetness, bitterness, and aroma. These elements play a crucial role in achieving the perfect flavor profile. Understanding the importance of malt extract in the brewing process allows you to create beers that authentically reflect your individual tastes and preferences.
The Essential Role of Hops in Beer
Hops are crucial for brewing beer, bringing bitterness, flavor, and aroma to your homebrewed creations while also serving as a natural preservative. They are a key ingredient that contributes to the distinctive flavors you aim to achieve.
With a wide array of hop varieties at your disposal, each one adds its unique character to your brew. For example, Cascade hops offer a delightful citrusy and floral profile, making them perfect for Pale Ales and IPAs.
On the other hand, Citra hops unleash vibrant tropical fruit flavors, enhancing the fruity notes that modern craft beers are known for. If you re leaning towards something more traditional, varieties like Saaz provide a mild aroma and are typically used in European lagers, imparting a subtle earthiness.
Familiarizing yourself with these hop profiles allows you to expertly control when to add them during the brewing process early for bitterness or later for that sought-after flavor and aroma. With this knowledge, you can create standout beers that will impress your friends!
Yeast: The Fermentation Powerhouse
Yeast is the unsung hero of your brewing process, the magical organism responsible for fermentation the process where yeast converts sugars into alcohol and carbon dioxide that ultimately defines the style and character of your beer. Choosing the right yeast is crucial for achieving the desired alcohol content and flavors in your final product.
With a plethora of yeast strains available, each one plays a unique role that significantly influences your final product. Take, for example, the beloved Saccharomyces cerevisiae, which is often your go-to for ales, imparting delightful fruity esters and spicy phenols to your brew.
In contrast, its cousin, Saccharomyces pastorianus, is typically your choice for lagers, delivering that signature clean, crisp taste. Grasping these nuances is essential for you as a brewer striving for perfection in your recipes.
Proper management of yeast during fermentation is crucial; keeping optimal temperatures the best temperature range for yeast to thrive ensuring adequate aeration, and closely monitoring pH levels can greatly affect yeast performance and, consequently, the flavor profile of your beer.
Water Quality and Its Impact on Beer
Water serves as the most abundant ingredient in beer production, and the quality and mineral content of this vital element can profoundly influence the taste and mouthfeel of your home-brewed beer. Whether you are brewing beer at home or on a commercial scale, the impact of water cannot be understated.
When selecting the perfect water for your brewing endeavors, it’s essential to consider not only its source but also its unique mineral profile. Different beer styles, from pale ales to stouts, flourish under specific water conditions.
For instance, softer water is typically favored for crafting delicate lagers, while harder water enhances the bold flavors characteristic of American Pale Ale and IPAs. As a home brewer, you have the ability to adjust your water chemistry by adding minerals like gypsum or calcium chloride, customized to achieve your desired beer profile.
This careful optimization can significantly improve the flavor balance of your brew. By understanding how these adjustments impact your final product, you can elevate your brewing experience and achieve truly remarkable results.
Let s Dive into the Exciting Steps of Home Brewing!
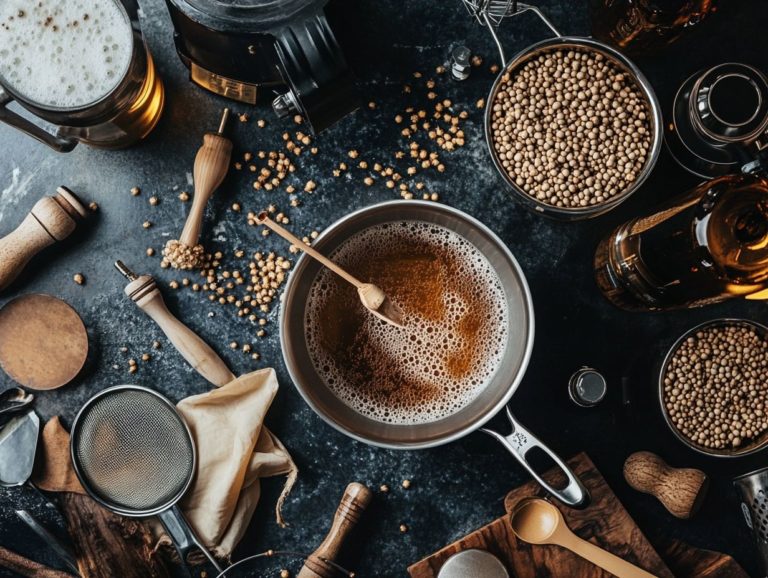
The home brewing process encompasses several essential steps that guarantee a successful batch. It all begins with sanitizing your equipment to eliminate any potential contaminants and ensure the quality of your beer production.
Next, you ll boil the wort to draw out the rich flavors from the malt and hops. Once you’ve achieved that, it s crucial to cool the wort quickly to preserve those delicate flavors before introducing the yeast for fermentation. This boil and cool process is fundamental in brewing beer to achieve the perfect brew.
Finally, you ll move on to bottling and carbonation, culminating in the creation of your perfect beer.
Have you embarked on your brewing journey yet? Share your experiences or ask questions in the comments below!
Home Brewing Guide
1. Sanitizing Equipment
Sanitizing your equipment is the first and most crucial step in your home brewing journey. Don’t skip sanitizing it’s your first line of defense against beer spoiling! This essential process ensures that all your brewing supplies and brewing accessories are impeccably clean and free from any lurking bacteria that could spoil your beer.
Neglecting this vital step can lead to off-flavors and infections, resulting in an overall disappointing batch. Fortunately, there are several effective sanitization methods at your disposal, including diluted bleach solutions, iodine-based sanitizers, and specialized no-rinse products designed to eliminate unwanted microbes with ease.
Before applying any sanitizers, it’s imperative to thoroughly clean all items fermenters, bottles, and hoses with hot, soapy water. Adopting best practices, such as sanitizing immediately before use and ensuring that all surfaces are completely dried, will further enhance the cleanliness of your equipment.
The impact of thorough sanitization on your brewing success cannot be overstated; it directly influences the quality and flavor profile of your final product.
2. Boiling the Wort

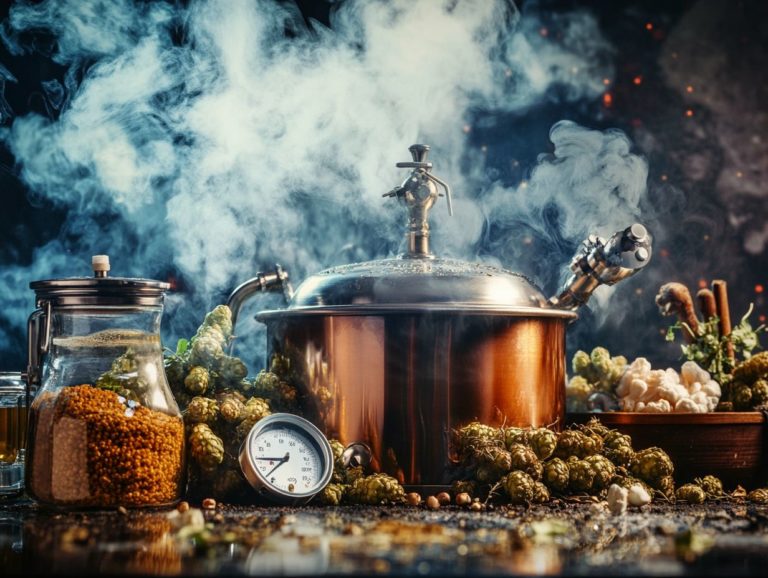
Boiling the wort is a pivotal moment in your brewing journey, where you introduce hops and subject the mixture to a vigorous boil. This process extracts a symphony of flavors, bitterness, and aroma that will ultimately define your beer s character.
During this essential stage, mastering timing and temperature control is crucial to achieving the desired traits in your brew. Typically, you ll want to bring the wort to a robust boil, reaching approximately 212 F (100 C) for at least 60 minutes.
As the boil unfolds, you’ll add different hops at specific intervals to enhance the complexity of your beer. For instance, you’ll introduce bittering hops at the outset, while aroma hops shine best when added towards the end. This meticulous approach allows you to craft a final product that is perfectly balanced.
3. Cooling the Wort
Cooling the wort rapidly after boiling is crucial for preventing contamination and ensuring that the yeast can thrive during fermentation. You have several techniques at your disposal to achieve effective wort cooling.
Among the most popular methods are immersion chillers and counterflow chillers, each boasting unique advantages that can significantly enhance your brewing process. Immersion chillers feature a coil of copper or stainless steel tubing submerged directly into the hot wort, allowing cold water to flow through and cool the wort efficiently.
In contrast, counterflow chillers operate by running hot wort and cold water in opposite directions, enabling rapid cooling as they exchange heat. Both methods not only help maintain optimal fermentation temperatures, but also safeguard the delicate flavors and aromas of your beer.
For both homebrewers and commercial brewers, these tools are nothing short of critical.
4. Fermentation
The fermentation process is where the real magic unfolds, as yeast works its wonders on the sugars from the wort, producing alcohol and carbon dioxide while crafting those unique beer flavors you crave. This crucial yeast fermentation stage is essential for both home brewing and commercial beer production.
This enchanting transformation typically takes place over the course of one to three weeks, depending on the specific style of beer you re brewing and the yeast strain you choose. To create the perfect environment for fermentation, it s essential to maintain a stable temperature between 65 F and 75 F; any fluctuations could lead to unwelcome off-flavors or a stalled fermentation process.
Act fast! The magic of fermentation starts here and determines the quality of your brew! As a homebrewer, prioritizing a clean environment and ensuring proper oxygen levels when introducing yeast is key to encouraging vigorous activity.
During this period, you can identify successful fermentation by watching for signs such as bubbling in the airlock, a noticeable drop in specific gravity, and the formation of a frothy krausen. These indicators reveal that the yeast is actively converting sugars and the complex profiles of aromas and flavors are beginning to develop, setting the stage for your well-crafted brew.
Joining brewing communities and engaging with other beer enthusiasts can provide valuable brewing tips and insights into perfecting your fermentation techniques.
5. Bottling and Carbonation
Bottling and carbonation are the final steps in your home brewing journey, where you carefully transfer your fermented beer into bottles and introduce priming sugar to create that delightful carbonation. This process enhances the mouthfeel and overall enjoyment of your meticulously crafted brew.
This crucial phase not only marks the conclusion of fermentation but also sets the stage for your beer’s flavor profile to reach its full potential. Proper techniques during bottling demand your attention; sanitizing your bottles and equipment is essential to prevent contamination, ensuring that all your hard work culminates in a truly pleasurable drinking experience.
In terms of carbonation, measuring the right amount of priming sugar is fundamental. Generally, using about three-quarters of a cup for five gallons will yield perfectly balanced bubbles. Many home brewers enjoy experimenting with different types of sugar, such as corn sugar or dry malt extract, to discover how they influence the final carbonation level.
Maintaining a consistent temperature for your bottles after bottling is key to allowing fermentation to convert those added sugars into carbon dioxide effectively, resulting in that desirable fizziness you seek.
How Long Does Home Brewing Take?
Grasping the duration of home brewing is essential for orchestrating your brewing timeline. Each phase whether it s brewing, fermentation, or bottle conditioning can differ in length, but it typically unfolds over several weeks to allow those rich flavors to fully develop.
1. Brewing Time
Brewing time typically spans the journey from mashing to boiling the wort, a process that can range from a few hours to a full day, all depending on your chosen brewing method and recipe.
Several key factors influence this timeline. The type of grains you select, the mashing temperature, and your specific technique whether you re going for all-grain or extract brewing all play crucial roles. For instance, all-grain brewing usually demands longer mashing periods to efficiently extract those precious sugars, while extract methods can significantly speed things up. Additionally, brewing in cooler environments may extend the fermentation stage, impacting the overall duration.
To enhance your brewing experience, it’s wise to prepare your ingredients ahead of time and keep a close eye on those temperatures. Investing in quality equipment, such as a reliable thermometer and timer, will help you achieve more consistent results and minimize any unnecessary downtime.
2. Fermentation Time
Fermentation time can vary significantly based on the yeast strain, fermentation temperature, and the beer style you re aiming for, typically spanning from a week to several weeks for optimal yeast activity. As you engage in this rewarding brewing hobby, consider experimenting with different fermentation techniques to refine your brewing process.
Several factors come into play that dictate the pace and success of this crucial stage in beer production. The specific characteristics of a yeast strain such as its attenuation and flocculation abilities have a substantial impact on how long fermentation lasts. If you opt for warmer fermentation temperatures, you can speed up the activity, but be wary: this might introduce off-flavors that can derail your brew. On the other hand, cooler temperatures often encourage the development of more complex flavor profiles, which are highly sought after in certain ales and lagers.
As you navigate this process, you’ll recognize signs that indicate fermentation is complete like stable gravity readings over a few days or a noticeable drop in bubbling activity. These cues will help you determine the right moment to transition to bottling or kegging. Effectively managing fermentation is crucial; both under- and over-fermentation can significantly alter the final taste and aroma of your beer.
3. Bottle Conditioning Time
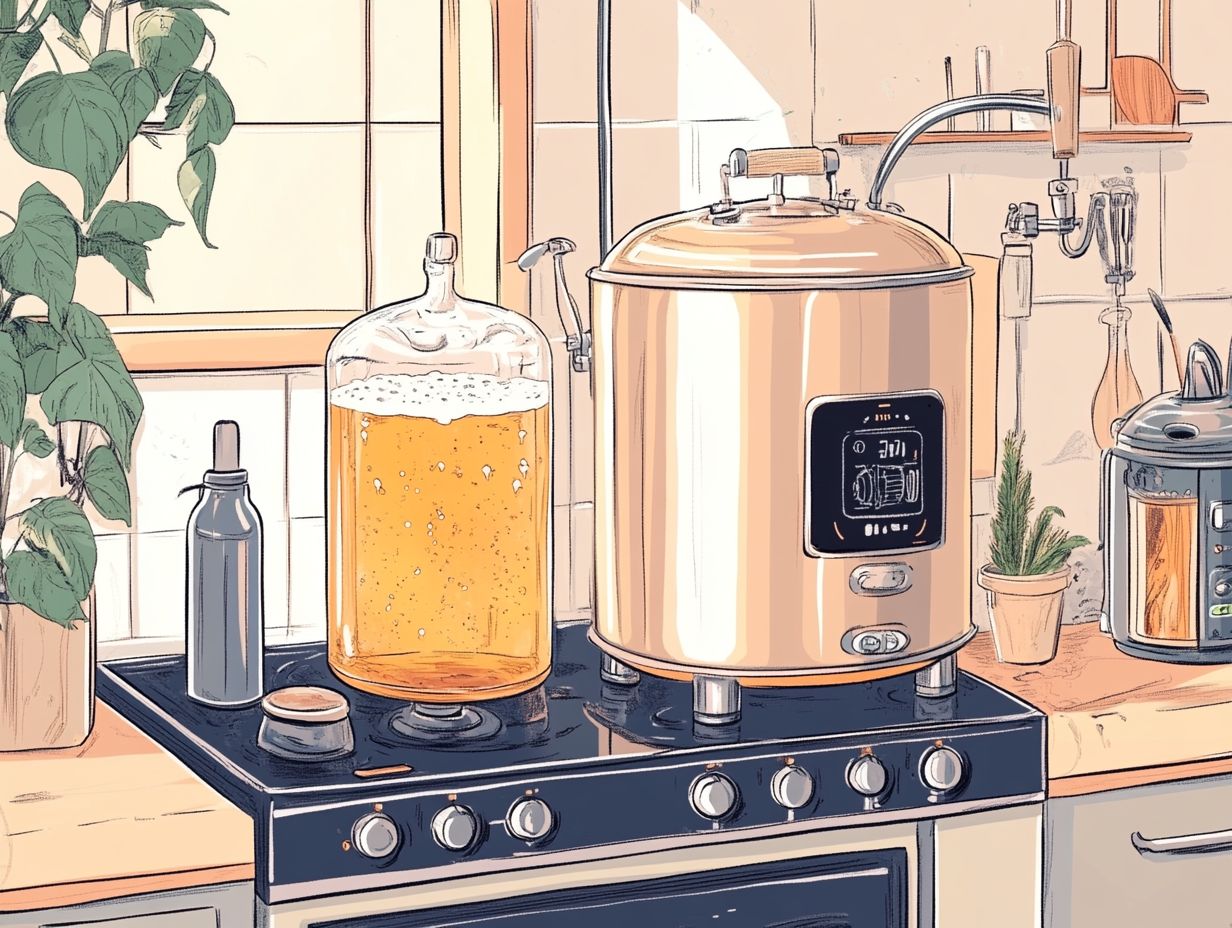
Bottle conditioning time marks the final phase of your brewing journey. It typically requires an additional 1 to 3 weeks for your beer to carbonate and develop rich flavors through aging.
This crucial process harnesses the natural carbonation from the yeast and sugars. It results in a fuller mouthfeel and enhances the overall aroma of your brew.
As the yeast diligently transforms the sugars into carbon dioxide and alcohol, unique flavors start to develop, making your beer special. Allowing your beer to mature lets those rich malty notes and hoppy aromas harmonize beautifully.
While the excitement to dive into your masterpiece can be overwhelming, it’s essential to resist the urge to pop open a bottle too soon. Optimal flavor profiles are best reached when your beer has had enough time to mature.
A straightforward method to gauge readiness is by observing the sediment at the bottom. If it appears stable, your beer is likely ready to be savored. Once you see that stable sediment, it s time to enjoy your hard work!
How to Store Home Brewed Beer?
Storing your home-brewed beer properly is crucial for preserving its quality and elevating your overall enjoyment. Factors such as temperature, light, and humidity can profoundly influence the taste and longevity of your brew.
By paying attention to these elements, you ensure that each sip of your carefully crafted beer remains as delightful as the day you bottled it.
Frequently Asked Questions
How Long Does Home Brewing Take?
Home brewing can take anywhere from 2 weeks to several months, depending on the type of beer you are making and the brewing method you are using.
What factors can affect the length of time it takes to brew beer at home?
The type of beer, brewing method, fermentation temperature, and equipment used can all impact the length of time it takes to brew beer at home.
Does home brewing require a lot of time and effort?
While the initial steps of brewing may take a few hours, the majority of the time is spent waiting for the beer to ferment and condition. It does require some patience and monitoring, but the actual hands-on time is minimal.
Can I speed up the brewing process?
There are a few ways to potentially speed up the brewing process, such as using a higher fermentation temperature or using a yeast starter, which is when you prepare yeast in advance to help it ferment faster. However, it’s important to note that rushing the process can affect the quality and flavor of the beer.
Why does home brewing take longer than buying beer from the store?
Home brewing involves the entire process of creating beer from scratch, including fermentation and conditioning. Store-bought beer has already gone through these steps and is ready to drink immediately.
Are there any shortcuts for home brewing?
While there are some methods that claim to speed up the brewing process, it’s important to follow proper brewing techniques to ensure the best quality beer. Taking shortcuts can result in off-flavors or even a failed batch of beer.

