How Much Beer Can I Brew at Home?
Brewing beer at home, or homebrewing, is not just a hobby; it s an exhilarating journey that empowers you to create your own distinctive flavors and styles.
Whether you’re a seasoned homebrewer or just dipping your toes into this craft, grasping the fundamental brewing equipment and ingredients is crucial for your success in beer production.
From selecting the ideal brewing kettle to mastering the intricacies of fermentation, this guide will illuminate everything you need to embark on your home brewing adventure, keeping in mind both federal law and state regulations.
You’ll discover how much beer you can produce, the timeline for the entire brewing process, and the precise step-by-step methods to achieve your perfect brew.
Here s to your exciting homebrewing adventure!
Contents
- Key Takeaways:
- Can I Brew Beer at Home?
- What Equipment Do I Need for Home Brewing?
- 2. Fermenter
- 3. Airlock and Stopper
- 4. Bottling Bucket and Bottles
- What Ingredients Do I Need for Home Brewing?
- 5. Thermometer and Hydrometer
- How Much Beer Can You Brew at Home?
- How Long Does It Take to Brew Beer at Home?
- Home Brewing Steps and Legal Guidelines
- Brewing Process Overview
- Frequently Asked Questions about Home Brewing
- How Much Beer Can I Brew at Home Under Legal Restrictions?
- Can I Brew Large Quantities of Beer at Home Legally?
- How Do I Calculate the Amount of Beer I Can Brew at Home Legally?
- Home Brewing vs. Store-Bought Beer: Which is Cheaper?
- Can I Brew Different Styles of Beer at Home Under State Laws?
- What Are Some Tips for Brewing Larger Batches of Beer at Home Legally?
Key Takeaways:
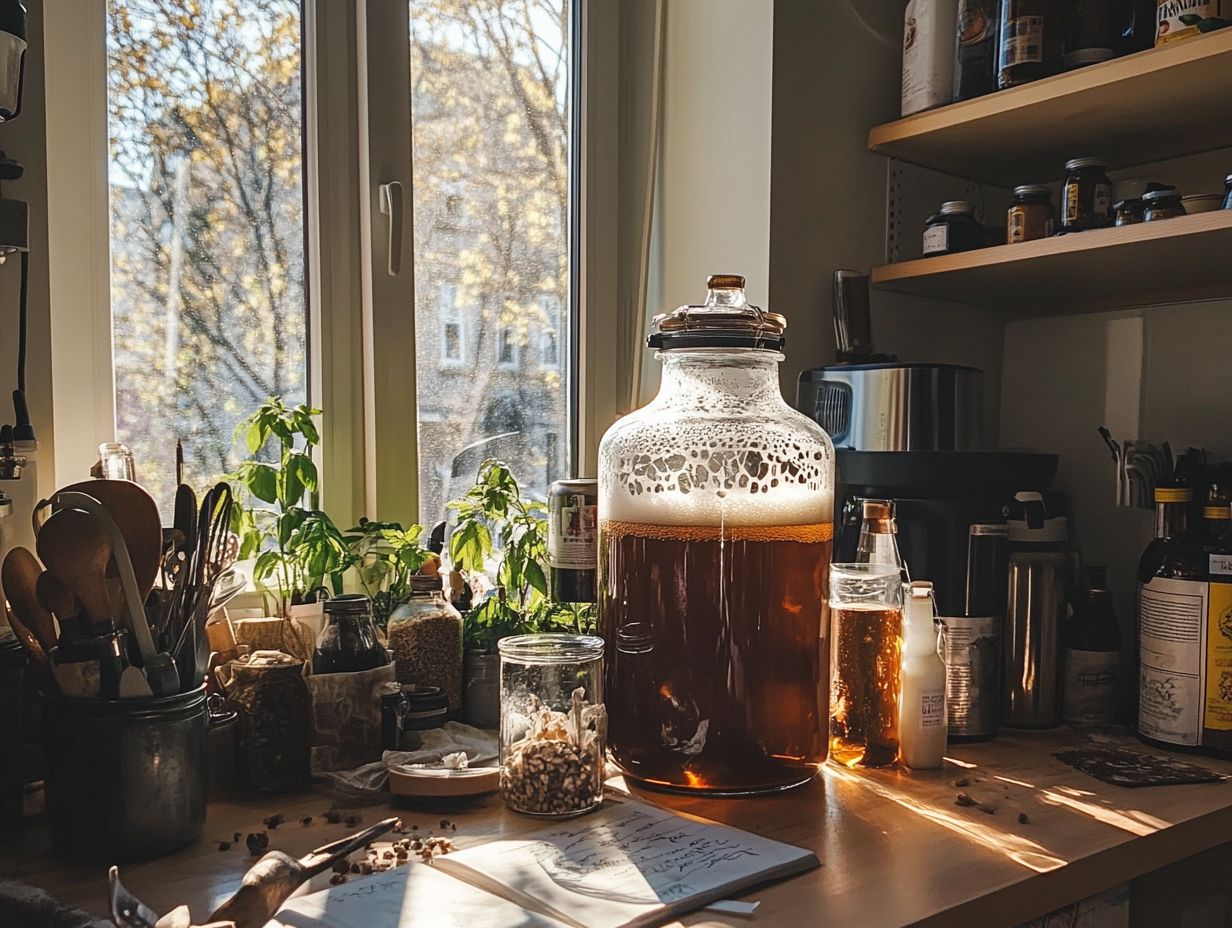
- You can brew beer at home with the right equipment and ingredients.
- Essential equipment for home brewing includes a brewing kettle, fermenter, airlock, bottles, and thermometer.
- The amount of beer you can brew depends on the batch size, ABV, and efficiency, and the process takes about 4-6 weeks.
Can I Brew Beer at Home?
Absolutely, you can embark on your homebrewing journey right here in the United States. The federal government has given the green light for homebrewing for personal use, paving the way for a vibrant homebrewer community.
However, it s vital for you to familiarize yourself with the state regulations and local laws that govern this delightful hobby. Different local laws may impose certain restrictions on how much beer you can produce, the alcohol consumption limits, and even the types of alcoholic beverages and malt beverages you’re allowed to craft.
While the repeal of the 18th Amendment by the 21st Amendment has set the stage for homebrewing to flourish, staying compliant with both state and federal laws including those on alcohol manufacturing and production is essential to ensure that your brewing experience remains not only enjoyable but also completely legal.
What Equipment Do I Need for Home Brewing?
Embarking on your journey into home brewing requires you to equip yourself with the essential tools that will elevate your brewing experience and produce exceptional fermented beverages, while adhering to alcohol regulations. You’ll need a reliable brewing kettle to boil your ingredients, a fermenter that allows for optimal fermentation, and a selection of precise tools to monitor temperature and specific gravity.
Recognizing the significance of each piece of equipment is crucial for ensuring success in your homebrewing adventures.
1. Brewing Kettle
A brewing kettle is an essential tool in your beer production journey, serving as the heart of the process where you boil your ingredients and extract the vital flavors for your brew. You ll find these kettles come in various sizes, allowing you to select one that perfectly matches your batch size and personal brewing style.
During the boiling phase, not only does the wort get sterilized, but this stage also plays a pivotal role in drawing out the rich flavors and aromatic compounds from both hops and malt, which together shape the beer s overall character. The materials you choose be it stainless steel, aluminum, or copper can significantly impact heat retention and distribution, which in turn affects the fermentation process.
The size of your kettle can influence both efficiency and manageability, giving you the flexibility to craft small artisanal batches or scale up for larger brews. Understanding these elements is crucial for anyone aiming to elevate their brewing expertise.
2. Fermenter
The fermenter is where the magic truly unfolds in your brewing process. It enables yeast to transform sugars into alcohol during fermentation. This equipment is a must-have if you want to brew great beer, playing a pivotal role in shaping the final flavor and potency of your brew.
You ll find different fermenters, including carboys, buckets, and conical fermenters, each tailored to various brewing styles, batch sizes, and legal restrictions. For example, carboys are often a favored choice due to their durability and versatility, typically ranging from 5 to 6.5 gallons perfect for your small homebrews. Buckets can hold larger quantities, usually between 5 to 7 gallons, though they may not offer the same airtight seal.
If you re a serious brewer, consider conical fermenters, designed to hold substantial volumes and make yeast collection and sediment removal easier. Selecting the right fermenter hinges on your batch size and fermentation needs, but don t overlook the importance of sanitizing all your equipment to prevent contamination.
By carefully monitoring fermentation conditions, including temperature and airflow, you can significantly elevate the quality of your final product. Don t wait! Make sure you choose the right fermenter to maximize your brewing potential!
3. Airlock and Stopper
An airlock and stopper are critical components of your fermenter. They create a crucial barrier that allows gases produced during fermentation to escape while preventing unwanted contaminants from breaching your homebrew’s sanctuary. This equipment not only promotes a healthy fermentation environment but also safeguards the integrity of your brew.
During fermentation, yeast and bacteria work tirelessly to generate carbon dioxide, and the airlock serves as a reliable exit route for this gas, all while keeping pesky microorganisms at bay. You’ll encounter various types of airlocks, from simple water locks just a tube filled with water that lets gas bubble out to more sophisticated designs like the S-type airlock. Each has its advantages but shares the vital function of maintaining optimal pressure and protecting your brew.
To achieve the best results, it’s essential to keep the airlock pristine and filled with the right liquid to thwart any potential contamination, adhering to proper homebrewing practices. Regular monitoring is key to ensuring that fermentation is proceeding smoothly and efficiently.
4. Bottling Bucket and Bottles
A bottling bucket is an essential tool in your homebrewing arsenal, streamlining the bottling process to ensure your beer is transferred without contamination or oxidation. Paired with bottles specifically designed for conditioning, this equipment prepares your homebrew for both storage and enjoyment.
This clever device typically features a spigot and may even include a sediment trap to keep those pesky particles from ruining your brew’s flavor. When you use a bottling bucket, you can effortlessly siphon the beer from the fermentation vessel, significantly reducing the risk of introducing air that could compromise the final product.
Choosing the right bottles and caps is equally crucial, as not every bottle can handle the pressure of carbonation. Properly capped bottles allow the beer to carbonate naturally, preserving and enhancing the desired flavors, resulting in a finished brew that meets your high standards and complies with alcohol control regulations.
Ready to bottle your brew? Let’s get started!
What Ingredients Do I Need for Home Brewing?
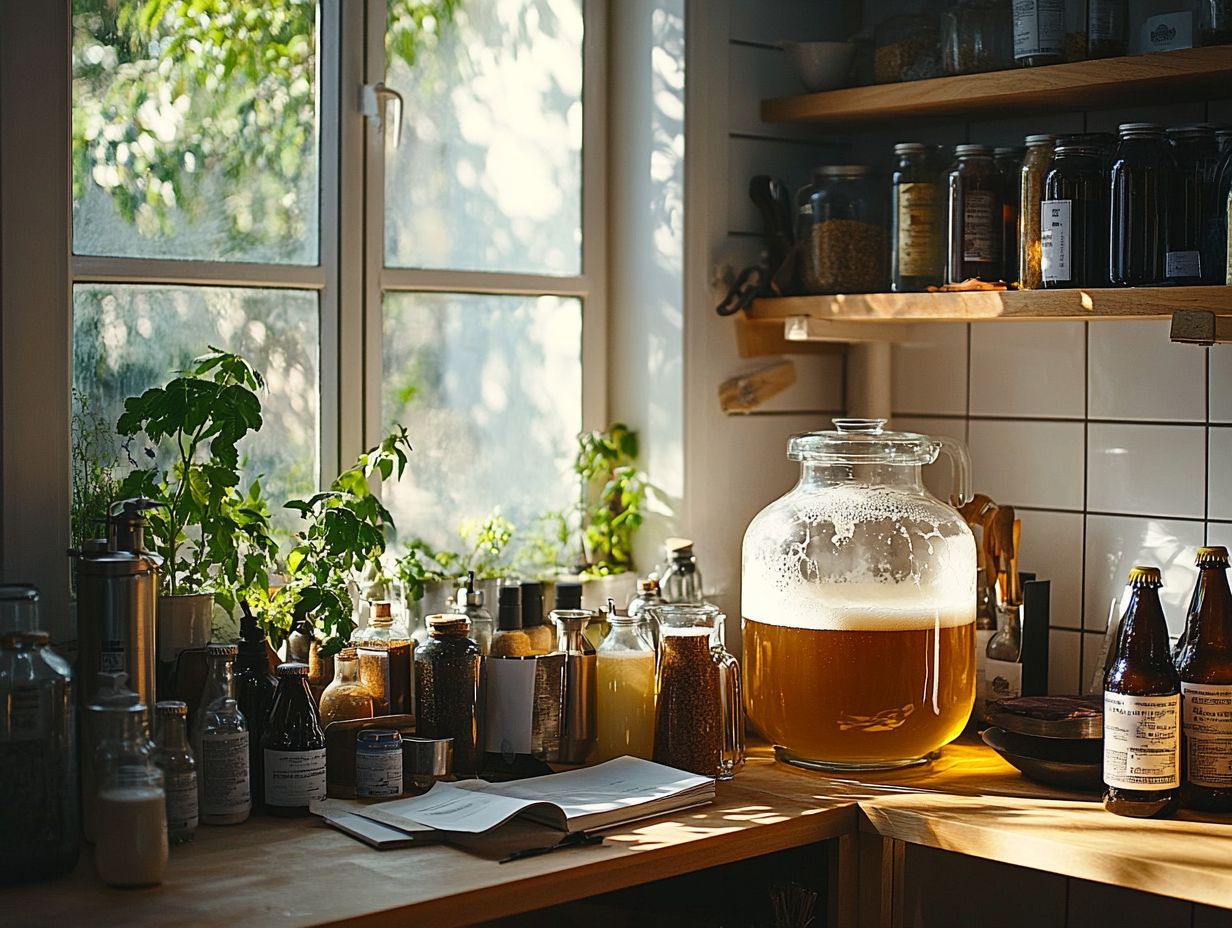
To successfully brew beer at home, you must grasp the essential ingredients. The primary components you ll need are malt extract, hops, yeast, and water. Each plays a vital role in imparting unique flavors and characteristics to your brew.
By selecting high-quality ingredients, you can significantly elevate both your brewing experience and the final product. This transformation can turn your home brewing into a refined art form, worthy of homebrew competitions and community events.
5. Thermometer and Hydrometer
A thermometer and hydrometer are essential instruments in your brewing process. They allow you to monitor temperature and specific gravity, both critical for successful fermentation.
These tools help create the perfect brewing conditions that foster yeast activity and enhance flavor development, ensuring your homebrew meets state standards. Monitoring the temperature with a thermometer prevents fluctuations that may impede fermentation. Yeast operates best within certain temperature ranges depending on the strain you re using.
For example, ale yeasts thrive at temperatures between 65 F and 75 F. In contrast, lager yeasts prefer the cooler spectrum, around 45 F to 55 F.
The hydrometer measures the liquid’s density, giving you valuable insights into the sugar content of the wort. This information is vital for estimating the potential alcohol content and ensuring fermentation proceeds as anticipated.
With various options available, including digital thermometers for quick readings and traditional glass hydrometers, pick the one that excites your brewing journey! Regular calibration of these instruments is crucial for maintaining accuracy, leading to a more consistent and flavorful brew.
1. Malt Extract
Malt extract is an essential ingredient in your beer-making journey, acting as the primary source of sugars that yeast can turn into alcohol during the brewing process.
You ll find yourself choosing between liquid and dry malt extracts. Each brings its own unique flavor profiles and ease of use to the table.
Your choice will impact your brewing convenience and play a significant role in the body and taste of your final beer. Liquid malt extract typically lends a fuller body and richer flavor. It’s the go-to option for those aiming for a deep, robust taste in their ales.
On the other hand, dry malt extract shines when it comes to storage and measurement. It’s ideal for crafting lighter beers without sacrificing much on flavor.
When selecting the right malt extract for your specific styles, remember that quality and sourcing are paramount. Choosing top-notch ingredients from reputable suppliers can elevate your brewing experience and ensure you end up with a superior product.
2. Hops
Hops are an essential ingredient in your brewing journey, delivering the vital bitterness, flavor, and aroma that beautifully balances the sweetness of malt extract in your beer.
Each hop variety brings its unique traits, influencing the overall taste profile of your homebrew. Their role in the brewing process starts early, during the boiling stage, when you add hops to extract their rich bitter oils.
You can choose to add them at various points: early additions primarily contribute to bitterness, while those tossed in during the last few minutes of the boil enhance both aroma and flavor.
Additionally, you have the option of dry hopping during fermentation. This technique elevates aromatic qualities without overwhelming your beer with bitterness. With hop varieties ranging from floral to citrusy and earthy, your selection can dramatically shift the outcome, allowing you to tailor your beer to specific styles.
Understanding how to choose and combine these hops based on their distinct profiles is vital for achieving the flavor nuances you desire in your final product.
3. Yeast
Yeast is the unsung hero of fermentation. It transforms sugars from malt into alcohol and carbon dioxide, shaping your beer’s essence.
Choosing the right yeast strain is crucial because it dramatically influences flavor and aroma. Ale yeast thrives at warmer temperatures, around 60-75 F (15-24 C), creating fruity notes, while lager yeast prefers cooler conditions for a cleaner finish, generally below 55 F (13 C).
The health of your yeast is paramount. Proper nutrient availability and effective propagation techniques, like using starter cultures, enhance yeast vitality. Ensure you select and care for your yeast meticulously for the best possible results.
4. Water
Water is a vital ingredient in home brewing. Its mineral content and pH levels greatly affect the brewing process and the final flavor of your beer.
The delicate balance of minerals such as calcium, magnesium, and sulfate can enhance various flavors. For example, increasing sulfate levels can yield a drier, hop-forward taste ideal for pale ales. A calcium-rich profile can boost yeast performance and lead to a cleaner finish.
Before brewing, it’s crucial to test your water. Home test kits assess pH and mineral content, allowing informed adjustments. Techniques like reverse osmosis or adding minerals to distilled water create compositions that align with your desired beer styles.
This way, every batch captures the intended essence, elevating your brewing experience to new heights.
How Much Beer Can You Brew at Home?
The volume of beer you can brew at home is shaped by various factors, particularly federal and state regulations that establish production limits for personal consumption.
Understanding these regulations is crucial for you as a homebrewer. This knowledge ensures you remain compliant while fully savoring your craft in the comfort of your own space.
1. Batch Size
Batch size is the quantity of beer produced in a single brewing session. It can vary based on your brewing equipment and personal preferences.
As a homebrewer, determine your ideal batch size to align with production limits. This helps manage the brewing and fermentation processes while ensuring compliance with legal restrictions.
Several factors influence this decision. The capacity of your equipment impacts your batch size; larger systems can handle bigger volumes, while smaller setups limit production. The purpose of the beer whether for personal enjoyment, sharing with friends, or entering competitions also dictates how much you choose to brew.
When scaling recipes, keep ingredient ratios in check and adjust brewing times meticulously. This consistency ensures quality, regardless of batch size. Always consider state regulations to ensure compliance with local laws on alcohol production.
2. ABV (Alcohol by Volume) and Legal Considerations
Alcohol by volume (ABV) serves as a standard measurement to quantify the alcohol content in your beer, expressed as a percentage of the total volume. Understanding how to calculate and adjust ABV during the brewing process is crucial for you as a homebrewer aiming to achieve specific flavor profiles and enhance the overall drinking experience.
To determine the ABV, you’ll first need to measure the specific gravity of your beer before fermentation (the starting gravity) and after fermentation (the final gravity). Utilizing a hydrometer, you can apply the formula: ABV = (Starting Gravity – Final Gravity) x 131.25. Keep in mind that several factors can influence the resulting alcohol content, including the yeast strain you select, fermentation temperature, and the sugars present in the wort.
To tailor the ABV to suit various beer styles, consider adjusting your grain bill, enhancing the fermentation process, or even blending batches. This thoughtful approach ensures that the desired flavor intensity and character align perfectly with your intended recipe.
3. Efficiency
Efficiency in home brewing is a vital aspect that refers to the percentage of fermentable sugars you extract from the malt during the brewing process. This efficiency directly impacts the quality and yield of your beer. Understanding it can also help you meet legal restrictions on beer production and alcohol manufacturing.
Mastering your brewing efficiency leads to amazing results that elevate your beer. Several factors play a crucial role in this process, significantly influencing both the sugars extracted and the overall flavor profile.
One key factor is the temperature at which you mix the grains and water; keeping it within the optimal range is essential for maximizing the natural processes that help convert starches into sugars, which in turn affects sugar conversion. The water-to-grain ratio is critical; using too little water may lead to inefficient extraction, while too much can dilute the flavor.
The equipment you choose such as the type of mash tun and sparging methods can either enhance or hinder your efficiency. To optimize these factors, consider conducting test brews at various temperatures and ratios to discover the ideal combination that yields the best results for your unique setup.
How Long Does It Take to Brew Beer at Home?
The time you invest in brewing beer at home can vary greatly depending on the style of beer and the methods you choose to employ. It is also important to consider state laws and any applicable transportation laws if you plan to share or distribute your homebrew.
Typically, the process is divided into three essential phases: brewing time, fermentation time, and carbonation time.
Each of these stages plays a vital role in cultivating the desired flavor and quality of your homebrew. By grasping these timelines, you can plan your brewing endeavors with precision and confidence.
1. Brewing Time
Brewing time marks the beginning of your home brewing adventure, typically lasting between 1 to 2 hours. During this vital phase, you ll combine ingredients like malt extract and hops, then bring them to a boil to extract those rich flavors and enticing aromas. This step is crucial, as it sets the stage for the fermentation process that follows.
Precision is your best friend here, as the boiling temperature and duration significantly shape the character of your final brew, ensuring compliance with homebrew restrictions and alcohol laws set forth by the federal government and state standards.
You’ll want to keep a close eye on the mixture, ensuring it reaches a vigorous boil to extract those essential oils from the hops effectively.
Timing is everything when it comes to hop additions; adding hops late in the boil usually within the last few minutes will enhance the aroma, while earlier additions will contribute to the bitterness. Since recipes can differ, the specific timings and hop varieties you choose can impact the overall brewing process, underscoring the importance of careful planning to achieve that perfect flavor profile that aligns with craft brewing standards.
Home Brewing Steps and Legal Guidelines
The journey of homebrewing beer consists of a meticulously orchestrated series of actions designed to ensure a successful brewing process, starting from the essential task of sanitizing your equipment to the final bottling stage. Homebrewing in the United States has its legal roots in the 21st Amendment, which repealed prohibition and allowed for the legalization of homebrew within specific state laws.
Each phase holds significant importance in crafting high-quality beer. Grasping these steps can enhance your homebrew experience, transforming it into an art form.
1. Sanitizing Equipment and Adhering to Alcohol Regulations
Sanitizing your equipment is the essential first step in the homebrewing process. It prevents contamination and creates a healthy fermentation environment, safeguarding your beer from unwanted bacteria and wild yeast that could compromise your final product.
Proper sanitization is especially important given alcohol regulations governing alcoholic beverage control. Without meticulous cleaning of every tool from fermenters to bottles you significantly increase the risk of spoilage.
To achieve impeccable sanitization, consider using chemical solutions like Star San or iodophor, both favored for their effectiveness. Alternatively, don t underestimate the power of boiling water as an excellent natural sanitizer for heat-stable equipment.
It s vital to remember that any surface that comes into contact with your beer deserves your utmost attention. This commitment not only enhances flavor but also ensures that your brewing experience remains enjoyable and rewarding, while complying with state standards.
2. Fermentation Time
Fermentation time is an important step in your homebrewing journey, often stretching from several days to several weeks. The duration depends on the yeast strain and the characteristics you wish to achieve in your beer. During this period, yeast works diligently to convert sugars into alcohol and carbon dioxide, fundamentally shaping the flavor profile of your brew.
This is a crucial moment for your brew, influenced by factors like yeast health and temperature conditions. The health of your yeast is paramount; robust yeast will ferment efficiently, while stressed or weakened yeast can lead to sluggish fermentation, extending your timeline.
Temperature also plays a critical role in fermentation. Warmer conditions tend to speed things along, while cooler temperatures can slow the process, sometimes resulting in flavors that are less than desirable. The specific style of beer you’re brewing will also dictate fermentation time ales usually ferment faster than lagers, for instance.
Regularly check gravity readings and observe the activity within the fermentation vessel. When you notice the bubbles in the airlock significantly slowing down or gravity readings stabilizing over a couple of days, it’s a sign that you’re ready to transition to the next phase of brewing.
3. Carbonation Time and Legal Considerations
Carbonation time marks the final phase in your homebrewing journey, typically requiring 1 to 2 weeks for your beer to develop that perfect level of fizziness after bottling. This step is crucial for ensuring your homebrew is primed for enjoyable consumption and elevates the overall drinking experience. It’s also important to understand state regulations regarding production quantities and transportation laws associated with homebrewing.
During this period, fermentation continues in the sealed bottles, driven by the addition of priming sugar, which is sugar added to bottles to help create carbonation. This sugar acts as an energy source for the remaining yeast, enabling them to produce carbon dioxide gas.
As those tiny bubbles form, they dissolve into the beer, creating that delightful sparkle you crave. To determine when optimal carbonation has been achieved, gently squeeze a bottle; if it feels firm yet slightly resilient, it s likely well-carbonated. Alternatively, you can open a bottle and listen for that satisfying hiss, which is a reassuring sign of success in this essential stage.
Brewing Process Overview
2. Heating Water and Steeping Grains: Following State Guidelines
Heating water and steeping grains is a key step in your brewing journey. Here, you carefully control the water temperature to draw out the flavors and sugars from the grains. This essential phase lays the groundwork for the subsequent addition of malt extract and hops.
Be mindful of local laws that may influence your brewing methods and equipment usage. To achieve the ideal temperature, typically between 150 F to 160 F (65 C to 71 C), is vital for optimal enzymatic activity the process that helps convert starches into sugars. This stage significantly influences the overall flavor profile.
For example, higher temperatures can produce a fuller-bodied beer with more residual sweetness, while lower temperatures may lead to a drier finish. Keep an eye on the heat and adjust as needed. Maintaining a consistent temperature for the recommended steeping time will enhance flavor extraction.
Just a few minutes at this controlled heat can profoundly impact the richness of your final brew. Consider investing in a reliable thermometer or an insulated mash tun to ensure stability throughout the process.
3. Adding Malt Extract and Hops: Compliance and Crafting
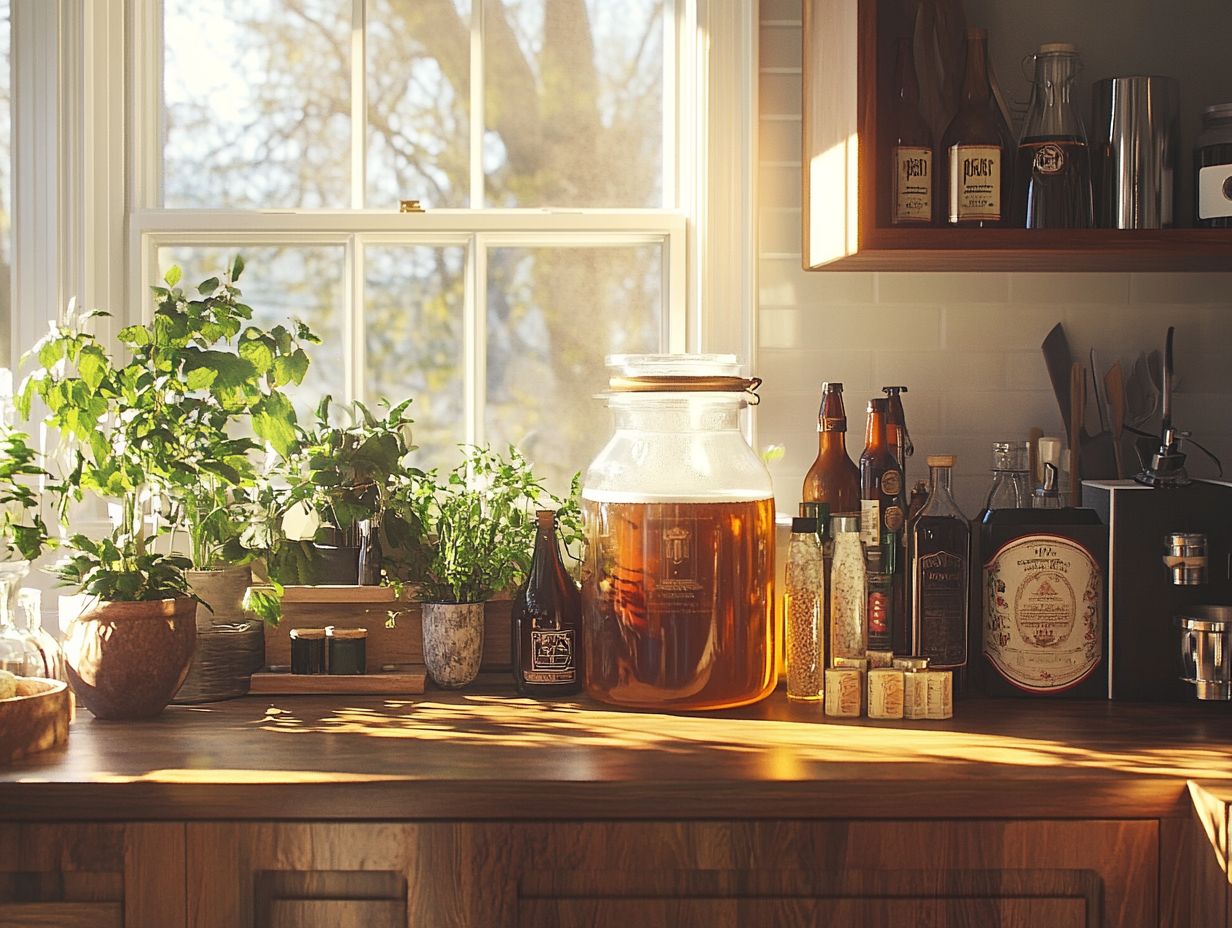
Adding malt extract and hops is an important step in your brewing journey. The synergy of these ingredients lays the groundwork for your beer’s distinct flavor and aroma. The timing of your hop additions plays a vital role in shaping the bitterness and character of the final product.
Consider early hop additions, typically introduced during the boil. They impart bitterness that beautifully balances the sweetness of the malt. For example, in a pale ale, you might add hops at the 60-minute mark to achieve a more pronounced bitterness.
In contrast, a late addition around 15 to 20 minutes before the boil concludes can elevate the aromatic qualities without significantly ramping up bitterness. Always ensure your practices align with state laws regarding beer production.
In terms of IPAs, you ll often find hop additions occurring during both the boil and dry hopping phases. Dry hopping is a process where hops are added after boiling to enhance aroma without adding bitterness, allowing those vibrant floral and citrus notes to truly shine.
These subtle nuances in hop timing, paired with the right blend of malt extract, are essential for crafting the overall profile of your beer.
4. Cooling and Transferring to Fermenter: Ensuring Legal Compliance
Cooling and transferring the wort to the fermenter is an important step in your brewing journey. This phase lowers the temperature of your boiled mixture to a level that s just right for introducing the yeast. Mastering proper cooling techniques is essential not only to avoid contamination but also to pave the way for a successful fermentation.
Be sure to utilize sanitized equipment to stay within legal restrictions. To achieve efficient cooling, you might consider employing methods such as immersion chillers or ice baths. An immersion chiller works wonders by circulating cold water through copper or stainless-steel coils that sit directly in the wort, rapidly bringing down the temperature.
On the other hand, ice baths involve submerging your pot in a larger vessel brimming with ice and water, which can also accelerate the cooling process. It’s crucial to hit that target temperature swiftly typically around 70 F (21 C) for ale fermentation to keep bacterial growth at bay.
Once you ve successfully cooled the wort, transferring it to the fermenter should be done with impeccably clean and sanitized equipment. This step is vital to maintaining the integrity of your brew, ensuring that pesky bacteria or wild yeast don t jeopardize the fermentation process.
This attention to detail is crucial given homebrew restrictions and state regulations.
5. Adding Yeast and Fermenting
Adding yeast and fermenting the wort is where your transformation into beer truly begins. Here, yeast works its magic, converting sugars into alcohol and carbonation over time. Choosing the right yeast strain and maintaining optimal fermentation conditions are absolutely essential for crafting quality homebrew.
Each yeast strain brings its own unique characteristics and flavor profiles and thrives at specific fermentation temperatures, typically ranging from 60 F to 75 F, depending on the type. For example, ales often prefer the warmth, while lagers typically flourish in cooler settings.
When pitching yeast into the wort, it’s crucial to ensure that the temperature is just right and that the yeast is properly revived by adding water before adding it. This simple step can significantly boost its activity.
During fermentation, keeping an eye on airlock activity and gravity readings allows you to track progress. The signs of completion are usually marked by a stable specific gravity over several days, ensuring that you end up with a flavorful and well-attenuated beer.
6. Bottling and Carbonating: Legal and Safety Guidelines
Get ready for the grand finale! This stage involves transferring your beer into bottles and adding priming sugar to spark that delightful carbonation, resulting in a refreshingly fizzy masterpiece. Be mindful of alcoholic beverage control regulations that govern the transportation and storage of your homebrew.
To ensure that your final product is of the highest quality, sanitation is crucial during this process. Every tool and surface that comes into contact with your beer must be scrupulously cleaned and sanitized to ward off any chance of contamination. This is especially important as alcohol production for personal use must adhere to stringent state laws about home brewing.
Once you’ve wrapped up the brewing process, calculating the precise amount of priming sugar is essential. This ensures consistent carbonation levels while preventing the dreaded over-carbonation of your bottles. Note that beer regulations in some states may also influence your brewing process.
As you fill your bottles, adhering to best practices is vital. Cap them securely to avoid any leaks or excess oxygen exposure, both of which could compromise the flavor you’ve worked so hard to create. Proper brewing equipment is essential for success.
After bottling, let your beer rest at room temperature for one to two weeks to allow carbonation to develop. You ll know you re on the right track when the bottles feel firm to the touch, making it easy to gauge proper carbonation. Be aware of federal law and state standards for alcohol consumption.
When the time comes for that first satisfying taste, a cold sample will be the ultimate test of your brewing success. Join homebrew events to share and get feedback on your beer!
Frequently Asked Questions about Home Brewing
How Much Beer Can I Brew at Home Under Legal Restrictions?
The amount of beer you can brew at home depends on a few different factors, such as the size of your equipment and the type of beer you are brewing. A typical homebrewing setup can produce anywhere from 5 to 10 gallons of beer per batch, but always consider state laws and production limits.
Can I Brew Large Quantities of Beer at Home Legally?
While it is possible to brew large quantities of beer at home, it may be more challenging and time-consuming. It also depends on the capacity of your equipment and the amount of space you have available for fermenting and storing the beer. Ensure compliance with state regulations and production quantities.
How Do I Calculate the Amount of Beer I Can Brew at Home Legally?
To calculate the amount of beer you can brew at home, you will need to determine the volume of your fermenter and the amount of headspace needed. From there, you can use a brewing calculator to determine the maximum batch size based on your equipment and recipe. Be mindful of local laws and tax exemption statuses.
Home Brewing vs. Store-Bought Beer: Which is Cheaper?
Brewing beer at home can be more cost-effective in the long run. You can reuse your equipment and ingredients for multiple batches of beer. However, the initial startup cost may be higher compared to buying a single case of beer from the store.
Consider participating in homebrew competitions for added benefits. These events can enhance your brewing skills and connect you with fellow enthusiasts.
Can I Brew Different Styles of Beer at Home Under State Laws?
Absolutely! You can explore countless beer styles right in your own kitchen. From classic pale ales to complex stouts and IPAs, the options are endless. With the right ingredients and techniques, you can replicate almost any commercial beer or even create your own unique recipes.
Just remember to follow alcohol laws and state standards to ensure a smooth brewing experience.
What Are Some Tips for Brewing Larger Batches of Beer at Home Legally?
If you want to brew larger quantities of beer at home, it’s essential to have a proper container for fermenting your beer and enough storage space for the bottles or kegs. You may also need to adjust your recipe and brewing process to accommodate the larger batch size.
Keep in mind the legal restrictions and alcoholic beverage control regulations in your area to avoid any issues.


