What Are the Key Steps in Bottling Beer?
Bottling your own beer can be one of the most rewarding experiences as a homebrewer. It’s that pivotal moment when your labor of love transitions into something truly shareable and enjoyable. It all begins with a proper understanding of the brewing process and the importance of each step, including priming, capping, and conditioning.
Get ready to dive into the exciting world of bottling your own beer! This guide will lead you through the essential steps of the bottling process, ensuring your homemade brew is sanitized, carbonated, and conditioned to perfection. You ll also discover the nuances of fermentation and the role of yeast in achieving the desired flavor and carbonation levels.
From choosing the right sanitizing products to mastering the art of capping bottles, you ll uncover everything you need to know to savor your handcrafted beer. Don t miss the chance to impress your friends with your very own brew!
Contents
- Key Takeaways:
- Step 1: Sanitizing Equipment and Bottles
- Step 2: Preparing the Beer for Bottling
- Step 3: Filling and Capping Bottles
- Step 4: Conditioning and Storing Bottles
- Step 5: Enjoying Your Bottled Beer
- Frequently Asked Questions
- What equipment is needed for bottling beer?
- How do you siphon the beer into the bottles?
- Why is conditioning the beer important?
- How long does the bottling process take?
Key Takeaways:
- Sanitization is a crucial first step in bottling beer to prevent contamination and ensure a clean final product.
- Properly preparing the beer for bottling is key to achieving carbonation and maintaining flavor.
- Filling and capping bottles correctly is essential for ensuring the beer stays carbonated and free from outside contaminants.
Step 1: Sanitizing Equipment and Bottles
Sanitizing your equipment and bottles is an essential step in the homebrewing process. It ensures that any potential contaminants are eliminated before they can jeopardize the quality of your beer.
Proper cleaning and sterilization of all brewing equipment, including the bottling bucket and siphon, create a pristine environment for your fermentation process. This meticulous process requires you to use effective cleaning solutions to sterilize not only your bottles but also other crucial brewing tools such as the bottling bucket, siphon, and capping tools.
Implementing proper cleaning and storage conditions helps maintain the quality of your brewing process. Creating a pristine environment is vital for the fermentation process and for preserving the desired flavor profile of your craft beer, especially as you gear up for bottling.
What Products Can Be Used to Sanitize?
In the homebrewing process, you have a range of products at your disposal that can effectively sanitize your brewing equipment and bottles, eliminating those pesky unwanted microorganisms. These sanitizers are crucial for ensuring that your final brew is not only safe to consume but also meets the highest quality standards.
This step is critical in preventing off-flavors and ensuring the cleanliness of your brewing equipment. Among the most favored options is Star San a no-rinse sanitizer that works quickly and effectively, making it a go-to for many brewers.
Then there’s iodine-based solutions, renowned for their broad-spectrum efficacy. Each option comes with its own set of pros and cons. For example, Star San is incredibly user-friendly and leaves no residual flavor, while iodine can impart a slight taste if not utilized properly.
Understanding these sanitizing agents and their applications is essential for any brewer who wants to protect the quality of their beer while steering clear of off-flavors or contamination. Your brewing success hinges on these important choices, as well as proper storage of sanitizing agents to maintain their effectiveness.
Step 2: Preparing the Beer for Bottling
Preparing your beer for bottling is an essential step that requires careful attention to detail. You ll be transferring the beer from the fermentation vessel to the bottling bucket, while expertly managing the yeast, sediment, and trub. This process, also known as racking, is critical to maintaining the clarity and quality of your beer.
Trub is the sediment that settles at the bottom of the fermentation vessel. This process involves siphoning the beer with precision to minimize oxygen exposure, as too much oxygen can compromise both carbonation and the overall quality of your brew.
Add the perfect amount of priming sugar to achieve the ideal carbonation level during the bottle conditioning phase. This will ultimately enhance the final flavor and mouthfeel of your homebrew.
How to Transfer Beer from Fermenter to Bottling Bucket
When transferring beer from the fermenter to the bottling bucket, careful siphoning techniques are essential. This preserves both clarity and quality by avoiding the trub and sediment settled at the bottom of the fermenter.
Using an auto-siphon can streamline this process. It offers a consistent flow while minimizing the risk of unwanted air.
Alternatively, the gravity method can also work well, but it requires caution. Regardless of the method you choose, maintaining impeccable cleanliness is crucial to prevent contamination.
Trub and sediment not only reduce the visual appeal and clarity of your beer. They can also affect the overall flavor profile, introducing off-flavors that compromise your experience.
Executing the siphoning process carefully is vital for crafting a clean, flavorful brew. Proper storage conditions also play a role in maintaining beer integrity post-bottling.
How to Add Priming Sugar for Carbonation
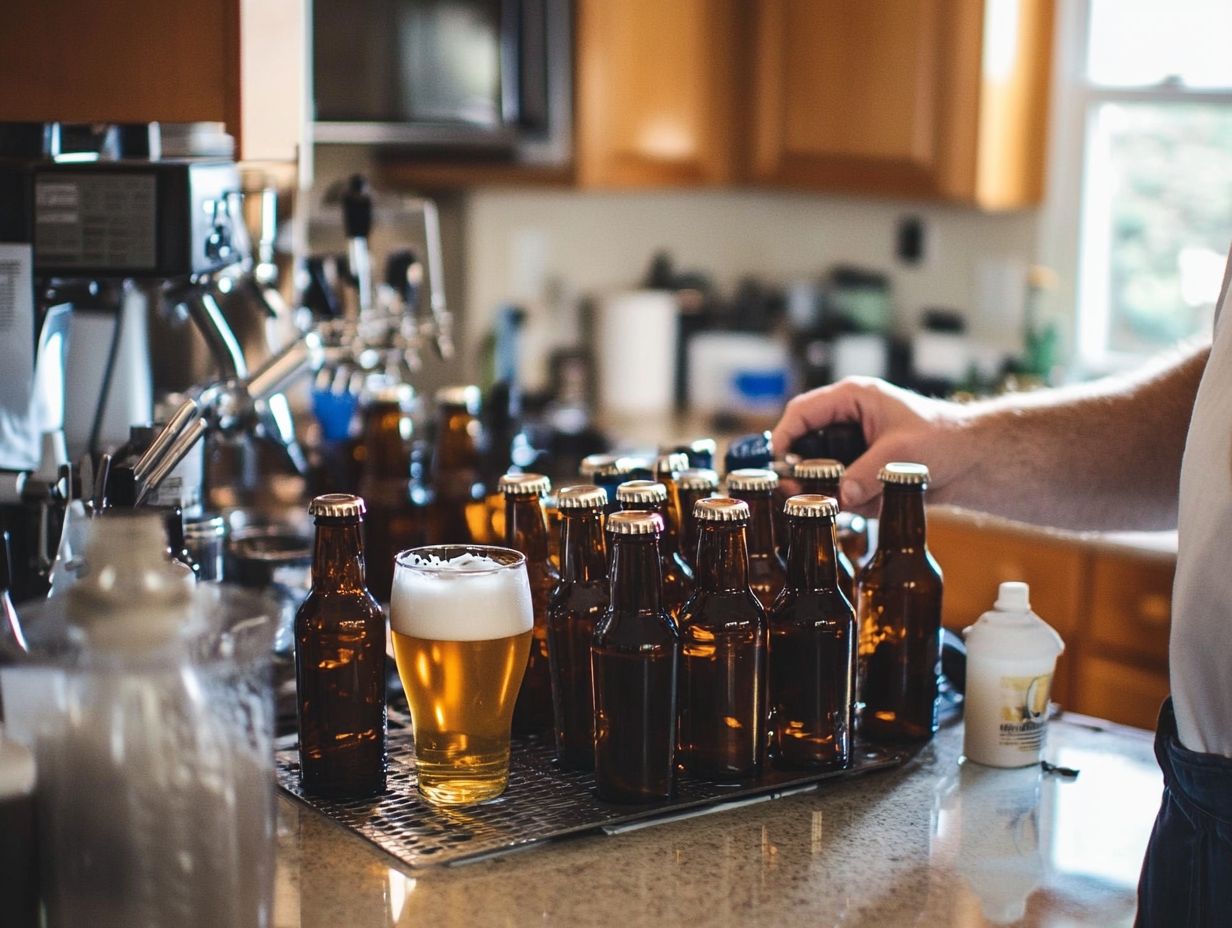
Adding priming sugar is essential for your bottling process. It encourages carbonation by providing extra sugar for the yeast to ferment, resulting in that delightful fizzy beer experience you crave.
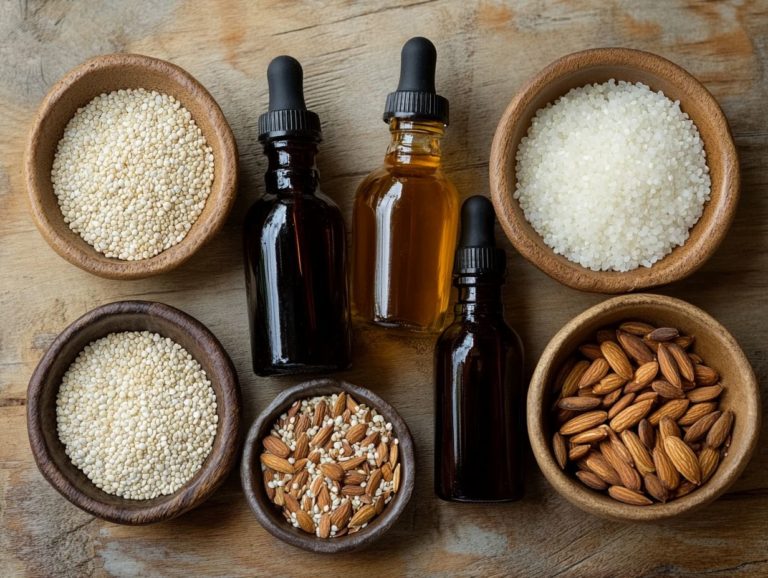
This step is crucial during bottle conditioning, which is foundational to homebrewing. You have various priming sugars at your disposal, including corn sugar (dextrose), table sugar (sucrose), and dry malt extract.
Each type brings unique characteristics that influence both flavor and carbonation levels in your brew. Understanding the role of each type is essential for achieving desired results.
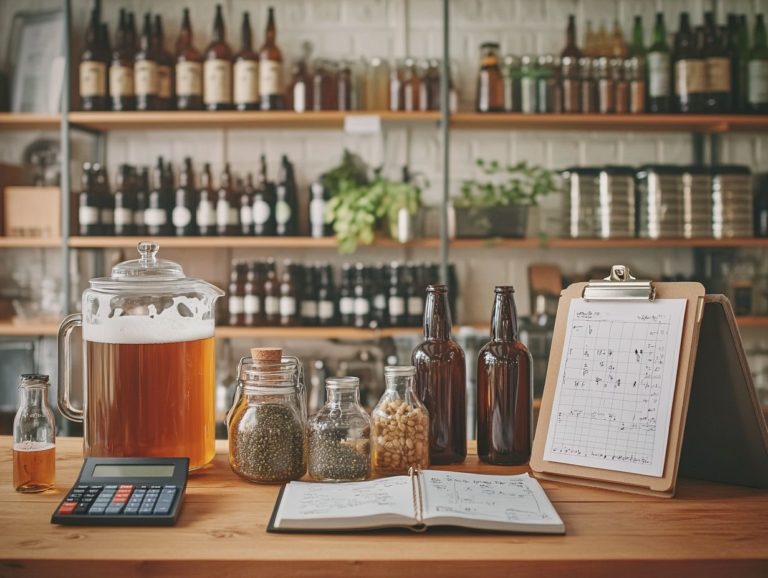
To prepare your priming solution, dissolve the necessary amount of sugar in a small quantity of water. Briefly boil it to sterilize.
Accuracy is key; a good rule of thumb is about 3/4 cup of corn sugar for every five gallons of beer to achieve moderate carbonation. When it s time to mix, gently incorporate the priming solution into the beer before bottling.
Do this slowly to avoid excessive foam and prevent oxygen from sneaking in. This could compromise the flavor of your carefully crafted brew.
Step 3: Filling and Capping Bottles
Filling and capping bottles is a pivotal step in the beer bottling process. It demands precision and meticulous attention to detail.
This phase is essential for ensuring your product retains its intended flavor and carbonation over time. Proper capping techniques ensure a secure closure, which is vital for the longevity and quality of your beer.
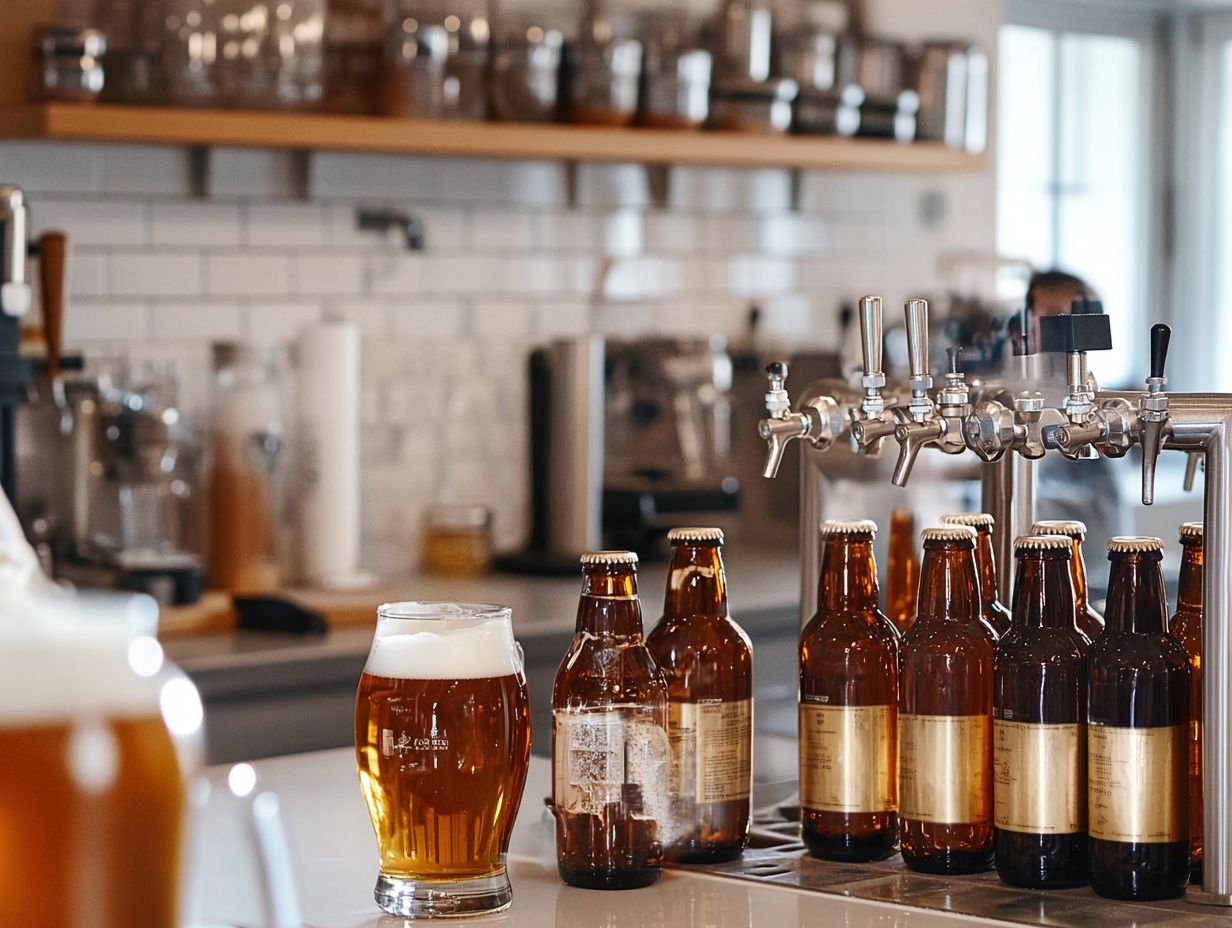
Selecting the right bottle filler, like a bottling wand or a counter-pressure filler, significantly impacts efficiency and sanitation. Proper capping with a dependable bottle capper is crucial. This prevents oxygen from entering and preserves carbonation.
What Are the Different Types of Bottle Fillers?
You ll find a variety of bottle fillers available for homebrewers, each carefully designed to make your bottling process more efficient while ensuring that the quality of your beer remains pristine throughout.
Understanding the pros and cons of these fillers can significantly enhance both the efficiency and enjoyment of your brewing experience. Gravity fillers are likely the simplest option, offering an uncomplicated bottling process that requires minimal equipment. However, you must handle them with care, as they can introduce oxygen into the bottles if not managed properly.
On the other hand, auto-fillers provide a more sophisticated solution, automatically filling bottles to a specified level. This feature can save you time and reduce spills. However, it’s worth noting that they tend to come with a higher price tag and may need more maintenance.
Choosing the right bottle filler can make your brewing adventure even more exciting! If your goal is to minimize oxidation and achieve optimal carbonation, counter-pressure fillers are an excellent choice. They do come with a steeper upfront cost and added complexity, but each type of filler has its own advantages. It s essential to consider your brewing scale and budget to determine which option best fits your setup. The right choice of bottle filler and proper storage conditions are key to maintaining the quality and flavor of your beer.
How to Properly Cap Bottles
Properly capping your bottles is crucial for ensuring a secure closure that preserves the quality and integrity of your beer. This helps prevent any potential contamination or oxidation.
Using a reliable bottle capper ensures each bottle has a tight seal, safeguarding your brew from unwanted exposure. To achieve this, it s essential to use your bottle capper with precision, as it plays a key role in creating a tight seal.
The capping process starts with ensuring that your bottles are impeccably clean and dry; any residue present can jeopardize the seal. When selecting your caps, be diligent in choosing those that are undamaged and compatible with your bottles, as this choice directly influences the quality of the seal.
After you ve capped your bottles, take a moment to check each one for a proper seal. Gently press down on the caps and observe if they bounce back. A sturdy, non-moving cap will give you that reassuring indication of a secure seal, safeguarding the safety and freshness of your homebrew.
Proper storage conditions following capping are also essential to maintain the beer’s quality.
Step 4: Conditioning and Storing Bottles
Conditioning and storing your bottles with precision after bottling is essential in the homebrewing journey. This allows the flavors to mature and the carbonation to reach its full potential. This stage typically requires you to place the bottles in a carefully controlled environment, ensuring the optimal temperature conditions for the fermentation of the priming sugar you added earlier.
Proper storage enhances the overall quality of your beer. By employing proper storage methods, you also safeguard the integrity of the unique beer styles you’ve crafted. Effective storage conditions ensure the longevity and flavor stability of your homebrew.
Why Is Conditioning Important?
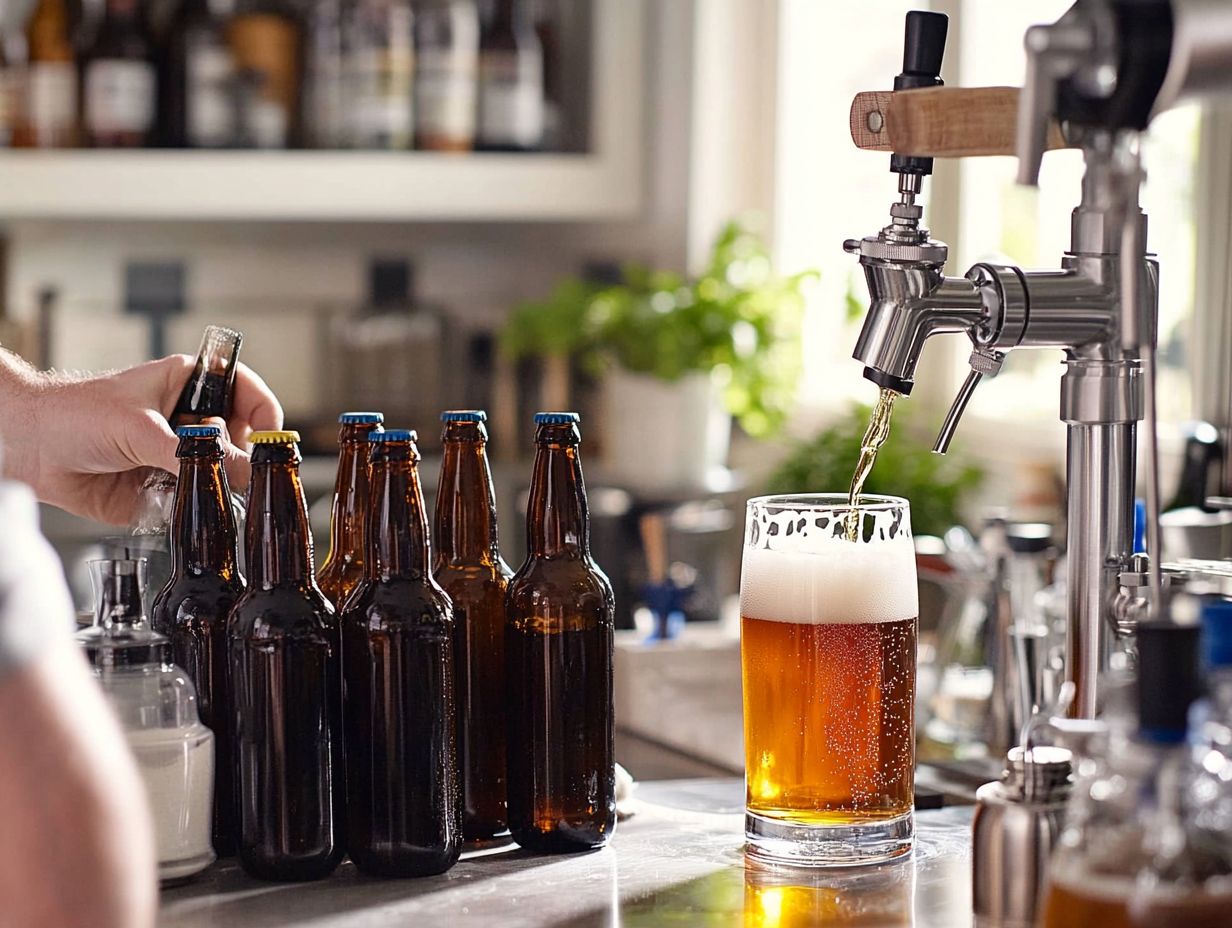
Conditioning is an essential step in your homebrewing journey, allowing your beer to cultivate its flavors, carbonation, and overall quality through secondary fermentation in the bottle. This process is where yeast continues to ferment the sugars in the beer, enhancing flavor.
This stage is crucial, as it not only smooths out any rough edges but also elevates the complexity of your beer’s flavor profile. This transformation turns each sip into a delightful experience. Achieving the right carbonation level is equally important; inadequate conditioning may leave you with a flat beer, while overdoing it could lead to unwanted overcarbonation.
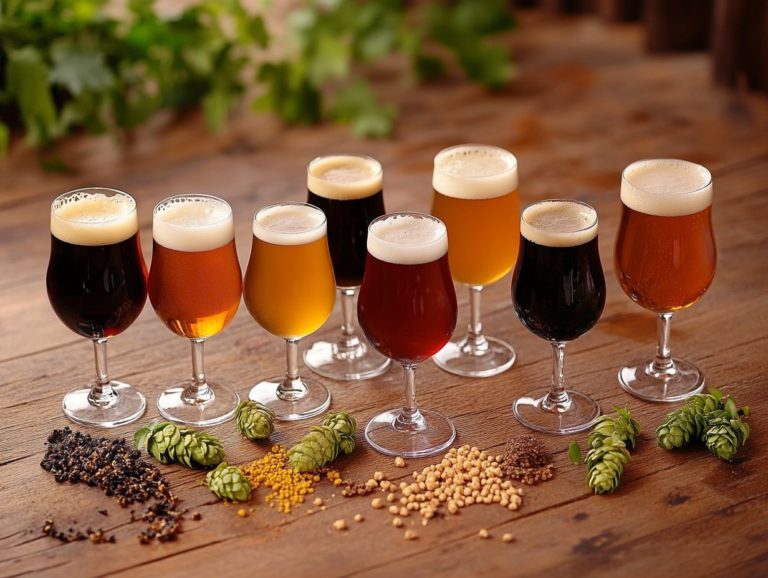
Different beer styles come with their own unique conditioning requirements. For example, a hoppy IPA may call for a shorter conditioning period at cooler temperatures to preserve those vibrant hop characteristics. In contrast, a rich stout could benefit from extended aging in warmer conditions, allowing deeper, more robust flavors to develop. Pay attention to these nuances, and your homebrewed creations will truly shine.
So, take your time with this process, and watch your flavors transform!
How Long Should Bottles Be Stored Before Drinking?
The time you should allow your bottles to condition before indulging can vary depending on the beer style and your preferred flavor profile. A solid rule of thumb is to let them rest for at least two weeks.
If you’re savoring light lagers, aim to enjoy them relatively fresh ideally within a month. On the other hand, IPAs with strong hop flavors truly shine when consumed within a few weeks of packaging, capturing their vibrant aromatic qualities at their peak.
Darker ales or stouts can benefit from a bit of aging, allowing the ingredients to meld together and create a more complex flavor profile.
Storing your bottles in a cool, dark place ensures the best quality don t overlook this crucial step! Exposure to light and temperature fluctuations can wreak havoc on the quality and taste of your brew. By keeping a close eye on these conditions, you ll ensure that each sip remains as delightful as the brewer intended.
Step 5: Enjoying Your Bottled Beer
Savoring your bottled beer is the delightful finale to your homebrewing journey, where every ounce of your hard work and dedication comes together for your enjoyment.
To truly elevate this experience, it s essential to grasp the best practices for pouring and serving. Careful techniques help preserve the beer’s flavor and carbonation, ensuring each sip is as refreshing as intended.
Understanding proper storage methods helps keep your brew fresh and enjoyable for an extended period, enhancing the overall tasting experience and allowing you to relish every moment.
How to Properly Pour and Serve Beer from Bottles
Pouring and serving beer correctly is truly an art form it elevates your drinking experience and allows the unique flavors and aromas to shine, while maintaining that delightful carbonation.
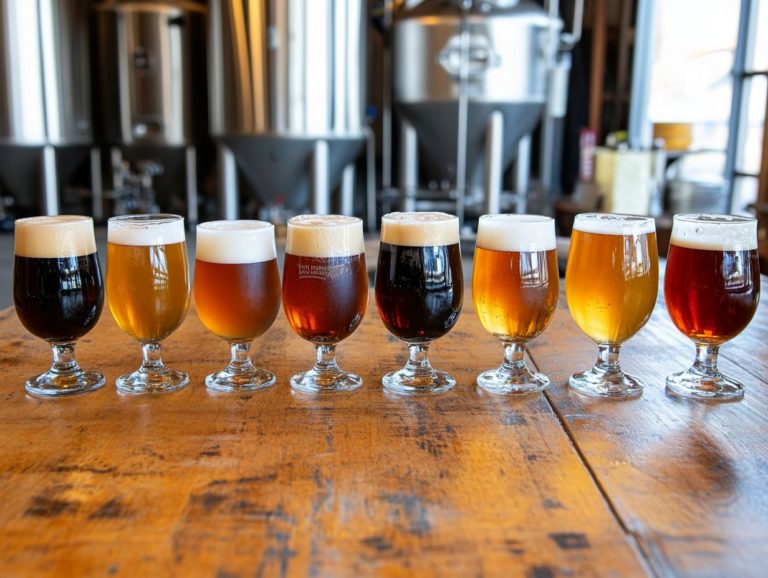
To master this skill, consider the type of beer you re pouring, as each style demands its own specific approach. Begin by selecting the right glass; pint glasses are fantastic for ales, while pilsner glasses are designed to showcase lagers beautifully.
Hold your glass at a 45-degree angle and pour gently along the inside, filling it about halfway. As you fill the glass, gradually tilt it upright for the final pour to create that frothy head on top essential for releasing those aromatic compounds.
For example, hoppy IPAs benefit from a thicker head that enhances their often-citrusy notes, while stouts thrive with a minimal head that allows their rich, roasted flavors to come to the forefront. Don t overlook the importance of serving temperature; lagers are typically best enjoyed chilled, while complex ales can be served slightly warmer to unlock their full depth of flavor.
What Are the Best Storage Practices for Bottled Beer?
Storing bottled beer properly is essential for preserving its quality, flavor, and overall freshness over time.
To achieve optimal preservation, keep your beer in a cool, dark place ideally at a temperature between 45 and 55 degrees Fahrenheit. Avoid exposing your bottles to fluctuations in heat and light, as both can disrupt the delicate balance of aromas and taste.
Monitor humidity levels, ensuring they hover around 50-70%. This prevents corks from drying out while also avoiding excess moisture that could invite mold.
When organizing your beer cellar or fridge, think about categorizing by style or flavor profile. Arrange the bottles for easy accessibility, and consider labeling shelves to quickly spot your desired brews. This thoughtful approach not only enhances your enjoyment but also extends the life of each unique beer.
Frequently Asked Questions
What Are the Key Steps in Bottling Beer?
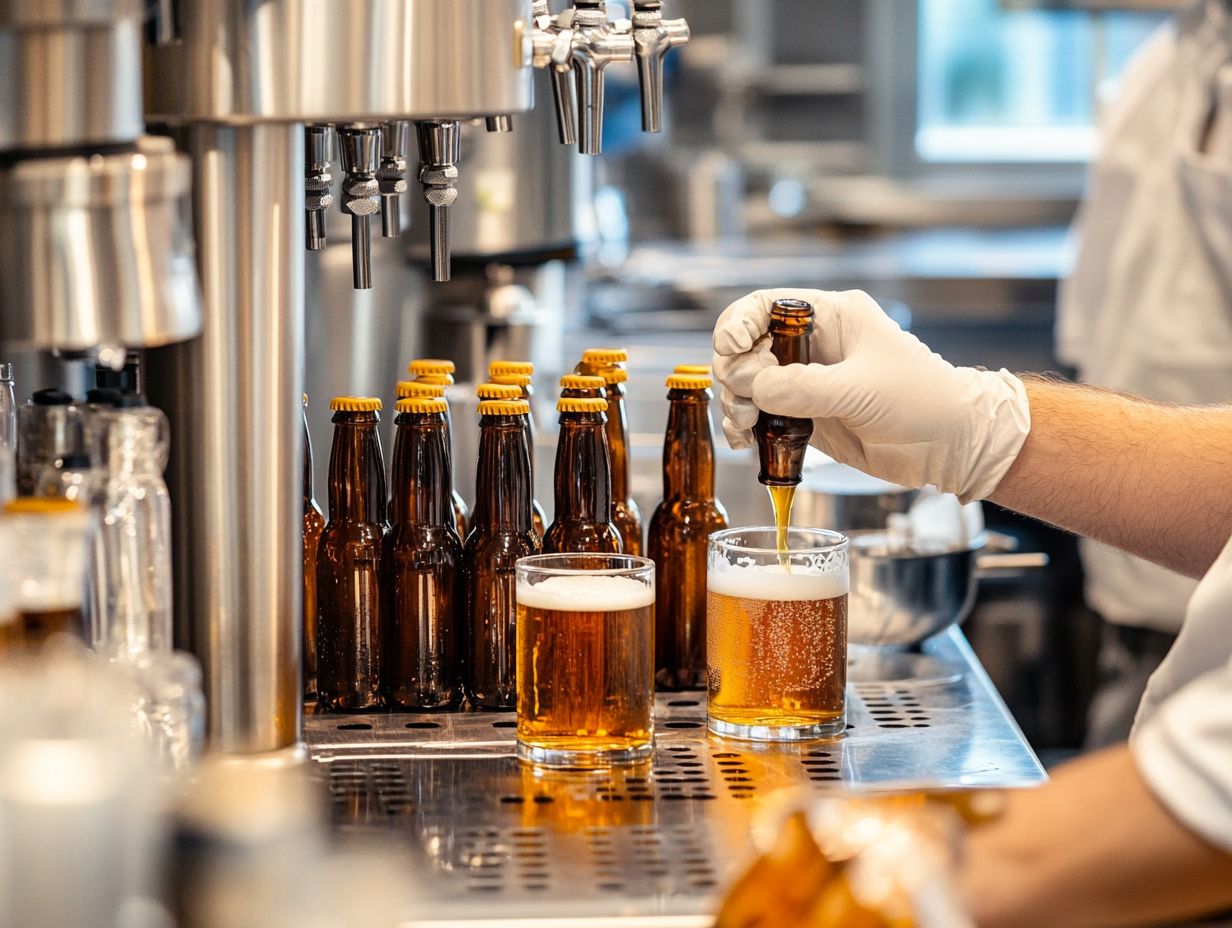
The key steps in bottling beer include cleaning and sanitizing your bottles, preparing your bottling equipment, siphoning the beer into the bottles, capping the bottles, and conditioning the beer for carbonation.
Why is cleaning and sanitizing bottles important?
Cleaning and sanitizing your bottles is crucial to ensure that your beer does not become contaminated and spoil. Any leftover residue or bacteria in the bottles can affect the taste and quality of your beer.
What equipment is needed for bottling beer?
You will need a bottling bucket, siphon, bottle filler, bottle capper, and a bottle brush for cleaning. It is also helpful to have a bottle tree for drying and organizing the bottles.
How do you siphon the beer into the bottles?
Attach the siphon to the bottling bucket. Place the other end into a bottle with the bottle filler attached, ensuring all air is out of the siphon. Start the flow of beer by sucking on the other end of the siphon.
Why is conditioning the beer important?
Conditioning allows the beer to develop bubbles naturally in the bottle, giving it the desired level of carbonation and head. This process also allows the flavors to meld together and mellow out, resulting in a smoother and more balanced beer.
How long does the bottling process take?
Bottling your beer is an exciting step that takes just 1-2 hours. Get ready for the best results! Take your time to ensure each step is done correctly.
