5 Tips for Storing Your Home Brew
Storing your homebrew properly is crucial for maintaining its rich flavor and exceptional quality. From solid storage tips to using the right containers, every step matters.
Whether you re a seasoned brewer or just starting your brewing journey, understanding the best storage practices from choosing the right brewing supplies to organizing your space can significantly elevate your final product.
This article delves into five essential tips to keep your brews fresh and delightful, covering optimal storage conditions, DIY organizing ideas, the importance of labeling, and sanitization.
It also highlights common pitfalls to avoid, ensuring you savor every sip of your homemade creations, whether stored in bottles, kegs, or other containers.
Let s jump right into these essential tips to enhance your brewing experience!
Contents
- Key Takeaways:
- 1. Keep It in a Cool and Dark Place
- 2. Use Airtight Containers
- 3. Avoid Exposure to Oxygen
- 4. Label and Date Your Brews
- 5. Follow Proper Sanitization Techniques
- What Are the Best Containers for Storing Home Brews?
- How Often Should Home Brews Be Checked on and Rotated?
- What Are the Common Mistakes When Storing Home Brews?
- Frequently Asked Questions
- Can I store my homebrew in a keg instead of bottles?
- What should I do if my homebrew is over-carbonated?
- Is it safe to store my homebrew at room temperature?
Key Takeaways:
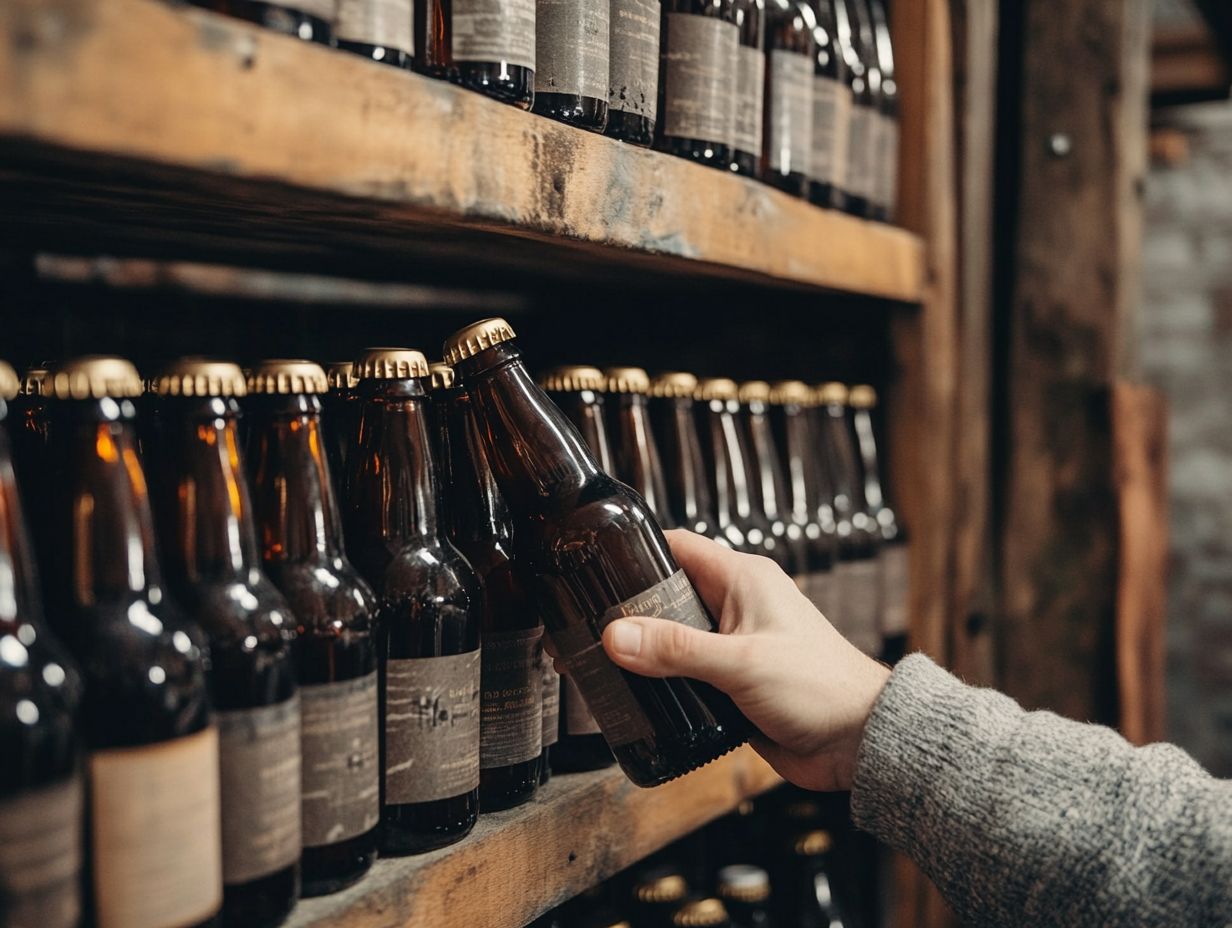
- Store homebrew in a cool, dark place to maintain quality and flavor. Consider temperature control to enhance your brewing process.
- Use airtight containers to keep out air and prevent potential contamination.
- Properly label and date your homebrews to track freshness and avoid confusion. Use markers and notebooks for easy inventory management.
1. Keep It in a Cool and Dark Place
For optimal quality, keeping your homebrew in a cool, dark place is essential. Both temperature and light exposure can dramatically influence the brewing process and the final flavor of your beer. Storing your brewing equipment and supplies under ideal conditions ensures a stable fermentation process, ultimately enhancing the quality of your brews.
Temperature control is crucial in brewing, with specific ranges varying based on the beer style. For instance, ale fermentations thrive between 65 F and 75 F, while lagers prefer cooler conditions, ideally around 50 F to 55 F. Exposing your brew to direct sunlight or nearby heat sources can disrupt fermentation and negatively impact flavors, resulting in skunky or off-tasting beer.
To maintain a consistent environment, consider investing in temperature-controlled storage units or insulated coolers. These will protect your brewing supplies from temperature fluctuations, ensuring that each batch turns out as intended. Using pegboard setups or hanging shelves can efficiently organize your brewing tools.
Remember, proper storage is crucial for maintaining the brew’s quality.
2. Use Airtight Containers
Using airtight containers for your homebrew supplies and finished products is vital for preserving freshness and preventing contamination. This practice ensures that the flavors remain vibrant and that your cleaning and sanitizing efforts produce the best possible outcomes. Consider options like plastic or metal storage units for durability and ease of use.
You ll find a variety of airtight containers suited to your needs, from glass jars for grains to BPA-free plastic bins for liquids, and even specialized kegs designed for finished brews. These options create a barrier against external elements and help maintain the integrity of what s inside. Accessories like caddies and hooks can further aid in organizing your brewing area.
The importance of proper sealing cannot be overstated; it protects against oxidation and spoilage, both of which can dramatically impact taste and quality. For optimal results, make it a habit to regularly clean and sanitize these containers with food-safe cleaning solutions. This practice ensures they remain free from any residual contaminants that could compromise future batches. Using sanitizers like Star San and PBW cleaner will enhance your cleaning routine.
In summary, using airtight containers is crucial for maintaining your homebrew s freshness and quality.
3. Avoid Exposure to Oxygen
To preserve the integrity and flavor of your homebrew, it’s essential to minimize exposure to oxygen during brewing and storage. Oxygen can introduce off-flavors and spoilage that undermine the quality of your finished beer.
Managing oxygen effectively is paramount from the moment you create your wort (the liquid extracted from the malted grains) to the final packaging. Oxygen speeds up oxidation, leading to unwelcome flavors like cardboard or sherry notes that can overwhelm your intended taste profiles. Use a Thermapen MK4 or a Refractometer to monitor conditions closely.
To limit oxygen contact, employ techniques such as transferring beer through a siphon and utilizing CO2 purging to displace any air in your tanks or bottles. When bottling or kegging, ensure airtight seals with the right caps or fittings to significantly reduce the risk of exposure. Using a Graduated Cylinder or Hanna pH meter provides more control over your brewing process.
Mastering these practices will let your brews shine like never before!
4. Label and Date Your Brews
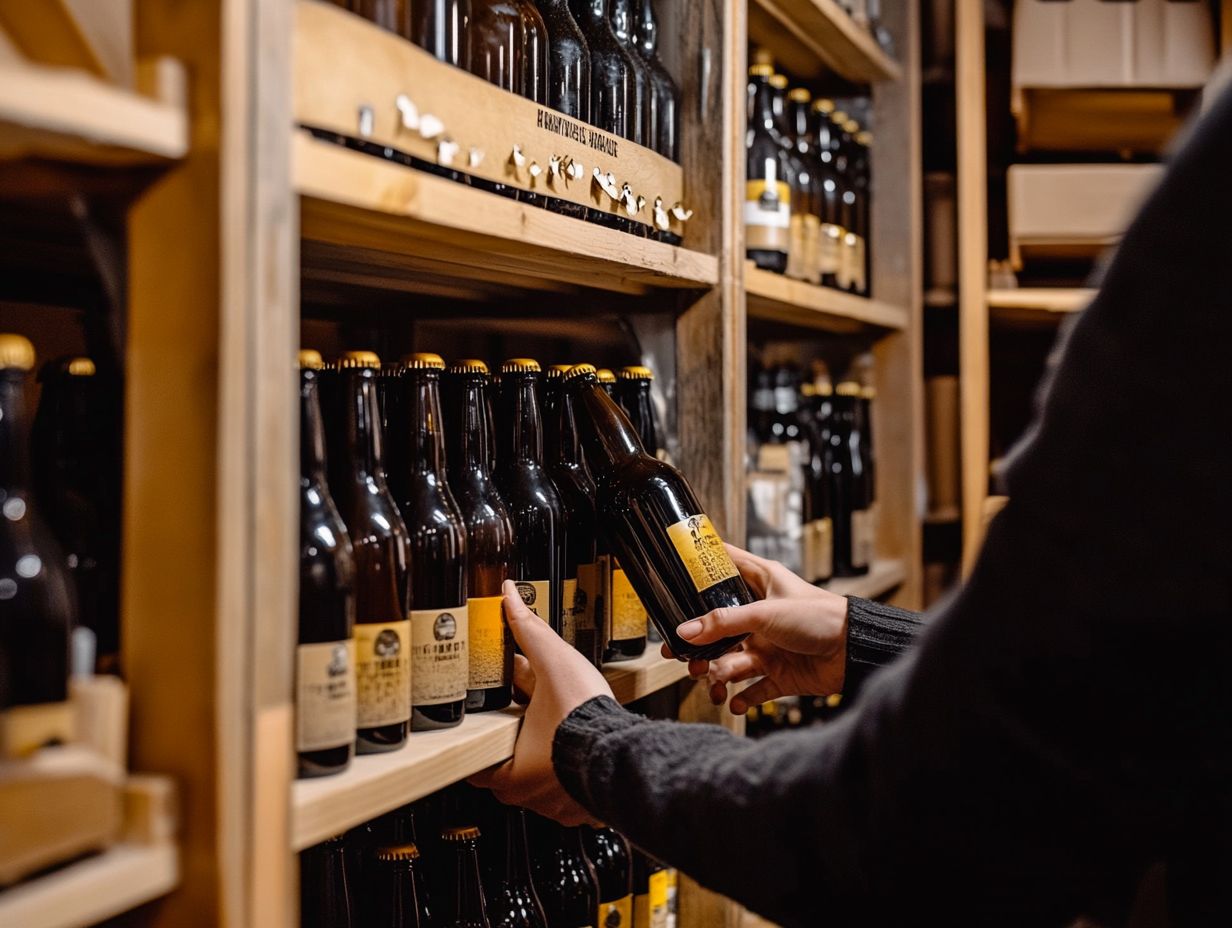
Labeling and dating your homebrew products is an essential practice for maintaining an organized inventory. It helps you track the age of your brews, ensuring you enjoy them at their peak flavors. It also streamlines your brewing process by letting you reference your recipes and notes with ease. Consider digital solutions, like brewing software or apps, for a modern touch.
Keeping detailed records helps you identify your favorite brews and serves as a valuable guide for adjusting future batches. Engage with specifics like ingredients, brew dates, and tasting notes to deepen your understanding of how various factors influence the final product. Use accessories like bungee cords and pegboards to organize your brewing tools effectively.
Regarding labeling techniques, using waterproof markers guarantees that your notes can survive any spills or condensation. Utilizing DIY storage systems like rolling cabinets or compartmentalized shelves can help keep everything in order.
For optimal organization and storage of your labeled bottles and grains, adopt a systematic approach by grouping similar styles together. A dedicated storage area that is cool and dark will also help preserve quality.
With thoughtful organization, you can elevate brewing into an even more enjoyable and rewarding hobby.
5. Follow Proper Sanitization Techniques
Following proper sanitization techniques in your homebrew setup is essential for preventing contamination. By ensuring your equipment and supplies are clean, you set the stage for a successful fermentation process that results in high-quality beer. Use products like Fermcap to keep your foam in check.
To achieve this crucial cleanliness, reach for effective cleaning and sanitizing products like Star San and PBW cleaner. Star San is a no-rinse sanitizer that is a favorite among homebrewers for its fast-acting properties, allowing you to use your equipment immediately after application.
PBW cleaner excels at breaking down organic residues, making it ideal for the initial cleaning of kettles, fermenters, and brewing utensils. You must thoroughly sanitize all equipment, including bottles and caps, to eliminate any unwanted microorganisms. Accessory tools like a Thermapen MK4 can be helpful for precise measurements during this process.
For optimal effectiveness, start by cleaning each item with PBW, rinsing thoroughly, and then soaking or spraying with Star San according to the manufacturer’s instructions. Don’t risk your brew! Following these meticulous practices is crucial for creating a clean environment that fosters the brewing of delicious beer. Engaging with communities like Brew Cabin or the Institute of Brewing and Distilling can provide additional insights.
What Are the Best Containers for Storing Home Brews?
Choosing the right containers is essential. It preserves the quality and taste of your beer. You have various options at your disposal ranging from bottles and kegs to specialized caddies and containers crafted from plastic or metal. Each is designed for specific purposes throughout the brewing and storage processes. Brands like Fermcap and accessories like rolling carts can enhance your storage setup.
When deciding between glass bottles and plastic kegs, consider flavor and preservation. Glass bottles are impermeable to oxygen, helping maintain the integrity of your beer over time. However, they can be fragile and heavier, necessitating careful handling.
On the other hand, plastic kegs are lightweight and easier to transport. However, they may allow slight oxygen exposure, potentially compromising your brew. Prioritizing containers that minimize oxygen contact is crucial to prevent oxidation and contamination. You can use bungee cords to secure your kegs and prevent accidental exposure.
To keep your containers in pristine condition, clean them thoroughly after each use. Avoid using abrasive materials that might scratch their surfaces. This ensures they remain free from bacteria and previous residues. Effective cleaning techniques and the right sanitizers help maintain their longevity.
How Can Temperature Affect the Quality of Home Brews?
Temperature plays a crucial role in determining the quality of your homebrews. Variations in temperature can significantly influence fermentation rates, flavor profiles, and ultimately the alcohol content of your beer. A Hanna pH meter can help monitor these variables effectively.
Understanding how specific temperature ranges affect each stage of the brewing process is essential. For example, the primary fermentation stage flourishes best between 65 F and 75 F. This is a sweet spot where yeast activity produces desirable flavors. However, if the temperature rises too high, you risk introducing off-flavors that could ruin your brew. Engaging with seasoned brewers like David Ackley can provide valuable insights.
During the conditioning phase, keeping a cooler temperature around 35 F to 45 F helps clarify the beer and enhances its overall taste. Consider investing in temperature control equipment, such as fermentation chambers or temperature-controlled water baths. A systematic approach to storage ensures that your brewing conditions remain consistent.
Using insulating materials or placing your fermenter in a stable environment also helps maintain consistency. This leads to a superior final product. Accessories like pegboards and cabinets can help keep your brewing tools organized and your space tidy.
What Are the Best Practices for Labeling and Dating Home Brews?
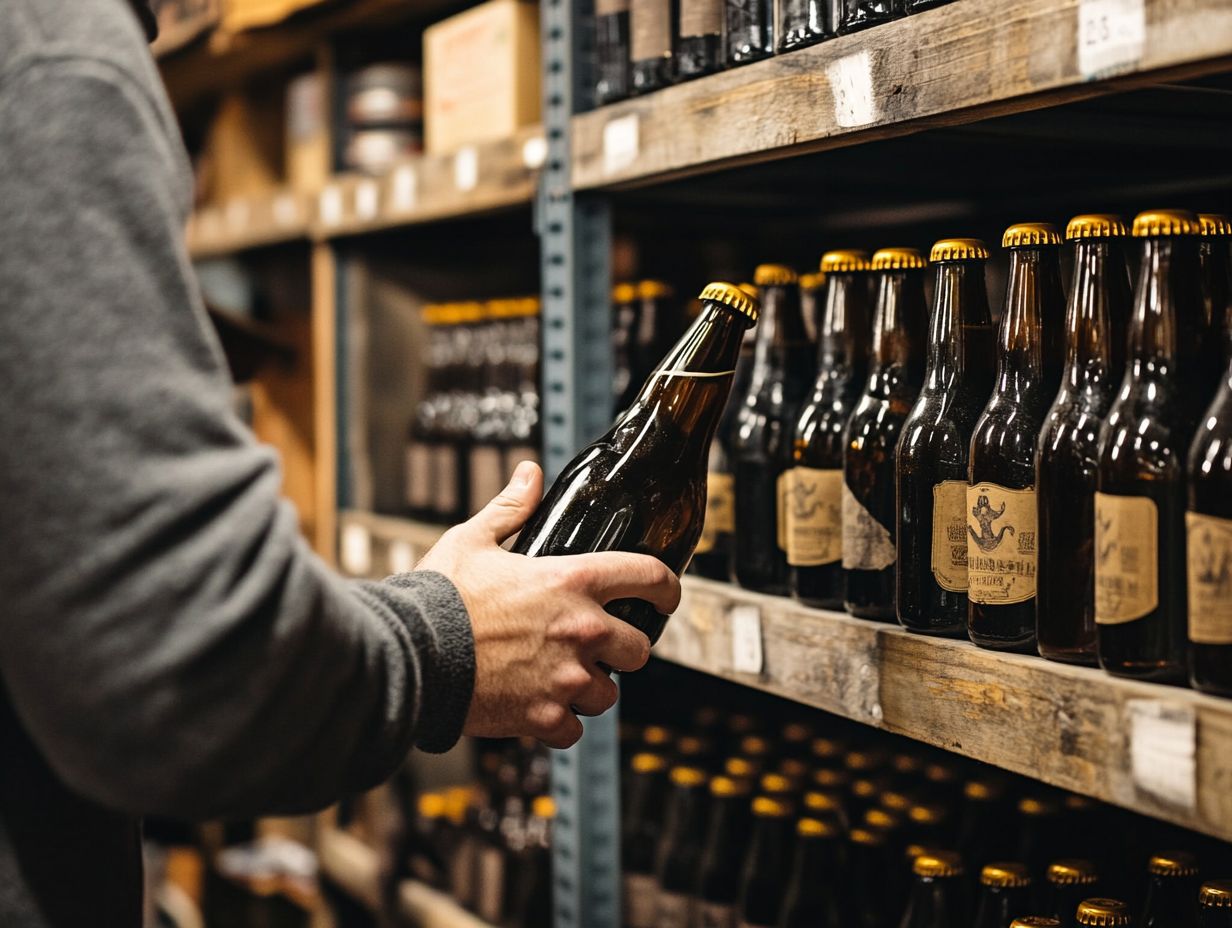
Implementing best practices for labeling and dating your brews is essential for mastering inventory management and flavor tracking. This ensures you can savor your creations at their peak while revisiting your favorite recipes and notes. Engaging with brewing communities like Brew Cabin can provide additional tips for effective labeling.
Use waterproof markers or digital labels to enhance the durability of your homebrew labels. This guarantees they withstand humid or cold conditions without losing clarity.
Establishing a consistent format for each label is highly beneficial. Display the brew date prominently at the top, followed by the ingredients and tasting notes. This helps identify your beer and recall its flavor at various stages of maturation. Additionally, incorporating essential temperature tips for home brewing can enhance your process. Consider using a thermometer or a brewing logbook for precise notes.
Maintaining a digital or physical log alongside your labeled bottles offers a structured approach to tracking variations and improvements over time. This organized method simplifies refining your techniques and replicating successful brews. Set up your storage space with a pegboard or rolling caddy to keep all your brewing tools and ingredients organized.
How Often Should Home Brews Be Checked on and Rotated?
Regularly checking in on and rotating your homebrews is essential for ensuring they age gracefully and maintaining the quality of your inventory. This attention allows you to savor your beers at their peak taste and freshness. Use tools like the Thermapen MK4 or Hanna pH meter to monitor your brew s progress.
Different types of brews demand varying levels of attention based on their unique fermentation and aging processes. For example, ales typically benefit from inspection every couple of weeks, as they mature quickly. In contrast, lagers may need your attention less frequently, perhaps once a month, due to their longer fermentation times. Measure specific gravity with a refractometer or graduated cylinder during these checks.
To streamline this process, consider organizing your bottles and kegs according to their brew date or anticipated aging timeline. Implementing a clear labeling system can enhance your efficiency, making it easier to spot which brews are ready for enjoyment and which ones are still developing their flavors. For those planning to share their creations, check out these 5 tips for hosting a home brewing party. Use hooks or a dedicated cabinet to store your brewing supplies and tools.
What Are the Common Mistakes When Storing Home Brews?
Storing your homebrews can be a balancing act, and it’s easy to fall into pitfalls that negatively affect the quality of your beer everything from improper temperature control to insufficient labeling and organization. Use a dedicated storage system with labeled compartments to keep everything in order.
One aspect that often slips under the radar is the importance of regular monitoring. You might find yourself so engrossed in the brewing process that checking on your creations becomes an afterthought. This can allow potential issues to go undetected. Consider using digital notebooks for tracking your fermentation and recipes.
Exposing your bottled beers to light or heat can lead to bad flavors and spoilage, robbing you of the full enjoyment of your carefully crafted beverage. Non-airtight containers can also lead to oxidation, which can derail your intended flavor profile. To enhance your brewing experience, consider these 5 tips for collaborating with other home brewers. Use dedicated brewing accessories like Fermcap to control foam and avoid contamination.
To tackle these challenges, setting up a dedicated storage space that remains consistently cool and dark is essential. Make it a habit to inspect your brews regularly and utilize proper sealing methods. Keeping a log for labeling and organization will further elevate your brewing experience, ensuring each bottle receives the attention it deserves. Additionally, you might want to check out these 10 tips for flavoring your home brew to enhance your creations. Consider using PBW cleaner and Star San for sanitizing your equipment and space.
Frequently Asked Questions
What are the top 5 tips for storing your homebrew?
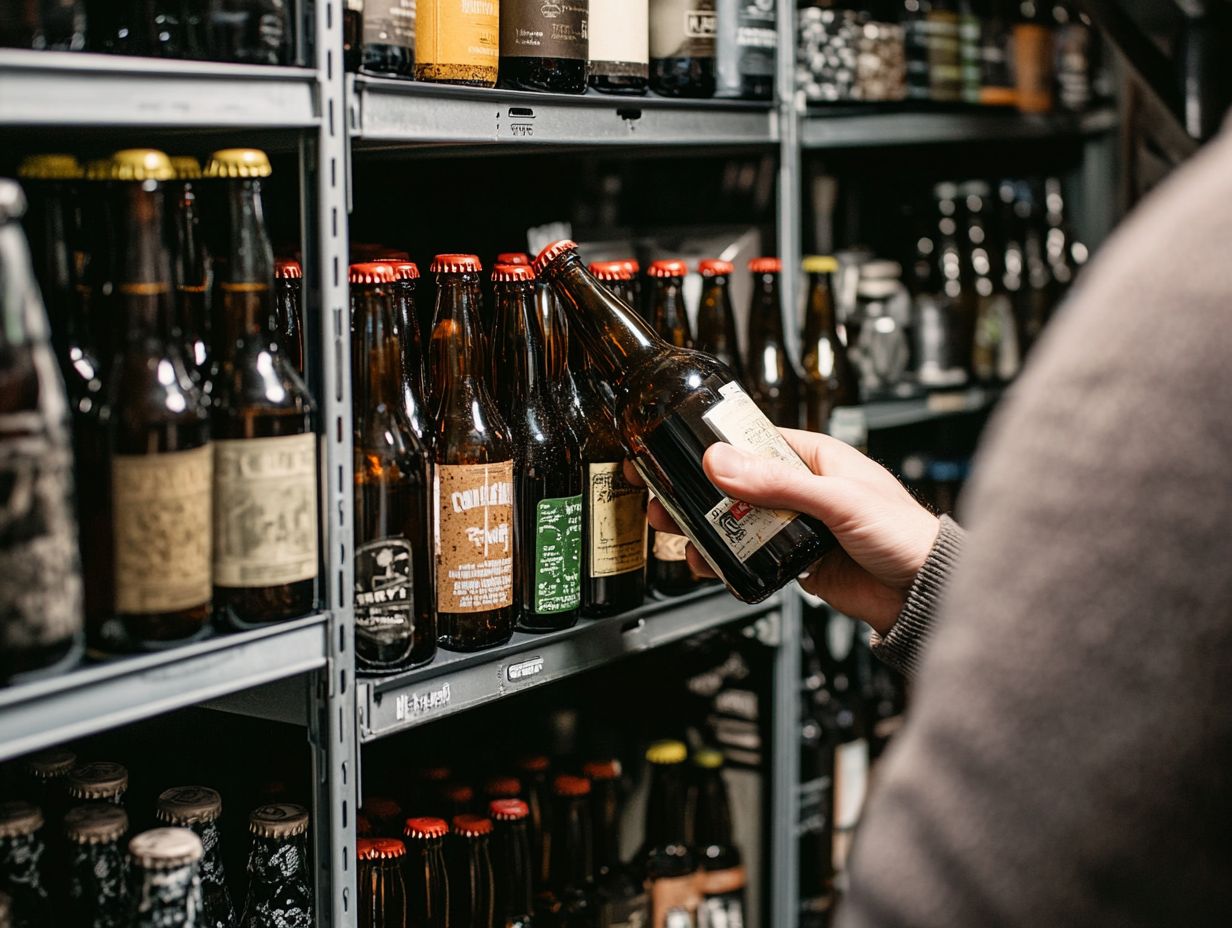
- Keep it in a cool and dark place: Exposure to heat and light can alter the flavor and quality of your homebrew. Utilize bungee cords for securing items if needed.
- Use airtight containers: Oxygen can cause your brew to spoil or go flat, so store it in airtight containers or cans.
- Avoid temperature fluctuations: Fluctuating temperatures can affect the taste, so try to store it in a consistent temperature environment.
- Don’t store for too long: Homebrew typically has a shorter shelf life than commercially brewed beer, so consume it within a few weeks or months of bottling. Utilize rolling shelves for easy access to different batches.
- Keep it away from strong odors: Homebrew can absorb strong smells, so avoid storing it near items like spices or cleaning products. Use plastic or metal containers for additional protection.
Can I store my home brew in the fridge?
Yes, you can store your homebrew in the fridge. Just make sure to keep it in a cool and dark spot within the fridge. Avoid storing it on the door where it may be exposed to light and temperature fluctuations. Use a thermometer to monitor fridge temperature.
How should I label my home brew for storage?
Labeling your homebrew with the type of beer, bottling date, and any special notes (such as the type of hops used) can be helpful for keeping track of storage time. This ensures you enjoy your brew at its best quality. For added convenience, hang your labels on hooks or a pegboard for easy access.
Can I store my homebrew in a keg instead of bottles?
Yes, you can store your homebrew in a keg. Make sure the keg is properly sanitized before filling it. Use a CO2 system to keep your beer carbonated. Follow the same storage tips as you would for bottles. Consider using a dedicated brewing space for your keg setup.
What should I do if my homebrew is over-carbonated?
If your homebrew becomes over-carbonated, it may be due to too much sugar added during bottling or a fermentation issue. To fix over-carbonation, gently release some gas by slightly opening the bottles, then recap them. Keep an eye on the carbonation level and repeat if necessary. Accurate measuring tools, like a graduated cylinder, can help avoid this issue in the future.
Is it safe to store my homebrew at room temperature?
It is generally safe to store homebrew at room temperature, but ensure the temperature is consistent and not too high. If the temperature is too warm, it can speed up the aging process and affect the taste of your brew. Store your homebrew at a temperature between 55-65 degrees Fahrenheit. Use a temperature gauge to monitor your storage environment.


