Choosing Between Liquid and Dry Yeast
Yeast is not just an ingredient; it s the magic behind your favorite bread and beer! Understanding its role can elevate your baking and brewing adventures. Yeast plays a pivotal role in both baking and brewing, transforming your dough into delightful bread and pastries, and contributing to the fermentation process in beer.
There are two primary types of yeast liquid and dry each presenting its own unique benefits and challenges. This article also provides step-by-step instructions on using both types effectively and answers common questions about yeast viability and nutrients.
Additionally, it offers guidance in choosing the best option for your baking and brewing endeavors.
Contents
- Key Takeaways:
- What Is Yeast?
- What Are the Different Types of Yeast?
- What Are the Pros and Cons of Dry Yeast?
- Which Type of Yeast Should You Choose?
- Factors to Consider:
- 1. Availability
- 2. Shelf Life
- 3. Cost
- 4. Flavor
- How to Use Liquid Yeast in Baking?
- Step 1: Proof the Yeast
- Step 2: Adjust Recipe Measurements
- Step 3: Add Yeast to the Recipe
- How to Use Dry Yeast in Baking?
- Step 1: Activate the Yeast
- Step 2: Adjust Recipe Measurements
- Step 3: Add Yeast to the Recipe
- FAQs About Yeast Types
- Frequently Asked Questions
- What is the difference between liquid and dry yeast?
- Which type of yeast is better for home brewing?
- How do I know which yeast to choose for my specific beer recipe?
- Does liquid yeast produce better quality beer than dry yeast?
- What are the benefits of using dry yeast?
- Can I substitute dry yeast for liquid yeast in a recipe or vice versa?
Key Takeaways:
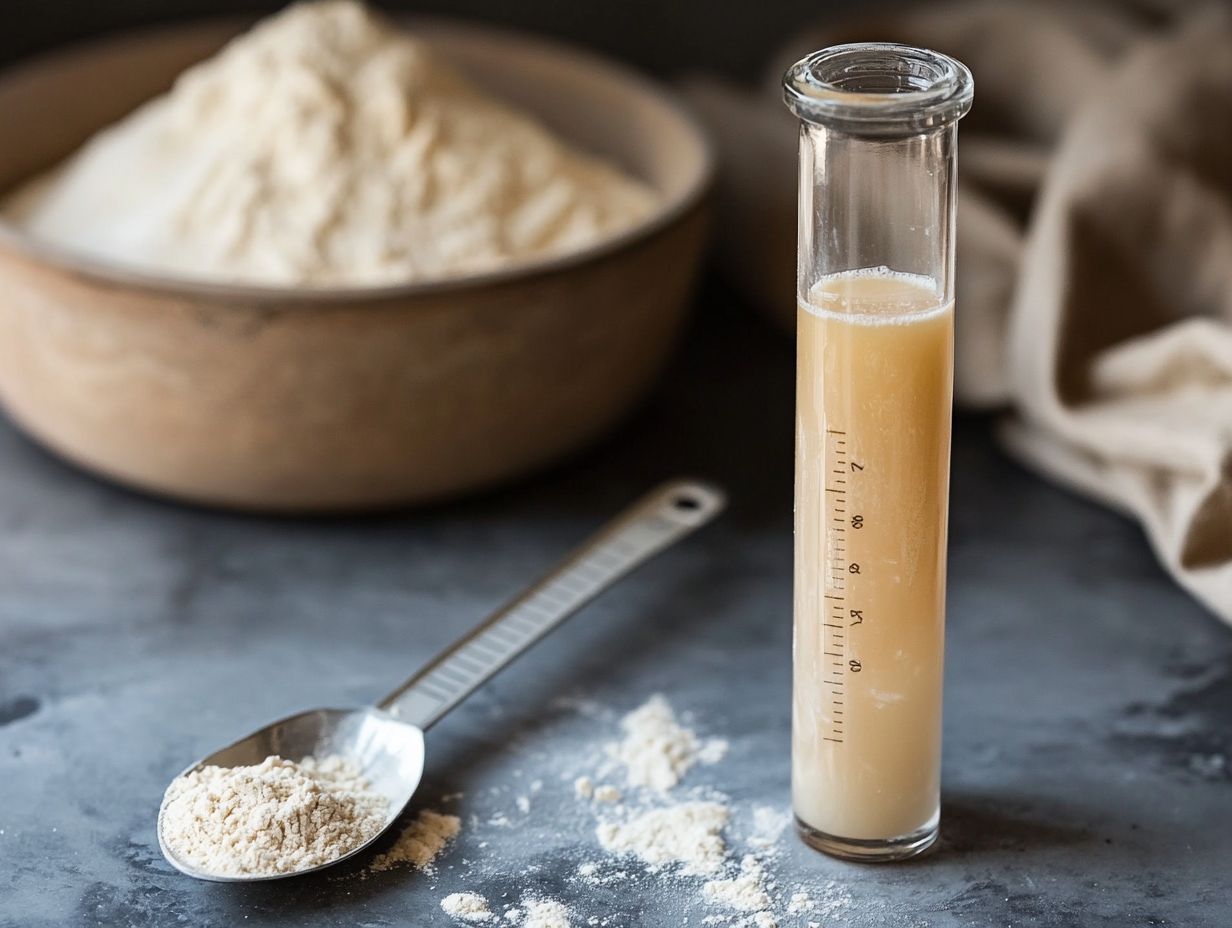
- Consider availability, shelf life, cost, and flavor when choosing between liquid and dry yeast for your baking and brewing needs.
- Liquid yeast must be proofed before use, while dry yeast needs to be activated.
- Both types of yeast can be substituted for each other, but adjustments to recipe measurements may be necessary.
What Is Yeast?
Yeast is a remarkable microorganism that serves a pivotal role in the fermentation process, converting sugars into alcohol and carbon dioxide an essential transformation for both brewing and baking. Its ability to influence flavor compounds and yeast profiles is invaluable for achieving fermentation completion.
You ll encounter various yeast strains, such as dry yeast and liquid yeast, employed by both homebrewers and commercial breweries to create unique flavor profiles in their creations. Yeast producers like Nottingham Ale, Wyeast smack packs, and White Labs PurePitch offer a variety of strains tailored to specific beer styles and baking needs.
Choosing the right yeast is critical; it ensures the fermentation process reaches completion and contributes to the development of distinctive flavor compounds that characterize different beer styles and baked goods. For optimal results, always add yeast at the right time and consider yeast health.
What Are the Different Types of Yeast?
Regarding brewing and baking, you ll encounter several types of yeast, with dry yeast and liquid yeast being the most prevalent. Each type of yeast possesses distinct characteristics think cell count, viability, and temperature sensitivity that can greatly influence the fermentation process and ultimately shape the flavor profile of your beer or baked creations.
As a homebrewer, you have a plethora of yeast strains at your fingertips from renowned producers such as Fermentis, Lallemand, and Imperial Yeast. Brands like Fermentis dry yeast, Lallemand yeast, and White Labs FlexCell offer various strains tailored to meet your specific brewing aspirations and come with their own set of benefits and challenges.
What Is Liquid Yeast?
Liquid yeast is a premium option available in convenient pouches or smack packs, ready for you to pitch directly into your fermentation vessel. This form of yeast is often preferred for its higher cell count and its remarkable ability to produce complex flavors during fermentation.
You ll find that liquid yeast cultures can vary significantly depending on the strain, typically offering superior yeast health. This makes them a favored choice among craft beer brewers who are eager to explore different flavor compounds in their creations. Using fresh yeast and understanding storage requirements are key components for achieving desired brewing results.
To fully capitalize on the advantages of liquid yeast, you should prioritize yeast viability, ensuring that it is fresh and healthy when you re ready to brew. Proper storage is crucial; keep it refrigerated to maintain its viability until the moment you need it.
Always check the expiration date. If you re working with a liquid yeast that has been stored for a while, consider making a starter. This simple step helps to increase the cell count and activate the yeast, leading to a more vigorous fermentation. Using yeast starters is especially important for higher gravity beers.
Remember, different strains may have their own specific requirements. A little research can go a long way in helping you achieve the results you desire.
What Is Dry Yeast?
Dry yeast is a dehydrated form of yeast that you ll find invaluable in homebrewing and baking, thanks to its convenience and impressive shelf life. This type of yeast is typically rehydrated before use, allowing it to spring back to life and jumpstart your fermentation process.
With its ease of storage and reliable performance across various brewing options, dry yeast is the go-to choice for anyone seeking dependable results with minimal hassle.
When you re ready to rehydrate dry yeast, make sure to use warm, non-chlorinated water. This step is crucial for effectively awakening those dormant organisms. Not only does this activation process kick off fermentation, but it also boosts the yeast’s overall performance.
In comparison to liquid yeast, dry yeast is generally easier to manage and boasts a longer shelf life, making it a favorite among both casual and experienced brewers. Top brands like Fermentis Safale and Danstar offer impressive varieties tailored to specific beer styles and baking requirements.
This gives you the flexibility you need for different recipes. Yeast innovations from companies like Imperial Yeast and GigaYeast continue to expand the possibilities for creative brewing.
Whether you re crafting a robust porter or a light, airy sourdough, dry yeast stands as a trustworthy ally, consistently delivering outstanding flavor and quality. Dry yeast is particularly effective in higher gravity brewing and fermenting beer with complex flavor profiles.
What Are the Pros and Cons of Liquid Yeast?
Liquid yeast offers a fascinating blend of pros and cons that can change your brewing game! On the positive side, using liquid yeast provides a higher cell count and promotes better yeast health. This can translate into more complex flavor profiles and quicker fermentation times.
You must handle and store liquid yeast with care, as it is more sensitive to temperature fluctuations than its dry counterpart. This sensitivity can pose challenges, especially for those who are new to homebrewing.
Pros:
- The advantages of using liquid yeast are plentiful, especially for those immersed in the craft beer revolution and adventurous brewing.
- You ll find that liquid yeast strains offer a remarkable array of flavor profiles, enabling you to craft unique tasting experiences in your beers.
- With higher cell counts, liquid yeasts not only enhance fermentation speed but also promote overall yeast health, resulting in more consistent outcomes across various fermentation temperatures.
- This means that whether you’re brewing a crisp lager or a rich stout, the dynamic range of liquid yeast can truly accentuate the distinctive characteristics of each style.
- The vitality of liquid yeasts ensures a robust fermentation process and contributes to more complete attenuation (the process of converting sugars to alcohol), ultimately leading to fuller-bodied beers.
- These yeasts have a knack for bringing out subtle nuances like fruity esters or spicy phenols that can significantly elevate the overall complexity of your beer’s flavor profile.
- For brewers exploring a wide spectrum of styles, from hop-forward IPAs to Belgian ales with their signature spiciness, liquid yeast acts as a versatile tool, making it an essential asset in any craft-focused brewing endeavor.
Consider trying out both dry and liquid yeast in your next brewing project for an exciting experience!
What Are the Pros and Cons of Dry Yeast?
Cons:
Despite the advantages, liquid yeast presents several drawbacks that may give you pause as a brewer. One of the main issues is its sensitivity to temperature, requiring you to exercise precision in storage and handling to ensure the yeast remains viable.
Liquid yeast often requires a yeast starter for optimal performance, which can complicate the brewing process if you prefer simpler methods. The disadvantages of liquid yeast can be mitigated by following best practices in yeast management.
The cost factor also cannot be overlooked; liquid yeast typically comes with a price tag that is significantly higher than its dried counterparts. This makes it less appealing for budget-conscious homebrewers.
This financial consideration, along with the complexities of managing yeast health like maintaining proper pitching rates and fermentation temperatures adds a layer of difficulty that may feel overwhelming for many casual brewers.
If you don t manage these elements carefully, you risk poor fermentation outcomes, which can lead to off-flavors and inconsistent batches.
While some seasoned brewers may relish the challenge, others might prefer more user-friendly yeast options that simplify the brewing experience.
Understanding fermentation temperature and yeast packaging can help reduce these risks.
Pros:
Dry yeast stands out as a favored option for homebrewers, celebrated for its convenience and reliability. Its most notable advantages include a remarkable shelf life and simplicity in usage, enabling you to brew with ease, free from the complexities of special handling or storage.
Brands like WildBrew and Omega Yeast also offer specialized dry yeast options for different brewing styles.
Yet, it s essential to consider some drawbacks; dry yeast may not offer the same depth of flavor complexity that liquid yeast provides.
As a result, many brewers choose hands-on alternatives to unleash unique flavors.
Pros:
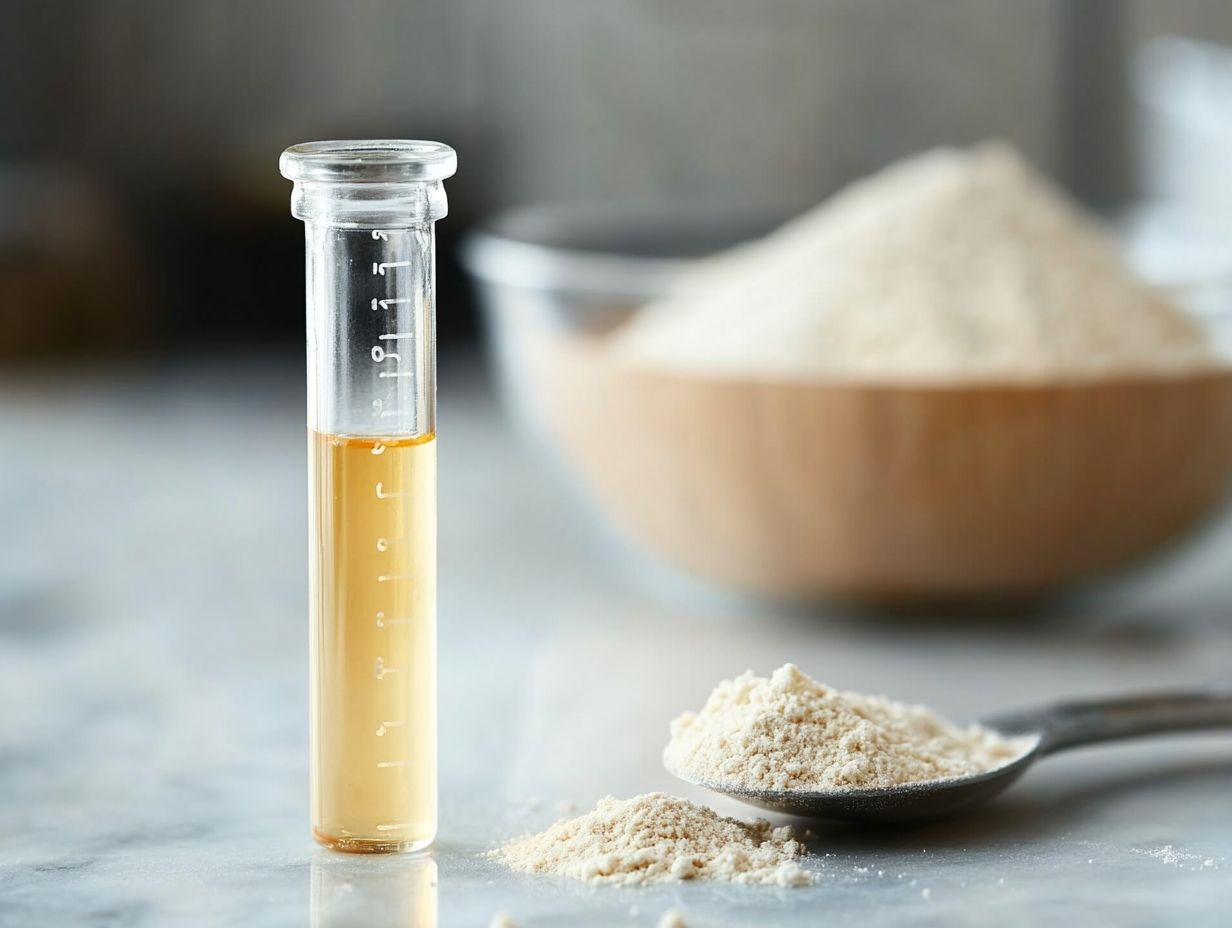
The primary advantages of using dry yeast are hard to ignore: it s affordable, boasts an impressive shelf life, and simplifies the brewing process.
You can easily store dry yeast without refrigeration, making it a practical choice if you re not brewing regularly.
Plus, it s quick to pitch, which means faster fermentation and consistent results across various brewing options.
Using rehydrated yeast mixing dry yeast with water before use can further improve fermentation outcomes.
This user-friendly nature appeals to both novice and seasoned brewers, as it streamlines the brewing ritual while ensuring quality remains intact.
The cost-effectiveness of dry yeast invites economical experimentation with different beer styles.
Take, for instance, renowned producers like Safale and Fermentis, who provide a variety of strains suited for different ales, lagers, and specialty beers.
This diversity allows you to explore a wide spectrum of flavors and aromas without straining your budget. With no need for specialized storage, dry yeast becomes a dependable companion for anyone who enjoys brewing at their own pace.
Cons:
On the downside, dry yeast does come with several drawbacks that could impact your brewing experience.
One significant limitation is that it may not deliver the same complex flavor profile as liquid yeast, which can be a setback if you’re a craft brewer seeking unique taste adventures.
Depending on the strain, you might need to rehydrate dry yeast before use, adding an extra step to your fermentation process.
You need to pay attention to the specific fermentation conditions required for dry yeast, as fluctuations in temperature and nutrient availability can further limit flavor development.
If you don t handle the rehydration process properly, it can lead to less vigorous fermentation and, unfortunately, some unwanted off-flavors.
These limitations underscore the necessity of understanding the brewing variables and applying the right techniques to ensure that the yeast performs at its best. This ultimately influences the overall quality of your final product.
Which Type of Yeast Should You Choose?
Selecting the perfect type of yeast can profoundly impact the success of your brewing or baking endeavors. You’ll want to consider various factors, such as your specific brewing needs, the flavor profile you aim to achieve, and the particular beer styles you plan to craft.
Both dry and liquid yeast come with distinct advantages and disadvantages, making it crucial for you to assess which option aligns best with your brewing methods and preferences. By grasping these considerations, you can make informed choices that elevate the quality of your craft beer and baked creations.
Factors to Consider:
When selecting the ideal yeast type for your project, there are several critical factors you ought to consider to ensure a successful fermentation and the development of rich flavors. Start by assessing your brewing needs, the specific fermentation process you plan to employ, and the desired yeast profiles that can significantly influence the final product.
As a homebrewer, you should pay close attention to the yeast s attenuation levels, flocculation characteristics, and temperature range. These factors are not just technical details; they can dramatically affect the efficiency of your brewing process and the overall taste and aroma of your beer. Some yeast strains are brilliant at producing fruity esters, while others provide a cleaner finish. This makes it essential to align the yeast type with the specific beer styles you intend to create.
Evaluating your ingredients such as malt and hops will also guide you in selecting a yeast that harmonizes with your creations, ensuring a balanced flavor and aroma profile. Don t shy away from experimenting with different yeast strains; this exploration can lead to unique and delightful outcomes, transforming a straightforward homebrew into a remarkable craft beer.
1. Availability
The availability of yeast is a vital consideration for both commercial breweries and homebrewers, as it directly influences your choices when selecting a yeast type. While many producers offer a diverse array of strains, the accessibility of specific dry or liquid yeast can differ depending on your region and market demand. This variation can impact not only the styles you can brew but also the overall versatility of your brewing options.
If you re looking to expand your brewing horizons, it s essential to consider local suppliers who may offer unique yeast strains that cater to the regional palate. Online retailers also play a significant role in this landscape, often stocking rare yeasts from esteemed producers that you might not find in your local shops. By being attuned to local brewing preferences, you can choose yeast that enhances and complements popular styles.
Ultimately, understanding yeast availability enriches your brewing process, fostering a deeper connection to the craft and inspiring innovation and quality in every batch you create.
2. Shelf Life
Shelf life is an essential factor to consider when you’re deciding between liquid and dry yeast, as it impacts both the yeast’s viability and the quality of your final brew. Generally, dry yeast boasts a longer shelf life, often remaining viable for years when stored correctly. In contrast, liquid yeast has a shorter lifespan and necessitates specific storage conditions to maintain its effectiveness. By understanding these storage requirements, you can ensure that you’re using the freshest yeast possible, which is crucial for optimal fermentation.
For example, dry yeast can usually be kept in a cool, dark pantry without immediate worries, but you should definitely check the expiration date on the packaging to be sure. On the flip side, liquid yeast, which is more perishable and typically comes in a liquid culture, should be refrigerated and used within a few weeks for the best results. It’s also important for you to recognize that different strains of yeast can behave differently over time; some may lose their potency faster than others.
To enhance effectiveness and ensure a high-quality brew, optimal storage practices, such as keeping both types of yeast in airtight containers, are highly recommended.
3. Cost
Cost is a crucial factor for you to consider when deciding between dry and liquid yeast, as it can have a significant effect on your brewing costs. Typically, dry yeast is more affordable than its liquid counterpart, making it a favored choice among novice homebrewers and those who wish to keep expenses in check. However, liquid yeast may warrant its higher price tag with the promise of more complex flavors and quicker fermentation, creating a conundrum for the budget-conscious brewer.
The price variability among different yeast strains and brands adds an extra layer of complexity to your decision. For example, specialty liquid yeasts, often crafted by renowned producers, can demand a premium due to their distinctive characteristics and exceptional fermentation qualities.
On the other hand, while dry yeasts might lack some of those subtle nuances, they generally provide reliable performance without breaking the bank. As you evaluate your options, weigh the benefits of investing in premium liquid yeast against your overall brewing budget, recognizing that a higher initial cost may lead to superior outcomes in your final product.
4. Flavor
The flavor that yeast brings to your final product is perhaps the most critical factor to consider when choosing between dry and liquid yeast. Liquid yeast typically offers a wider range of flavor compounds due to its varied strains, enabling you to create unique flavor profiles. On the other hand, dry yeast might deliver more straightforward flavors, which can significantly influence your brewing needs and preferences for specific beer styles.
For example, employing a specific strain of Brettanomyces can introduce funky, earthy notes that beautifully complement wild ales, while classic American Ale yeast enhances hop aromas and results in clean, crisp beer styles.
Belgian yeast strains, with their fruity esters and spicy phenols, are perfect for creating rich and aromatic Belgian ales. Every yeast choice not only impacts flavor but also plays a crucial role in the fermentation process, affecting the beer s mouthfeel and overall character.
By thoughtfully selecting the right yeast, you can take your brewing to the next level, tailoring each batch to achieve your desired outcomes! Choosing the right yeast is crucial to crafting the perfect brew!
How to Use Liquid Yeast in Baking?
Incorporating liquid yeast into your baking can truly elevate your culinary creations, infusing them with depth and complexity. However, mastering the right techniques is essential for successful fermentation and achieving optimal flavor.
Proofing the Yeast
The journey begins with proofing the liquid yeast, which is the process of activating yeast by mixing it with water and sugar. This important step ensures that fermentation reaches its full potential. After proofing, you may need to make adjustments to your recipe measurements to account for the yeast s influence on the dough’s rise and texture, ensuring that every bite is a delightful experience.
Step 1: Proof the Yeast
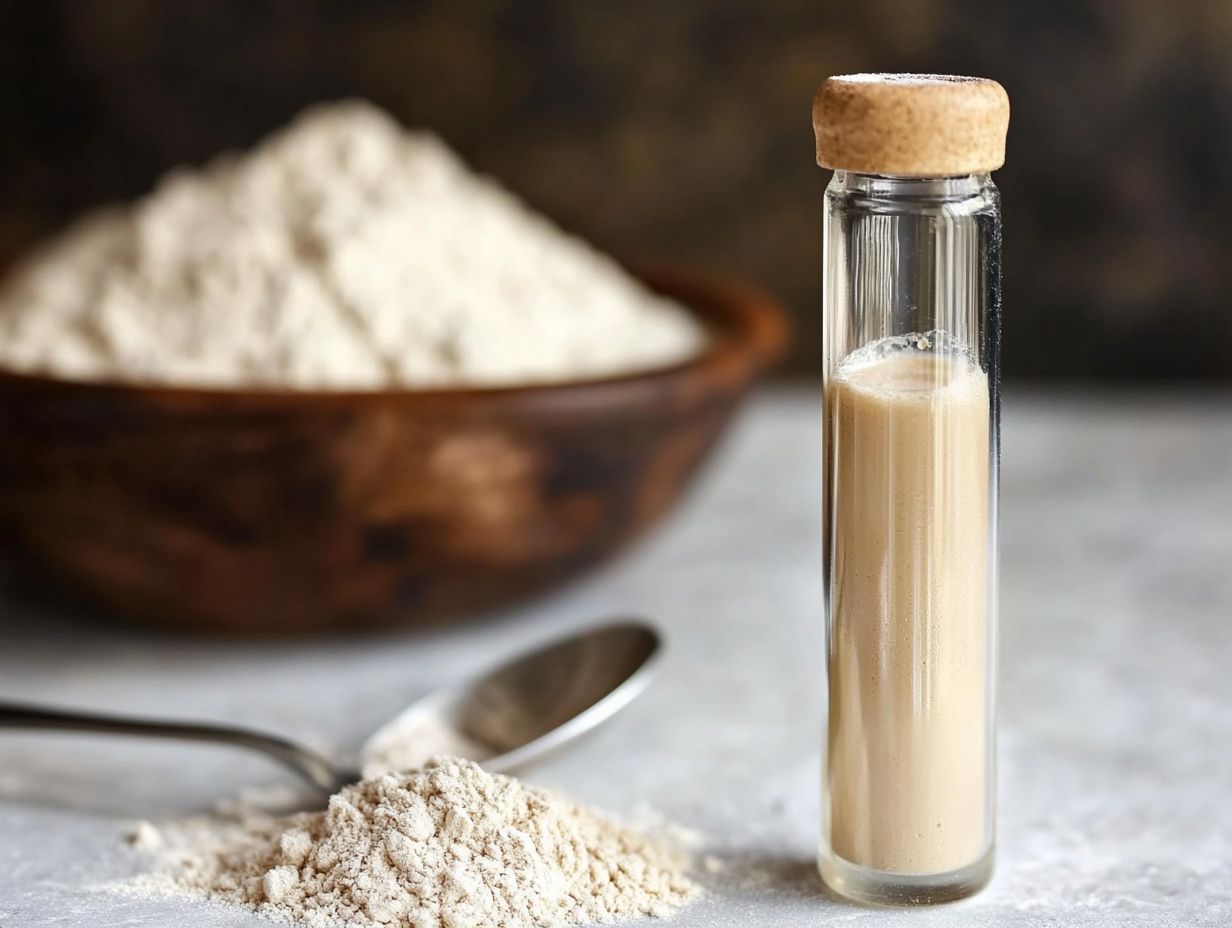
The first step in using liquid yeast for baking is to proof the yeast, a crucial process that activates the microorganisms and prepares them for fermentation. You ll want to dissolve the yeast in warm water with a pinch of sugar, allowing it to sit for about 10 to 15 minutes. If all goes well, it will become frothy, signaling that the yeast is alive and ready to help your dough rise.
This critical phase is essential for ensuring the health of the yeast, which significantly impacts the overall success of your baking endeavor. When you see bubbles forming on the surface, it’s a clear sign of successful activation. On the flip side, if there s no froth, it could mean the yeast is dead or inactive, which may result in flat, dense baked goods.
Neglecting this vital step can lead to a host of problems, including poor texture and insufficient fermentation, ultimately resulting in disappointing outcomes. By paying attention to detail during the proofing stage, you not only enhance the flavor but also guarantee a successful rise, setting the stage for delightful baked creations. Keep in mind that different yeast strains can affect the final flavor profile.
Step 2: Adjust Recipe Measurements
Once you ve successfully proofed the yeast, the next step is to adjust your recipe measurements to account for the inclusion of liquid yeast. This can affect the hydration level of your dough. Given that liquid yeast contains moisture, it s essential to reduce the amount of liquid in your recipe accordingly. This helps achieve the right consistency and texture of your final product.
The fermentation process may vary depending on the yeast types you choose. This adjustment becomes even more critical when working with different yeast strains, as their moisture content can vary significantly. For instance, if your recipe calls for 1 cup of water and you re using liquid yeast, consider decreasing the water by about 2 to 4 tablespoons to achieve that perfect dough consistency. This is crucial for obtaining the right fermentation temperature.
It s also wise to make these changes gradually. Allow yourself to observe how the dough responds as you incorporate the ingredients. Keep a close eye on the texture. Aim for a smooth and elastic dough, which is the hallmark of successful baking.
Step 3: Add Yeast to the Recipe
The final step in your journey with liquid yeast for baking is to seamlessly incorporate it into your recipe. Ensure it s evenly distributed throughout the dough for optimal fermentation. Gently fold the proofed yeast mixture into your other ingredients. Be careful to avoid overmixing, as that can disrupt the yeast s activity and impact the final rise and texture of your baked creations. This is a crucial part of keeping the yeast healthy.
To further enhance fermentation effectiveness, incorporate ingredients at room temperature. Cold ingredients can shock the yeast, stunting its ability to flourish. Employing a gradual mixing technique is advantageous. Begin with the wetter ingredients before gradually introducing the dry components. This allows for a more homogenous mixture.
Consider allowing your dough to rest for a brief period after the initial mixing. This resting time for the dough permits the flour to fully hydrate. It can significantly improve gluten development and promote a better rise, ultimately yielding superior crust and crumb structure in your baked goods.
How to Use Dry Yeast in Baking?
Incorporating dry yeast into your baking can yield remarkable results when approached correctly. It offers a seamless path to achieving perfect fermentation. The initial step in this process is activating the dry yeast. This crucial task ensures the yeast is viable and primed to assist in the dough’s rise. Consider exploring different yeast profiles to enhance your final baked goods.
Once you’ve activated the yeast, you may need to make some adjustments to your recipe to achieve the ideal texture and flavor in your baked creations.
Step 1: Activate the Yeast
The first step in your journey with dry yeast for baking is to activate it. This is a crucial process that ensures the yeast is alive and primed for fermentation. This typically means dissolving the dry yeast in warm water along with a pinch of sugar. Allow it to sit for about 5 to 10 minutes. Look for frothy bubbles, which signal that fermentation is about to kick off. It’s crucial not to skip this step if you want your baking to be a success!
Proper yeast activation is essential; it can make or break the success of your baking endeavor. To confirm that your yeast has activated successfully, look for consistent bubbles and a noticeable rise in the mixture. These signs indicate that your yeast is healthy and ready to go.
Be cautious with the water temperature. Using water that’s too hot can kill the yeast, while water that’s too cold might not activate it properly. By monitoring these key factors, you can ensure robust fermentation and ultimately create fluffy, mouth-watering baked goods.
Now it s time to experiment with your yeast! Get baking and enjoy the results of your hard work!
Step 2: Adjust Recipe Measurements
After you activate the dry yeast, the next crucial step is to adjust your recipe measurements to account for the yeast’s moisture content. This adjustment can significantly influence the dough’s hydration level. By modifying the amount of liquid in your recipe, you can maintain the desired consistency and ensure a successful rise during fermentation.
Consider the specific type of dry yeast you are using, as different strains may require varying amounts of water or flour. If you re working with instant yeast, for example, you can mix it directly with the dry ingredients, which simplifies the process immensely. Conversely, active dry yeast needs a little pampering it requires proofing in warm water first.
Always pay attention to the dough s elasticity. A properly hydrated dough will feel a bit sticky but not excessively so. Gradually incorporating flour until you reach the ideal texture can greatly enhance your baking results, ensuring that your final product is nothing short of light and airy.
Step 3: Add Yeast to the Recipe
The final step in your baking journey with dry yeast is to add the activated yeast to your recipe, ensuring it s evenly distributed throughout the dough for maximum fermentation success. You typically achieve this by combining the yeast mixture with the other ingredients. Mix gently so you don t compromise the yeast s effectiveness and ensure a splendid rise. This method aligns with homebrewing tips for better results.
Timing is everything in this integration. If you add the yeast mixture too early or too late, it can negatively impact the flavor and texture of your final creation. If you re using instant or active dry yeast, consider hydrating it properly in warm water before incorporation this simple trick will supercharge your dough s rise!
You might also find that incorporating the yeast into the dry ingredients before gradually adding liquids enhances the distribution process, allowing for more uniform fermentation. By mastering these techniques, you re well on your way to achieving delicious outcomes, ensuring that every loaf, roll, or pastry benefits from the yeast s robust action.
FAQs About Yeast Types
Learn more about using fresh yeast and rehydrated yeast for optimal results in both baking and brewing.
As you delve into the diverse world of yeast used in brewing and baking, it’s natural to encounter questions regarding substitutions, usage, and the unique characteristics of both dry and liquid yeast. Understanding yeast viability (the number of living yeast cells available for fermentation) and storage requirements can significantly impact your results.
Below, you’ll find some frequently asked questions about yeast types that will help illuminate these important distinctions.
1. Can I Substitute Liquid Yeast for Dry Yeast?
Substituting liquid yeast for dry yeast is entirely feasible, but it does require a few adjustments to ensure successful fermentation and achieve the results you desire. You’ll need to consider the difference in yeast viability and cell count, as liquid yeast typically boasts a higher cell count than its dry counterpart. This can affect the fermentation process and fermentation completion times.
This means that when a recipe specifies a certain amount of dry yeast, you should use a smaller quantity of liquid yeast instead. A useful guideline to follow is to increase the amount of liquid yeast to about 1.2 to 1.5 times that of the dry yeast to match the desired potency.
Be aware that fermentation times might vary slightly; liquid yeast often ferments with greater vigor, which could lead to a shorter primary fermentation window. It s essential to monitor the fermentation process closely, as this will help ensure that your brew develops the intended flavors and characteristics that correspond with the chosen yeast type. This approach aligns well with homebrewing practices.
Frequently Asked Questions
What is the difference between liquid and dry yeast?
Liquid yeast is a live culture that has been harvested and packaged in a liquid form, while dry yeast is a dormant form of yeast that has been dehydrated and packaged.
Which type of yeast is better for home brewing?
Choosing the best yeast depends on your personal preference and the beer style.
How do I know which yeast to choose for my specific beer recipe?
Choosing the right yeast for your beer recipe is crucial for achieving the desired flavor profile and fermentation process. Research different yeast strains and their recommended uses to find one that complements your recipe.
Does liquid yeast produce better quality beer than dry yeast?
Both liquid and dry yeast can produce high-quality beer, but liquid yeast is often preferred for its diverse range of strains and potential for more complex flavors.
What are the benefits of using dry yeast?
Dry yeast is more convenient and easier to store than liquid yeast, making it a popular choice for beginners and home brewers. It also has a longer shelf life and is less prone to contamination.
Can I substitute dry yeast for liquid yeast in a recipe or vice versa?
It is not recommended to substitute one type of yeast for another in a recipe without adjusting the amount used. This can affect the fermentation process and ultimately the flavor of the beer. Always check your recipe first! Substituting yeast can drastically change your beer’s flavor.

