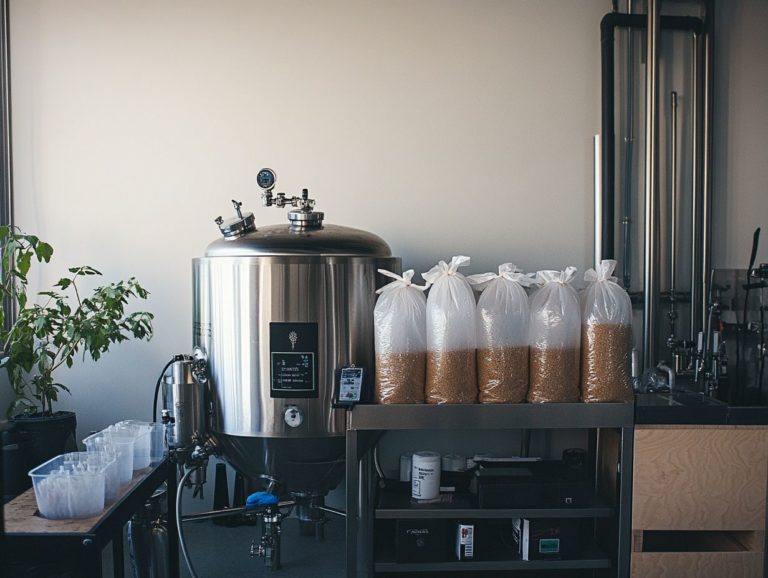
Why Is Your Home Brew Stuck? Solutions Inside
Homebrewing can be an incredibly rewarding hobby, but nothing quite compares to the frustration of discovering that your batch has stalled during fermentation, often resulting in stuck fermentation.
Whether you re a seasoned brewer or just embarking on this exciting journey, grasping the reasons behind a stalled brew is crucial for achieving a successful outcome.
This article delves into the common causes of stuck fermentations, offers effective solutions to reignite the bubbling process, and provides tips to help you avoid future mishaps, tackling issues like oxygen depletion and yeast quality.
Immerse yourself in this knowledge to ensure that your homebrewing experience is as smooth and satisfying as possible, helping you master essential brewing techniques!
Contents
- Key Takeaways
- What Causes Homebrew to Get Stuck?
- Common Fermentation Issues
- 5. Contaminants or Infection
- What Are the Solutions for Stuck Home Brew?
- 1. Re-pitching Yeast
- 2. Adding Nutrients
- How Can You Prevent Your Home Brew from Getting Stuck?
- Frequently Asked Questions
- What is a stuck home brew and what are common fermentation problems?
- Why does a home brew get stuck?
- How can I tell if my home brew is stuck?
- What are some solutions to fix a stuck home brew?
- How can I prevent my homebrew from getting stuck in the future?
- Can I still salvage a stuck homebrew, such as a barleywine or IPA?
Key Takeaways
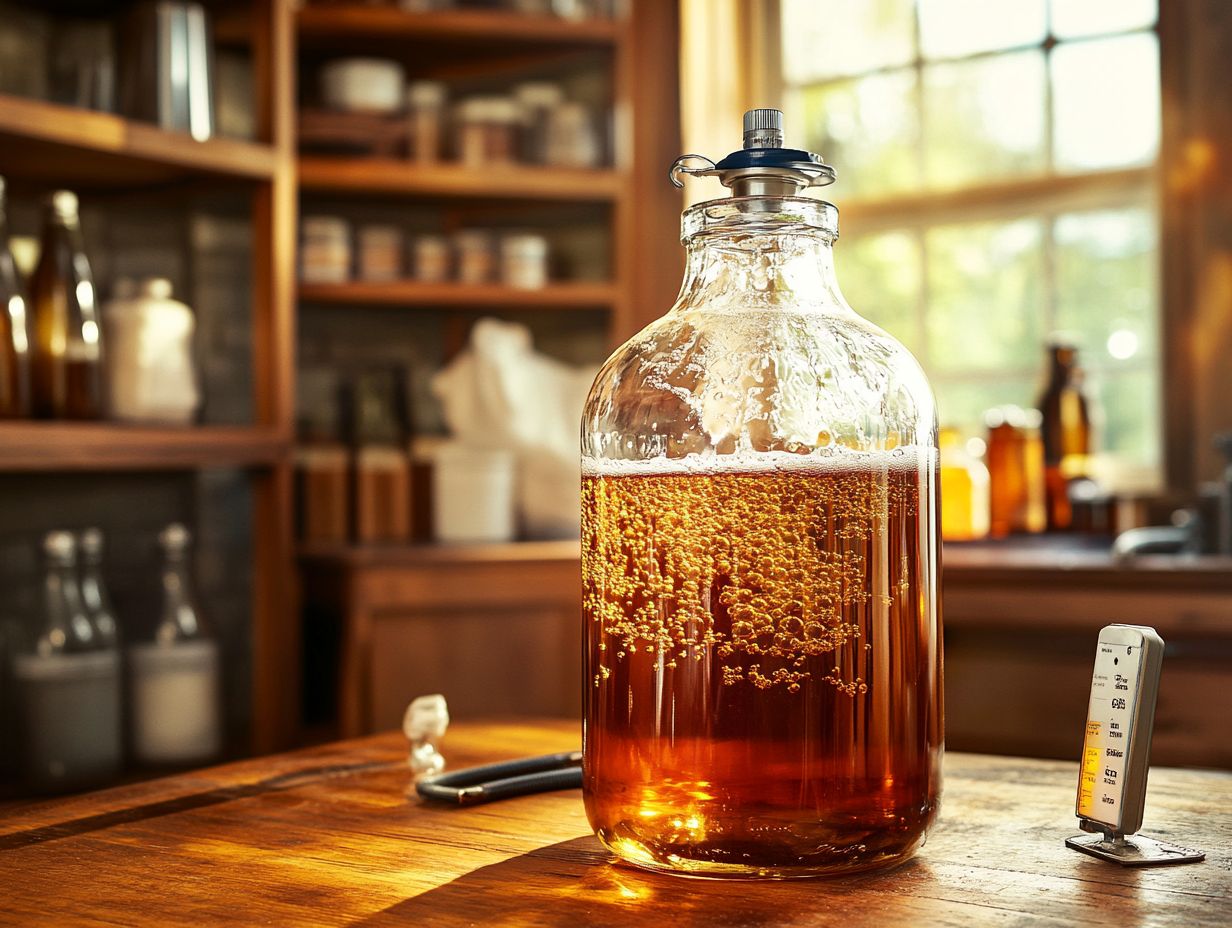
- Stuck homebrew can be caused by inadequate yeast, poor quality or old yeast, high gravity or alcohol content, insufficient nutrients, or contamination.
- Solutions for stuck homebrew include re-pitching yeast, adding nutrients, stirring or shaking the fermenter, increasing temperature, adding enzymes, using a different yeast strain, or starting a new batch. Monitoring fermenter temperature is also crucial.
- Preventing stuck homebrew involves proper sanitation, using fresh and quality ingredients, monitoring fermentation temperature, following a recipe or guidelines, and properly pitching yeast. Gravity measurement and fermentation control are also essential aspects of beer brewing.
What Causes Homebrew to Get Stuck?
As a homebrewer, you might encounter a frustrating phenomenon known as stuck fermentation, where the fermentation process unexpectedly comes to a halt, leaving you with less-than-satisfactory results. This issue can arise from a variety of factors, such as not enough yeast, low-quality or outdated yeast, high sugar levels, inadequate nutrients, or the presence of contaminants. Problems with high krausen and stuck yeast are also commonly observed in such cases.
By understanding these potential culprits, you can take proactive steps to prevent stuck fermentation. This way, your brewing experience will be as enjoyable as it is rewarding.
Whether you re crafting a crisp pale ale, a refreshing Berliner Weisse, or a robust barleywine, recognizing and addressing these fermentation challenges is essential for achieving the flavor and alcohol content you desire in your homemade beer. Some popular yeast strains, such as those used in brewing a Gose or a Saison Dupont, may require specific attention to detail.
1. Inadequate Yeast Pitching
Inadequate yeast pitching can lead to stuck fermentation. Using too few yeast cells results in not enough fermentation happening and poor beer quality.
Understanding the precise amount of yeast required for different batch sizes is essential. Utilizing a fermentation starter can be particularly helpful in achieving this balance.
When you under-pitch, you create an environment where the existing yeast struggles to convert sugars into alcohol and carbon dioxide. This ultimately compromises the flavor profile of your beer.
To avoid such pitfalls, calculating the ideal yeast quantity involves considering factors like starting gravity (which measures sugar content) and desired final volume. The quality of the yeast is crucial; you should always opt for fresh, well-stored yeast or use an appropriate fermentation starter to boost cell counts.
By focusing on these elements, you can significantly enhance the brewing process, yielding optimal results and ensuring both quality and consistency in your finished product.
Common Fermentation Issues
2. Poor Quality or Old Yeast
Using poor quality or outdated yeast strains can greatly hinder your fermentation process. They often lack the vitality necessary for effective fermentation.
This deficiency may result in sluggish fermentation, unwanted off-flavors, and even stalled brews. This ultimately undermines the quality of your beer.
Assess yeast viability before brewing. Conduct a yeast viability test and examine cell counts under a microscope.
For example, popular strains like Saccharomyces cerevisiae are usually preferred for ales, while Saccharomyces pastorianus is ideal for lagers. Berliner Weisse and Gose strains have specific nutrient needs.
One exceptional strain is Saison Dupont, well-regarded in the brewing community. Each strain offers unique flavor profiles and fermentation characteristics.
Understanding these nuances helps you choose the right strain, enhancing the overall quality of your final product.
3. High Gravity or High Alcohol Content
High gravity or high alcohol content can lead to stuck fermentation. Increased sugar concentration creates a challenging environment for yeast activity.
This higher sugar level causes stress, making it tough for yeast to thrive.
To navigate this, implement strategies to maintain fermentation control. Gradually increase sugar levels and use yeast strains designed for high alcohol tolerance.
Monitor pH levels and add nutrients to support yeast health. This fosters a smoother fermentation process, leading to a well-balanced final product.
4. Insufficient Nutrients
Insufficient nutrients can impact yeast performance. This may cause fermentation troubles or stuck yeast.
To maintain yeast health, provide essential nutrients like nitrogen, phosphorus, vitamins, and trace minerals.
These nutrients boost fermentation activity and reduce the risk of off-flavors. Using a yeast nutrient blend can be especially helpful.
When homebrewing, a balanced approach to nutrient supplementation is vital, especially in regions like the Northeast U.S.
For instance, incorporating diammonium phosphate can address nitrogen deficiencies. Low nitrogen levels often lead to prolonged lag phases and incomplete fermentation.
Addressing nutrient deficiencies ensures a smoother and more successful brewing experience.
5. Contaminants or Infection
Contaminants or infections can easily derail your fermentation process, introducing unwanted bacteria or wild yeast that lead to stuck fermentation and off-flavors in your beer.
To ensure a successful brewing experience, you must remain vigilant in identifying potential sources of contamination. Every surface and piece of equipment, from your fermenters to your bottles, should be meticulously sanitized using appropriate cleaning agents to eliminate any lingering microbes.
Maintaining a sterile environment throughout the brewing process is vital; even the smallest oversight can lead to infection. By employing proper brewing techniques like controlling oxygen exposure during fermentation and keeping fermenting vessels sealed and away from potential contaminants you can significantly reduce the risk.
Regularly monitoring temperatures and pH levels will also be essential for maintaining a healthy fermentation, allowing your brew to develop its intended flavors without interference from unwanted organisms. Publications like BJCP and Zymurgy often provide valuable insights into these best practices.
What Are the Solutions for Stuck Home Brew?
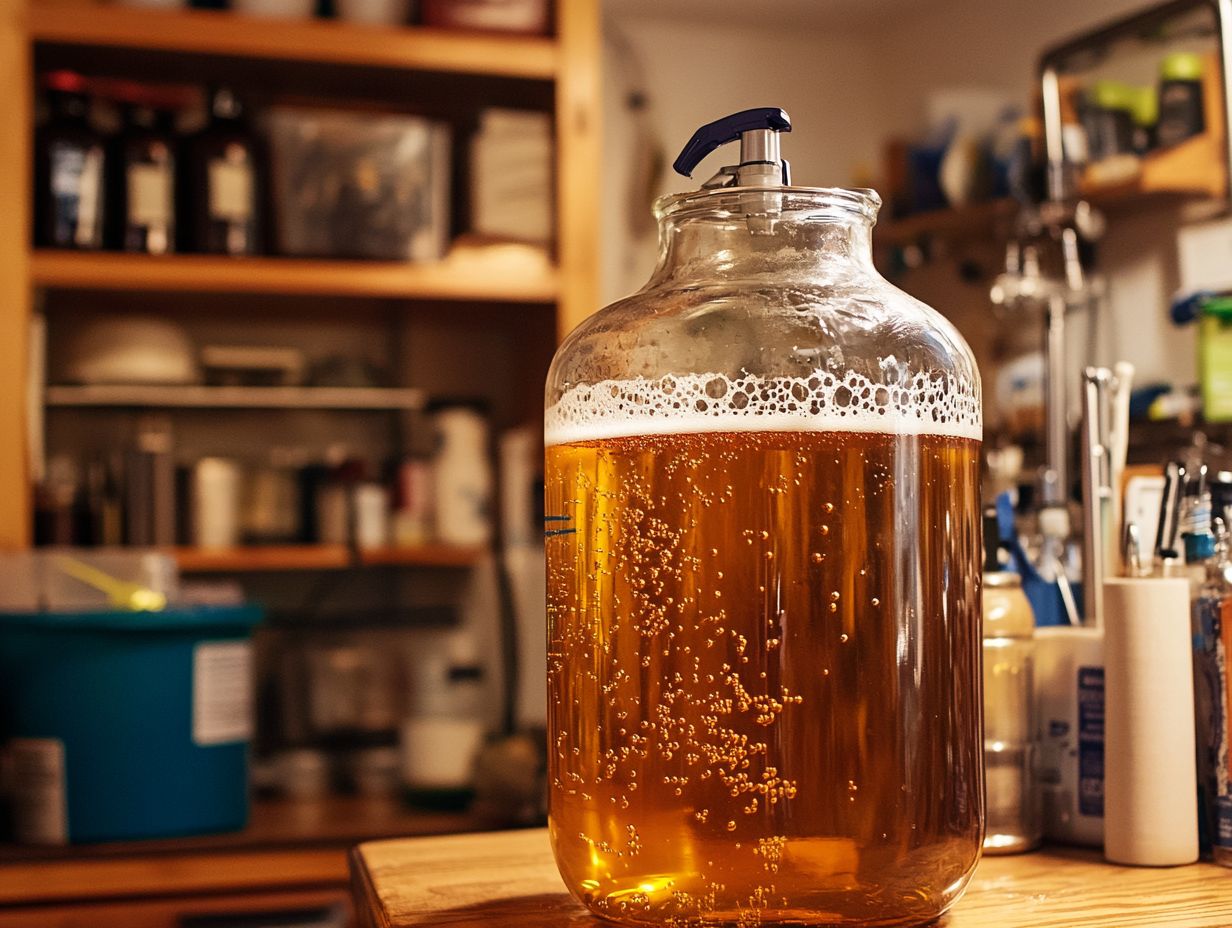
If your homebrew faces a challenge, don’t worry there are effective ways to get it back on track! When your homebrew hits a snag, there are several strategies you can employ to revive the fermentation process and salvage your beer. Techniques like monitoring fermentation gravity can be particularly helpful.
You might consider re-pitching yeast, adding nutrients, or even starting a new batch from scratch.
These methods focus on addressing the root causes of stuck fermentation, which can include oxygen depletion, nutrient deficiencies, or issues with yeast quality. High krausen and fermentation problems are also common sticking points.
By utilizing effective brewing techniques like stirring the mix or gently raising the fermentation temperature you can encourage yeast activity and reach the desired fermentation gravity.
In certain situations, introducing enzymes or experimenting with different yeast strains can also pave the way for successful fermentation outcomes.
1. Re-pitching Yeast
Re-pitching yeast is a practical solution for those moments when your fermentation seems to hit a wall. This method is widely advocated by experts like Gordon Schuck from CBB (Craft Brewers Brewery).
By introducing additional yeast cells, you can effectively jumpstart the fermentation process and get things moving again. This technique is essential for you as a brewer, especially when you want to minimize waste and uphold the quality of your product.
When you’re considering re-pitching, it’s important to evaluate several key factors. This includes understanding how healthy the yeast is before using it in brewing, commonly practiced by brewers in places like North Carolina and even as far as the Bay of Bengal. Assess the health of your initial yeast propagation, the specific fermentation conditions, and, of course, the type of beer you’re crafting.
Choosing the right yeast strain becomes pivotal, as it can profoundly influence both the final flavor profile and fermentation efficiency. Opt for a strain that not only enhances the existing beer style but also shows resilience under your fermentation conditions.
By grasping these dynamics, you can significantly improve fermentation quality and work toward achieving a more consistent and desirable end product.
2. Adding Nutrients
Adding nutrients is essential for resolving stuck fermentation, as they provide the critical elements that yeast needs for robust fermentation activity. Nutrient supplementation can greatly assist in mitigating fermentation issues.
These nutrients encompass nitrogen sources, vitamins, and minerals that promote cell growth and functionality. For example, introducing diammonium phosphate (DAP) a nitrogen-rich compound that helps yeast grow more effectively in the early stages of fermentation can significantly enhance the yeast population, given that sufficient nitrogen levels are vital for optimal metabolic processes.
Furthermore, incorporating yeast hulls can improve overall yeast health by providing amino acids and other micronutrients.
Timing plays a crucial role; introducing nutrients during the first third of fermentation maximizes their effectiveness and helps prevent fermentation issues later on. By measuring carefully according to the specific gravity of the wort, you can determine the appropriate amounts needed, ensuring that your yeast is neither overwhelmed nor starved throughout the process.
3. Revive Yeast with Stirring
Stirring or shaking the fermenter can be a game-changer for re-suspending yeast and maintaining control over fermentation, especially when you encounter a stuck fermentation.
This technique not only breathes new life into the yeast but also helps distribute nutrients evenly throughout the liquid, creating a balanced environment that allows fermentation to flourish. Remember, safety is paramount; sanitize any tools you use like stirring paddles or hoses before they touch the wort to minimize the risk of contamination.
Introduce this method during the active fermentation phase typically within the first few days for optimal results. At this stage, the yeast is energetic and receptive to stimulation, which enhances overall fermentation efficiency.
4. Heat it Up: Raising Fermentation Temperatures
Increasing the fermentation temperature can effectively stimulate yeast activity, helping to resolve any stuck fermentation issues. This approach encourages fermentation even when conditions are less than ideal.
However, proceed with caution. Each yeast strain thrives within specific temperature ranges that can significantly impact their performance. Generally, ale yeasts flourish in warmer environments, typically between 65 F to 75 F, while lager yeasts prefer cooler settings, ideally around 45 F to 55 F.
Raising the fermentation temperature too quickly can disrupt yeast metabolism, leading to off-flavors or unwanted aromas. By carefully monitoring the temperature, you can make controlled adjustments that benefit the fermentation process while minimizing stress on the yeast. This thoughtful approach results in a well-rounded and flavorful product.
5. Transform Your Brew: Adding Enzymes
Incorporating enzymes into your fermentation process can dramatically transform your brew by breaking down complex sugars, effectively resolving stuck fermentation and helping you achieve that perfect fermentation gravity.
These enzymes act as substances that speed up chemical reactions, enhancing fermentation efficiency by converting starches and other polysaccharides into fermentable sugars. Take alpha-amylase, for example; it s invaluable for transforming malt starch into simpler sugars, making them much more accessible for yeast to feast upon. Glucoamylase follows by breaking down residual dextrins and significantly boosting your overall sugar yield.
Many home brewers have witnessed remarkable enhancements in the quality of their final products. Utilizing these enzymes can lead to clearer brews and enriched flavor profiles that truly stand out. Including enzymes can shorten fermentation time, allowing you to craft more consistent batches and refine your brewing processes to perfection.
6. Switch It Up: Using a Different Yeast Strain
Using a different yeast strain can be an effective solution for stuck fermentation, as various strains may thrive in specific conditions or substrates.
When choosing the right yeast strain for re-pitching, consider key factors such as fermentation temperature and the flavor profiles you aim to achieve. For example, certain strains, like American Ale yeast, flourish at warmer temperatures and can impart delightful fruity esters that elevate the overall flavor profile of your brew. Conversely, lager yeast operates best at cooler temperatures, producing cleaner, crisper flavors that can tone down overwhelming fruity notes in a complex beer recipe.
Many brewers have successfully navigated the art of switching strains; for instance, moving from a high-ester Belgian yeast to a cleaner fermenting strain can lead to a more balanced and nuanced final product. This approach allows the malt and hop character to shine while minimizing undesirable flavors that might detract from your creation.
7. Starting a New Batch

When all else fails, starting a new batch may be your best bet if you’re grappling with persistent stuck fermentation issues.
Before you take that leap, however, it’s essential to reflect on the fermentation journey of your previous batch. Carefully evaluate the environmental factors, yeast health, and fermentation temperatures to pinpoint any potential missteps. Perhaps you over-pitched the yeast or had an unusually high sugar content, which could have left your yeast struggling to complete its task. By keeping detailed notes on these experiences, you can extract valuable insights that will inform your future brewing endeavors.
Exciting results await when you implement top-notch quality control measures such as thoroughly sanitizing your equipment and accurately measuring your ingredients. This approach will dramatically diminish the chances of repeating the same mistakes. Ultimately, each brewing experience not only hones your craft but also enriches your evolving skill set as a brewer.
How Can You Prevent Your Home Brew from Getting Stuck?
Preventing stuck fermentation is essential for any home brewer who wants to achieve exceptional results. You can accomplish this through a variety of measures:
- Maintain strict sanitation practices
- Use fresh, high-quality ingredients
- Carefully monitor fermentation temperature
Following a trusted recipe helps ensure that the fermentation process unfolds seamlessly. Properly pitching yeast is equally important, as it sets the stage for a healthy and vigorous fermentation.
By focusing on these key elements, you can elevate your brewing experience and craft remarkable beer.
1. Proper Sanitation
Proper sanitation is an essential practice in home brewing that safeguards your process from contaminants and fermentation issues that could derail your efforts.
You must ensure that every piece of equipment, from fermenters to bottling lines, is meticulously cleaned and sanitized. This involves scrubbing away any residual yeast and organic matter that could harbor unwanted bacteria or wild yeast strains.
Recognizing the threat of common contaminants, such as mold which often presents itself as fuzzy spots on your gear is crucial, as they can easily spoil a batch. If you detect off-flavors in your final product, it s often a telltale sign that something went awry during the cleaning process.
To maintain a flawless brewing environment, adopt a routine that includes a thorough wash with soap and water, followed by an effective rinsing and sanitizing step using solutions like Star San or bleach. This diligent approach will keep everything in pristine condition, ensuring your brews shine as brightly as your passion for brewing.
2. Using Fresh and Quality Ingredients
Using fresh, high-quality ingredients is crucial for your brewing success, as they directly influence fermentation control and the overall flavor profile of your beer.
The foundation of any exceptional brew rests on the integrity of its ingredients particularly the malt, hops, and yeast each contributing distinct characteristics to the final product. When selecting malt, choose options with rich, complex flavors, as freshness plays a vital role in enhancing the beer’s depth.
Likewise, source your hops from reputable suppliers to ensure they are aromatic and at their peak potency. Remember, yeast is the workhorse of fermentation; selecting a strain that aligns with your desired beer style can truly elevate your brew.
It s wise to connect with local suppliers or craft maltsters who prioritize freshness, and don t hesitate to experiment with various varieties to uncover unique flavor nuances. This approach will set your brews apart and delight the palates of those fortunate enough to enjoy them.
3. Monitoring Fermentation Temperature
Monitoring fermentation temperature is essential for ensuring optimal yeast activity and preventing stuck fermentation. By keeping the yeast within its ideal temperature range, you significantly influence the quality of your final product.
Utilizing temperature strips or precise thermometers allows you to obtain an accurate reading of your fermentation environment. Consistency is key; fluctuations in temperature can lead to unwanted off-flavors or an incomplete fermentation process. For example, if the temperature drops too much, yeast activity may slow down, while excessive heat can create an inviting environment for undesirable microbes.
Make it a habit to check the fermenter temperature regularly your beer will thank you! This diligence will help guarantee a successful fermentation process and a flavorful outcome that you can be proud of.
4. Following a Recipe or Guidelines
Following a recipe or brewing guidelines is vital for both novice and seasoned brewers, as it sets the stage for successful fermentation and helps you avoid the dreaded stuck fermentation issues.
Paying attention to precise measurements of ingredients ensures consistency in flavor and plays a crucial role in the chemical reactions leading to brewing success. Consider the significance of the right grain-to-water ratio; it can drastically affect the extraction of the sugars essential for fermentation. Using a fermentation starter can also aid this process.
Timing is everything if you take too long to pitch the yeast or fail to maintain optimal fermentation temperatures, you risk off-flavors or inadequate carbonation. High krausen is a crucial stage to monitor in this context.
By embracing established brewing best practices, such as proper sanitization and accurate batch size calculations, you can significantly enhance your chances of producing a high-quality final product while steering clear of common pitfalls, including oxygen depletion and trub accumulation.
5. Properly Pitching Yeast
Properly pitching yeast is a crucial step in your brewing process that can significantly impact the quality of your beer.
Balancing yeast cells is crucial. Target approximately 0.75 to 1 million yeast cells per milliliter of wort for each degree Plato of the desired gravity. To determine the necessary yeast cell count, assess your total volume and anticipate the final gravity. Using gravity measurement tools like a hydrometer can be very helpful in this process.
Before you pitch, it’s vital to evaluate the yeast’s health and viability. You can do this by performing a cell count with a hemocytometer or conducting a straightforward viability test using methylene blue. This careful evaluation of yeast quality ensures that your fermentation runs smoothly, leading to a consistent and high-quality final product.
Watch this video for more brewing tips!
Frequently Asked Questions

What is a stuck home brew and what are common fermentation problems?
A stuck home brew happens when fermentation stops too early, resulting in a beer with low alcohol content and potentially off-flavors. Stuck yeast and improper fermentation control can contribute to this issue.
Why does a home brew get stuck?
A home brew can get stuck for various reasons, such as using old or expired yeast, inadequate aeration, high or low fermentation temperature, or high sugar content in the wort. High gravity worts are particularly prone to this problem.
How can I tell if my home brew is stuck?
One way to tell if your home brew is stuck is by checking the specific gravity using a hydrometer. If the specific gravity remains the same for several days, it is likely that the fermentation has stopped.
What are some solutions to fix a stuck home brew?
The solution to fix a stuck home brew depends on the cause. Some common solutions include adding more yeast, increasing aeration, adjusting the fermentation temperature, or adding yeast nutrient to aid fermentation. Employing additional yeast strains might also help.
If you have experienced issues with your home brew, don t hesitate to experiment with these techniques, and feel free to share your brewing experiences with others!
How can I prevent my homebrew from getting stuck in the future?
To prevent a stuck homebrew in the future, use fresh, high-quality yeast. Ensure you properly aerate the wort, which is the liquid extracted from the malted grains during the brewing process, maintain a consistent fermentation temperature, and monitor fermentation gravity with a hydrometer.
Taking these steps will help ensure your next brew is a success and you avoid any fermentation hiccups!
Can I still salvage a stuck homebrew, such as a barleywine or IPA?
In most cases, you can salvage a stuck homebrew by implementing the correct solution. The final result may differ from your original intention and could develop off-flavors due to the extended fermentation process, particularly for complex styles like Saison Dupont or Berliner Weisse.


